15
Schedule Starts
e Schedule Starts function allows you to view the three schedules with all four possible start times.
Step 1 – While in the ADVANCED menu, use the Up
or Down arrows to select the SCHEDULE STARTS.
Press SELECT
.
Step 2 – Use the Left
or Right arrows to navigate to start time you want to edit. You can also press SELECT until the
desired start time is selected.
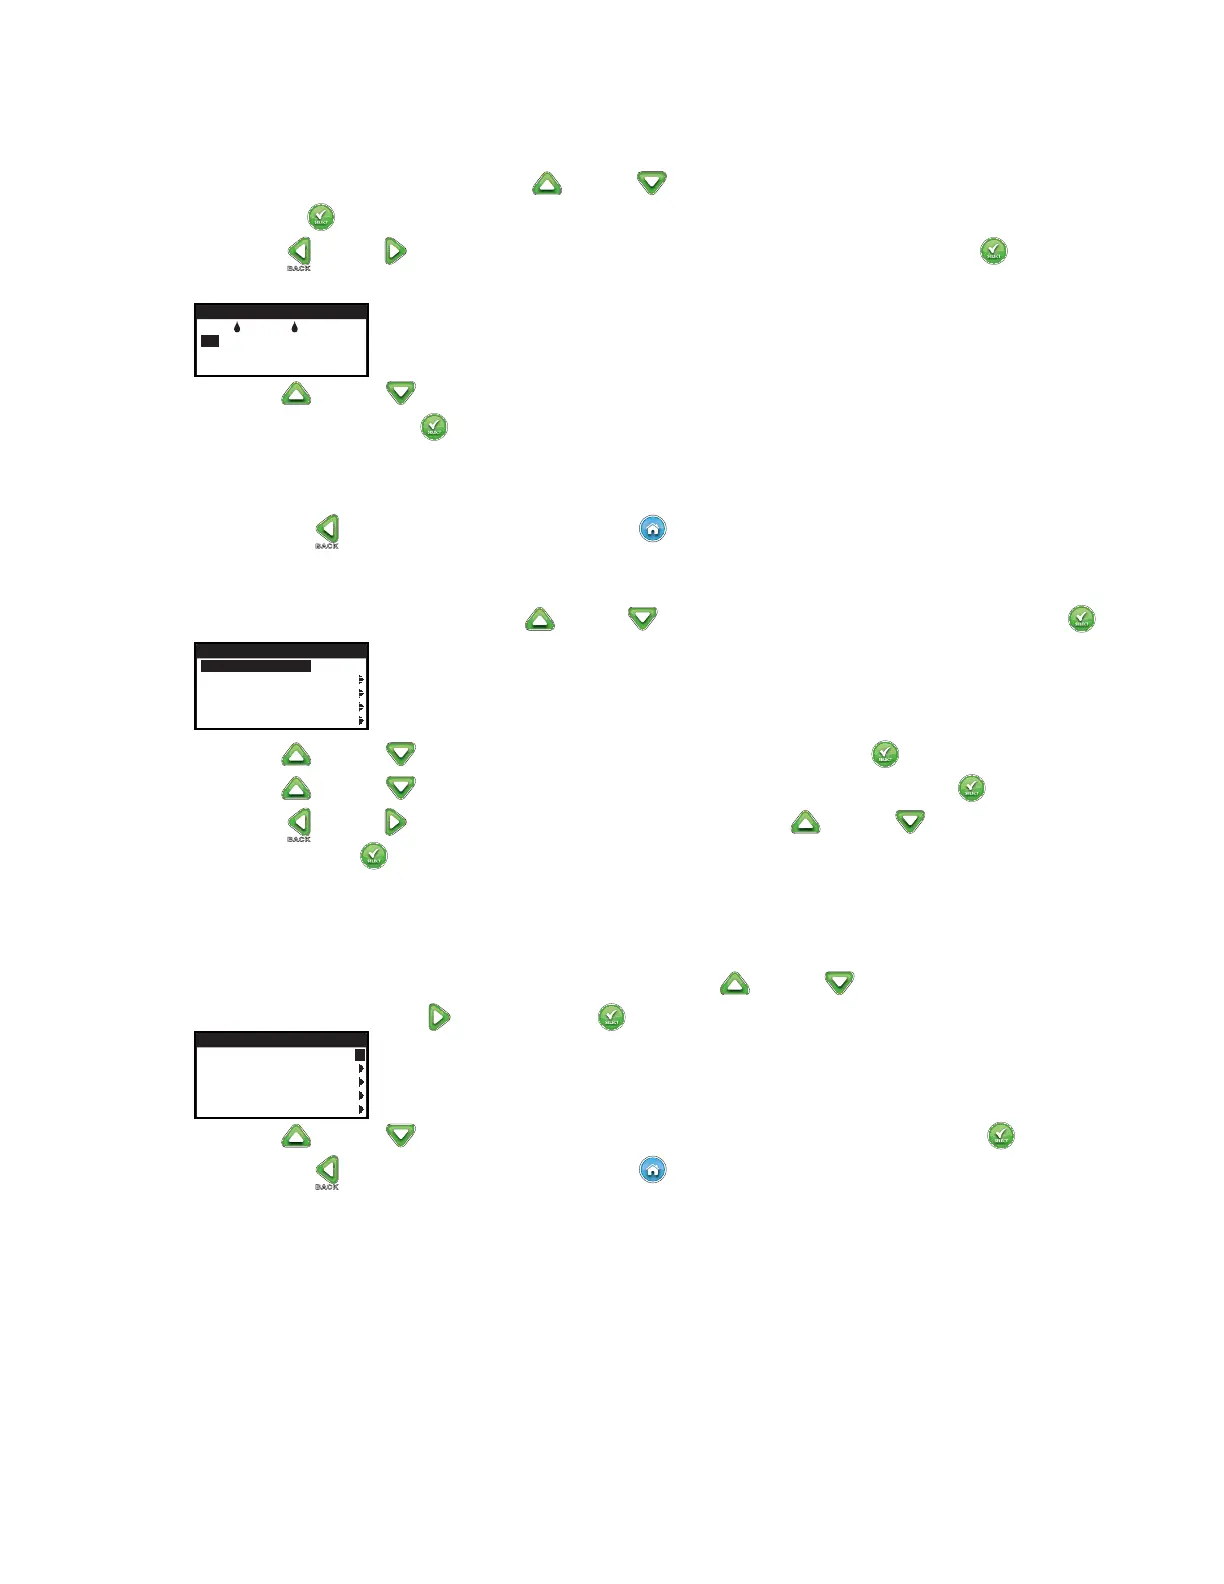
ZONE RUNTIMES
A B C C
04
:30A 07:45A OFF
08:00P OFF OFF
OFF OFF OFF
Step 3 – Use the Up or Down arrows to enter the desired start time. Moving to another parameter will save the changes as
well as pressing the SELECT
button.
Step 4 – Repeat Steps 2 and 3 to edit or add another start time.
Step 5 – Place the start time to OFF to remove.
Step 6 – Press the BACK
arrow to return to the previous menu or HOME to return to the main screen.
Schedule Details
Step 1 – While in the ADVANCED menu, use the Up or Down arrows to select SCHEDULE DETAILS. Press SELECT .
SCHEDULE DETAILS
MAX SCHEDULES 1
SCHEDULE A
SCHEDULE B
SCHEDULE C
AUX 1
Step 2 – Use the Up or Down arrows to select the schedule you want to edit. Press SELECT .
Step 3 – Use the Up
or Down arrows to select through the menu items you want to edit. Press SELECT .
Step 4 – Use the Left
or Right arrows to navigate to the parameter and use the Up or Down arrows to modify the
values. Press SELECT
to save.
Set Maximum Schedules
e maximum concurrently running schedule is set in Schedule Details. e default setting is 1 schedule. e auxiliary schedule is not
included in the set maximum. You can set a maximum of 1–3 schedules to activate at the same time.
Step 1 – While in the ADVANCED/SCHEDULE DETAILS menu. Use the Up or Down arrows to select MAX
SCHEDULES. Press the Right
arrow or SELECT .
SCHEDULE DETAILS
MAX SCHEDULES 1
SCHEDULE A
SCHEDULE B
SCHEDULE C
AUX 1
Step 2 – Use the Up or Down arrows to set the maximum schedules to activate concurrently. Press SELECT to save.
Step 3 – Press the BACK
arrow to return to the previous menu or HOME to return to the main screen.
STATUS – Select the schedule’s mode. Place it in ENABLED (Active) or DISABLED (OFF).
5:1& – Select the schedule type. Select between Weekdays, Even, Odd or Interval scheduling.