12
To change the lubricant, use the following procedure:
1. Place the vehicle on level ground.
2. Remove each fill plug; then inspect the seal (replace
if necessary).
3. Drain the lubricant into a drain pan by removing in
turn the drain plug from each; then inspect the seal
(replace if necessary).
PK029A
4. After all the lubricant has been drained, install the
drain plugs and tighten the front to 23 in.-lb (2.6 N-m)
and rear to 15 ft-lb (20.4 N-m).
5. Pour the appropriate amount of recommended lubri-
cant into the fill hole.
6. Install the fill plugs and tighten the front to 25 ft-lb
(34 N-m) and the rear to 11 ft-lb (15 N-m).
NOTE: If the lubricant is contaminated with water,
inspect the drain plug, fill plug, and/or bladder.
Driveshaft/Coupling
The following drive system components should be
inspected periodically to ensure proper operation:
1. Spline lateral movement (slop).
2. Coupling cracked, damaged, or worn.
Headlight — Taillight/
Brake Light — Reverse Light
NOTE: The bulb portion is fragile. HANDLE
WITH CARE. When replacing the bulb, do not touch
the glass portion. If the glass is touched, it must be
cleaned with a dry cloth before installing. Skin oil res-
idue on the bulb will shorten the life of the bulb.
HEADLIGHT
To replace the headlight bulb, use the following proce-
dure:
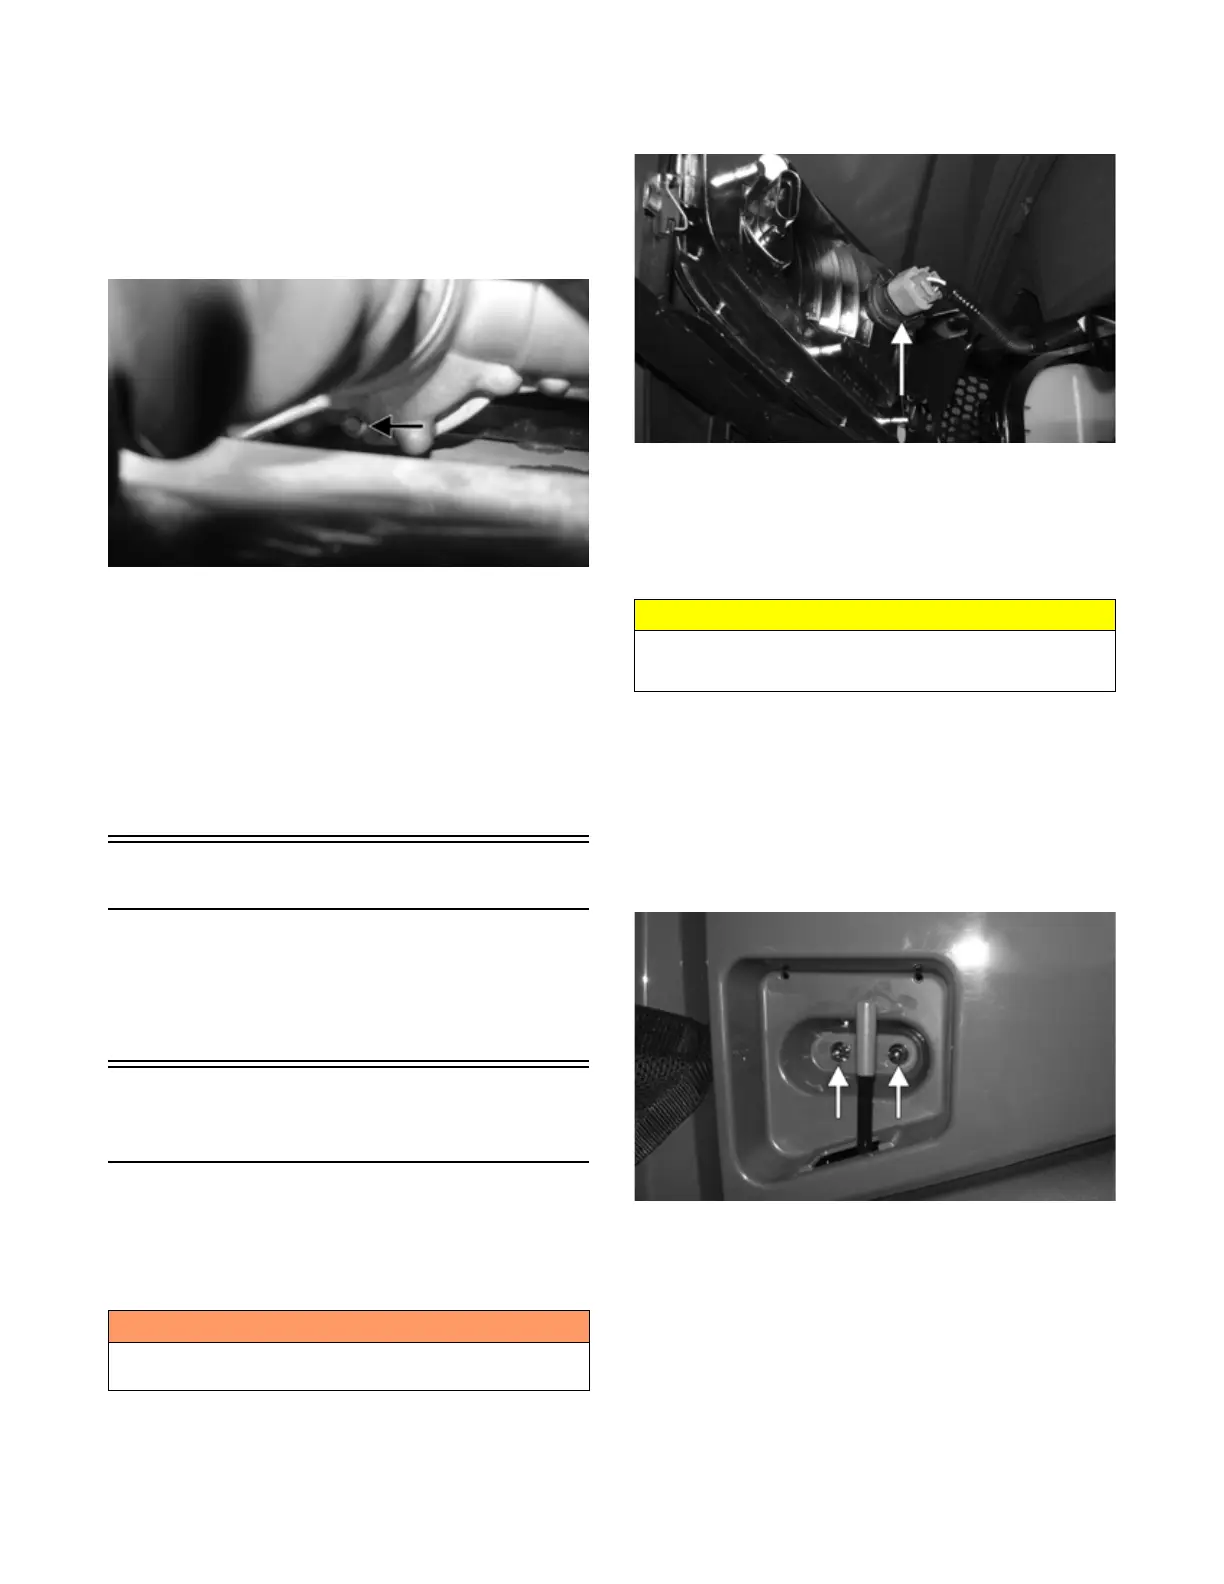
1. Rotate the back of the headlight bulb counterclock-
wise; then disconnect the wiring harness and discard
the bulb.
PK062A
2. Connect the new headlight bulb to the wiring harness
and insert into headlight assembly. Turn clockwise to
secure the bulb.
3. Adjust the headlight (see CHECKING/ADJUSTING
HEADLIGHT AIM in this sub-section).
TAILLIGHT/BRAKE LIGHT — REVERSE
LIGHT
To replace the taillight/brake light or reverse light bulb,
use the following procedure:
1. Disconnect the taillight/brake light connector.
2. Remove the two nuts and cap screws securing the
steel tie-down to the cargo box.
PK063B
3. Remove the six plastic screws securing the rear
fender to the cargo box. Remove the rear fender.
! WARNING
Do not attempt to remove the bulb when it is hot. Severe
burns may result.
CAUTION
When replacing the headlight bulb, be careful not to
touch the glass portion of the bulb. Grasp the new bulb
with a clean cloth.