C - A 5
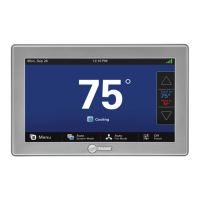
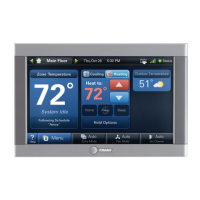
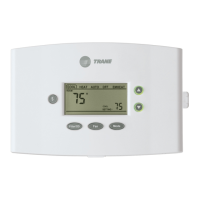
(A/T)CONT900AC43UA Installer Guide
4 Heat/3 Cool/ Heat Pump
Communicating Programmable 3-Wire Hookup
Step 5
Use a pencil to mark the mounting holes.
Step 6
Remove the sub-base from the wall and drill two 3/
16” holes in the wall (if drywall) as marked.
For firmer material such as plaster, drill two 7/32” holes.
Gently tap anchors (provided) into the drilled holes until
flush with the wall.
Step 7
Position the sub-base over the holes, pulling the wires
through the wiring opening.
Step 8
Insert the mounting screws in the holes and tighten.
Wiring
All wiring must comply with local electrical codes and
ordinances. See Figures 2 and 3 wiring diagrams
for specific equipment applications. Refer to Table
2 for terminal designations.
Figure 2
Field wiring diagram, Communicating indoor unit - Communicating outdoor unit
Figure 3
Field wiring diagram, Communicating indoor unit - Single stage cooling unit
WARNING
Voltage Hazard. Can cause electrical shock or
equipment damage. Disconnect power before
beginning instructions.
Note:
The maximum cable length for the entire Comfort Control com-
municating system is 500 feet 18 AWG. The maximum dis-
tance of any single cable from a transformer is 250 feet 18
AWG.
Table 2
 Loading...