CA - A 9
Charge Assist™
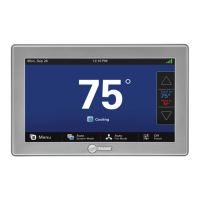
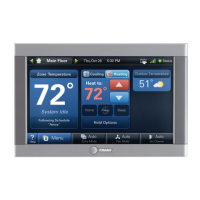
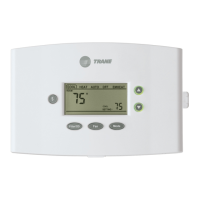
Step 3
Set the indoor system control to call for second stage
cooling throughout the charging process (Figure 18).
Note: If using a communicating comfort control, this
step is not required as the system will perform this
task once Charge Assist
TM
mode is started.
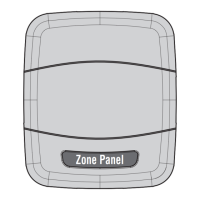
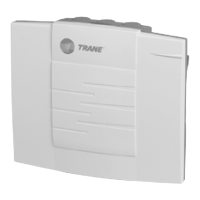
Step 4
At the outdoor unit, set the Charge Assist
TM
dip
switches (Figure 19) as determined from the appropri-
ate charging correction table found on the next page
(Figure 20).
Step 5
If no Charge Assist
TM
tool BAYCAKT001AA (solenoid
kit) is used, continue to “Adjusting System Charge
WITHOUT Charge Assist
TM
tool BAYCAKT001AA
(Solenoid Kit)”
If using the Charge Assist
TM
tool BAYCAKT001AA (so-
lenoid kit), continue to “Adjusting System Charge
WITH Charge Assist
TM
tool BAYCAKT001AA (So-
lenoid Kit)”
Figure 18
Figure 19
 Loading...