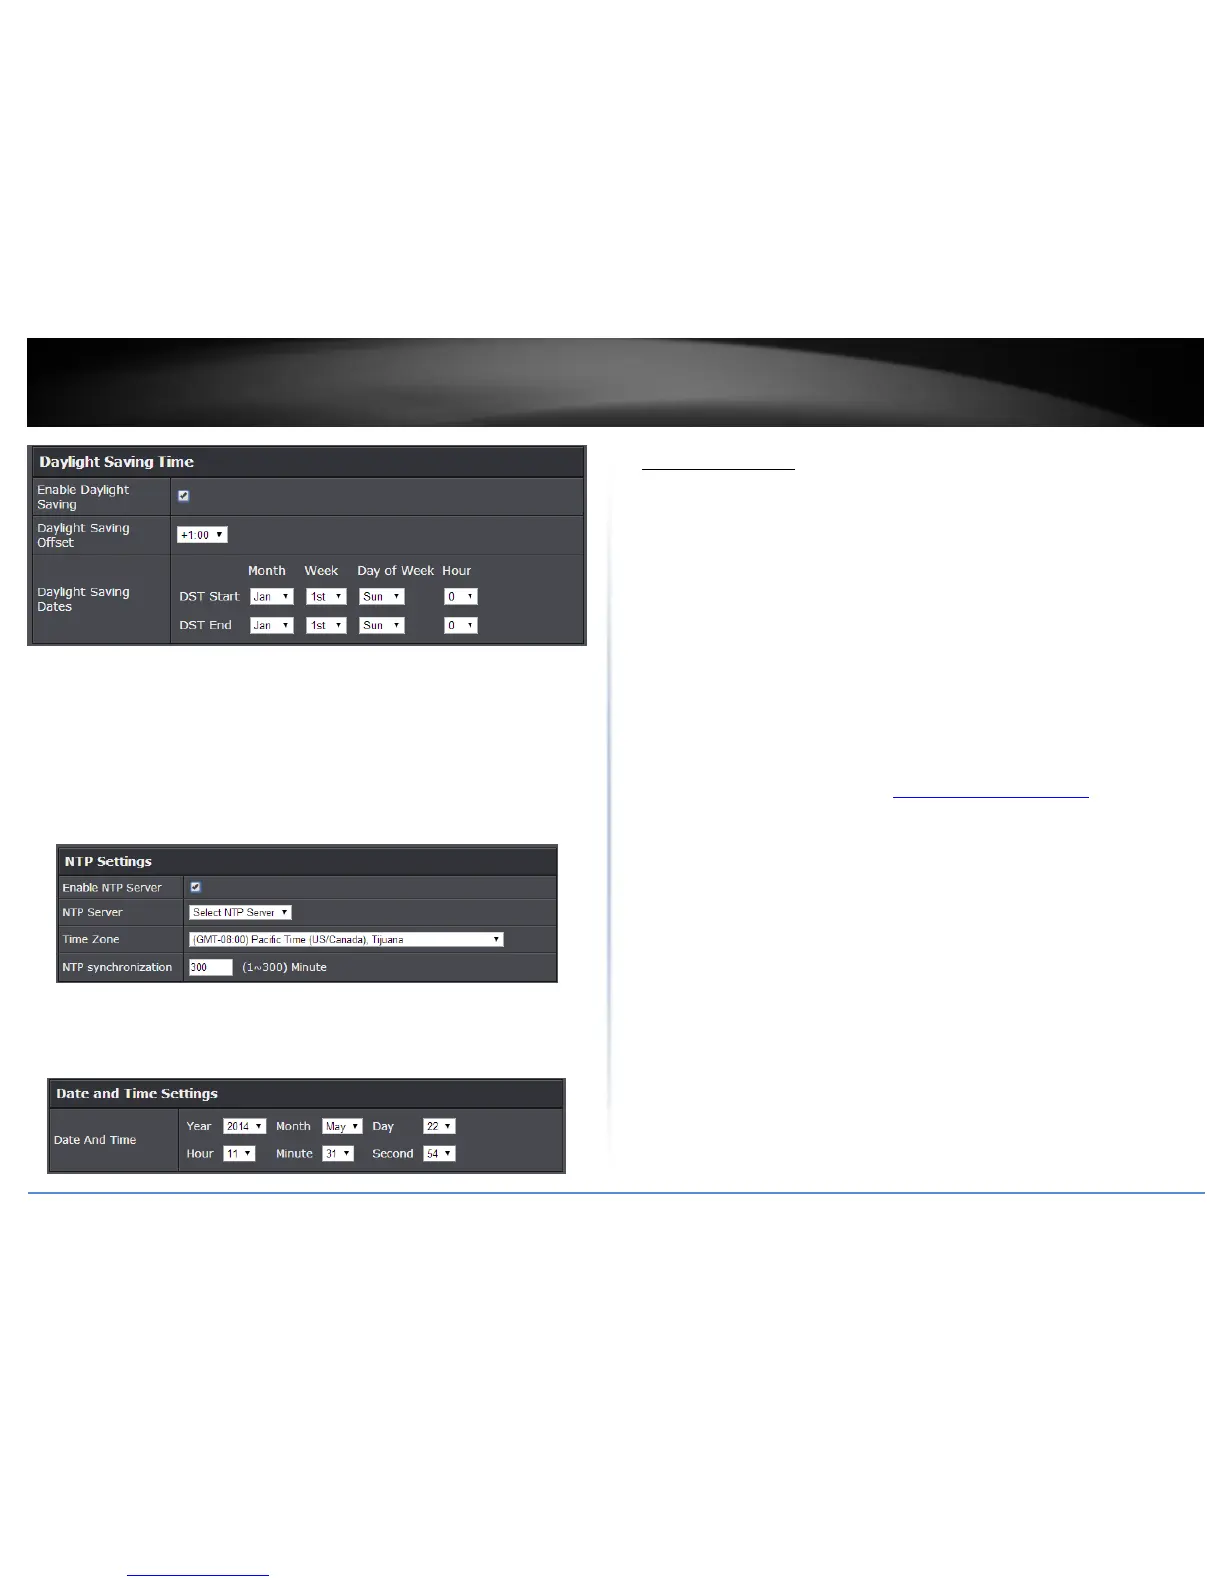
You can choose one of the following options to set the device time and date:
Automatically synchronize with Internet Time Server: Check the Enable NTP
Server option to set your router date and time to synchronize with an NTP
(Network Time Protocol) server address (e.g. pool.ntp.org). Enter the NTP server
address next to Default NTP server, (e.g. pool.ntp.org). Click the Time Zone drop-
down list to select the appropriate zone and you can optionally change your NTP
Sync period.
Note: NTP servers are used for computers and other network devices to
synchronize time across an entire network.
Manually set time: Set your router date and time manually in the Date and Time
Settings section. Note: Time is specified in 24-hour format. In addition, you can
click Synchronize with Your Computer’s Time Settings to copy the time and date
settings from your computer.
Create schedules
Advanced > Setup > Schedule
For additional security control, your router allows you to create schedules to specify a
time period when a feature on your router should be activated and deactivated. Before
you use the scheduling feature on your router, ensure that your router system time is
configured correctly.
Note: You can apply a predefined schedule to the following features:
Wireless (2.4GHz and 5GHz)
Guest Network
Parental Control (MAC/IP Filters)
Access Control (IP Protocol Filters)
Virtual Server
Special Applications
Gaming
1. Log into the management page (see “Access your management page” on page 7).
2. Click on Advanced and click on Setup, then click on Schedule.
3. Review the Schedule settings. Click Apply to save settings.
Rule Name: Enter a name for the schedule you would like to apply.
Day(s)/Select Day(s): Check Select Day(s) to select the days in the Select Day(s)
section or select All Week to set the schedule for all days.
All Day – 24 Hours: Check the option to set the schedule to 24 hours or define
the schedule under Start Time and End Time.
Start/End Time: Select the start and end time you would like the schedule to
follow.
Note: The schedule defined will define the time/day the feature will be activated.