NORMAL.DOT Gespeichert in:G:\Support\Dokumentationen_CDs\8003Speedy\Service Manual\Servicemanual 8003.doc Gespeichert am:2003/03/10
max Version 14
Seite 21 von 87
I N D I V I D U A L M A R K I
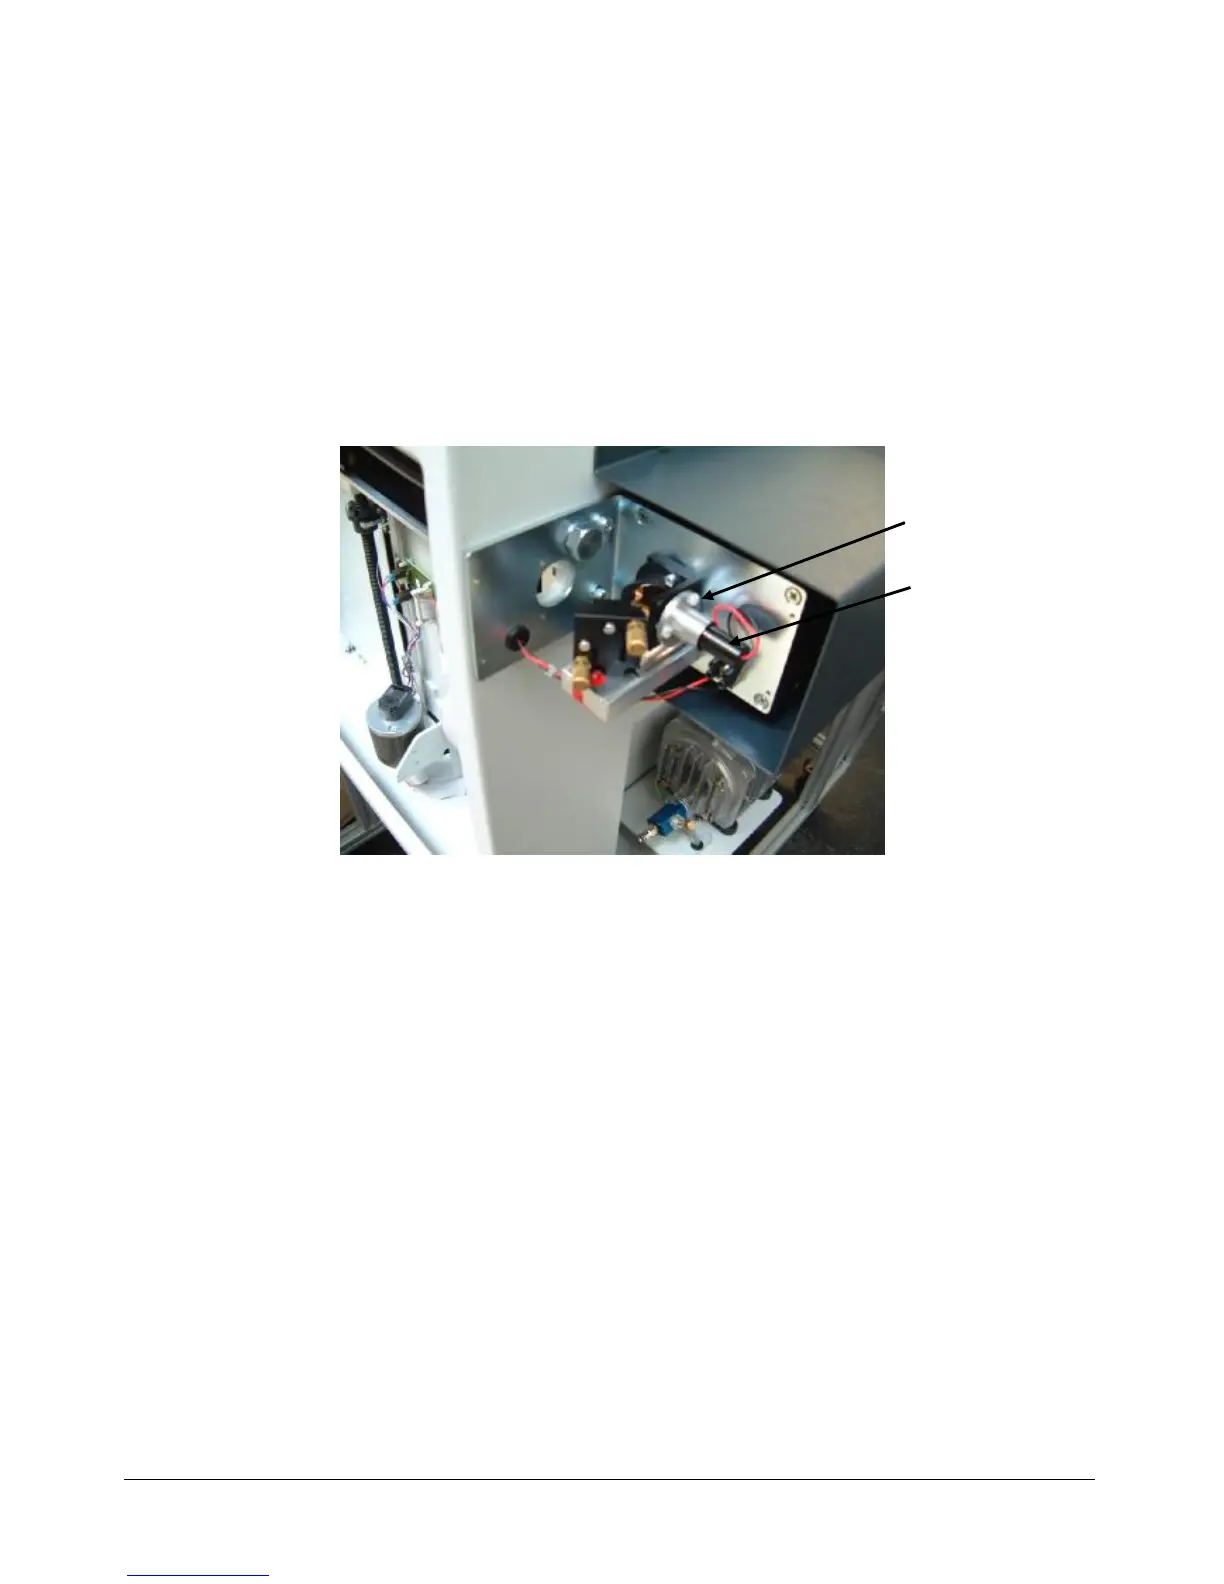
2.) Move the engraving head to the upper left corner of the engraving table.
3.) Fire the test pulse by pressing the test button, keeping it pressed and pressing at
the same time the service button, until you can see a small spot on the paper
tape.
4.) Adjust the three small screws (see attached picture) close to the laser pointer
until the red dot hits exactly the burned spot on the paper tape.
5.) Check the beam position on all four corners of the engraving table. You can get
the highest sensitivity to changes of the pointer position in the lower left corner of
the engraving table.
 Loading...