THE OVEN DOOR
45
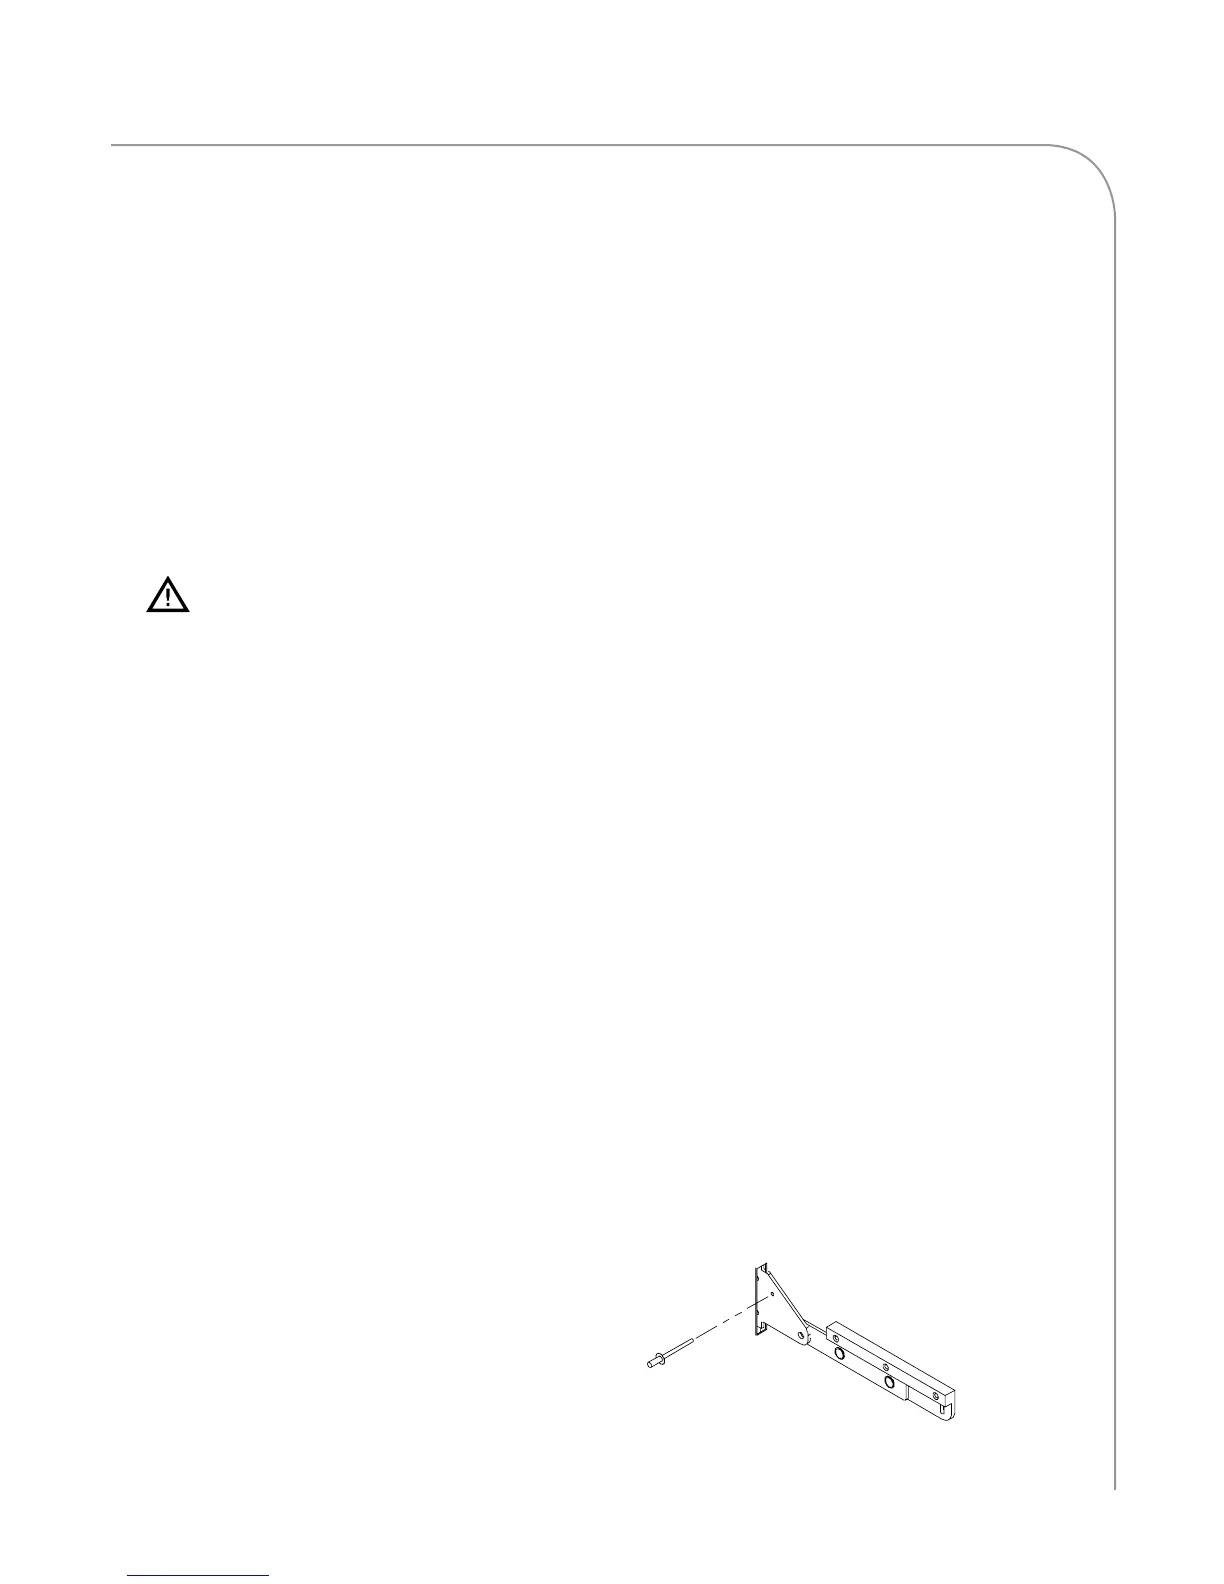
Figure 39: Insert Rivet/Screw/Nail to Keep Hinge Open
Components
The oven door consists of the following
components:
£
Door Gasket
£
Door Handle
£
Door Hinges
£
Door Skin
£
Door Interlock Switch
Door Gasket
The door gasket ensures a proper seal when the
door is closed.
CAUTION: Do not scrub the gasket or
attempt to scrape beneath it. Doing so will
damage the gasket, resulting in a non-
warranty service call.
Door Handle
If damaged, the door handle can be replaced
without replacing the entire door.
Door Hinges
The door hinges are spring-loaded and unlike the
original HhB oven, the design will not allow for
door removal during cleaning.
Door Skin
If damaged, the door skin can be replaced
without replacing the entire door.
Door Interlock Switch
The interlock switch engages and disengages when
the door is opened/closed, alerting the control
system of the oven door state.
To adjust the door interlock switch, follow the
steps below.
1. Ensure the oven is at operating temperature.
2. Confirm the door closes properly.
3. Adjust the door interlock switch paddle arm to
close completely, but not touching the switch
itself.
4. Tighten the three adjustment screws.
Removing/Reinstalling the Oven Door
To remove or reinstall the oven door, follow the
steps below.
1. Ensure the oven has cooled to 150°F (66°C).
2. Open the oven door to its full open position
and insert rivets, screws, or nails as shown in
Figure 40 to hold the hinges in the open
position.
3. Remove the four plastic plugs (two per side)
and the four 5/16 hex standoffs (two per side)
that attach the oven door to the hinges.
4. Carefully remove the oven door by pulling
the door away from the oven. It will slide off
the hinges.
5. To reinstall or fit a new door, carefully slide it
back onto the hinges and replace the four
5/16 hex standoffs (two per side).
6. Carefully remove the rivets, screws, or nails you
inserted in step 2.
7. Close the oven door.
8. Verify that the door is parallel to the oven frame.
If it is not parallel, complete the following:
- Incrementally, loosen the four 5/16 hex standoffs
until you can manually adjust the door.
- Gently push/pull the door towards/away
from the oven frame until the door and
oven frame are parallel.
- Tighten the four 5/16 hex standoffs and
replace the four plastic plugs.
9. From Test Mode (page 26), check the status
indicator D to verify the switch engages (door
closed) and disengages (door open) properly
and adjust if necessary (see steps in “Door
Interlock Switch” section, adjacent).
 Loading...