12) Wedge both sides of the front axle to
prevent the engine from tilting.
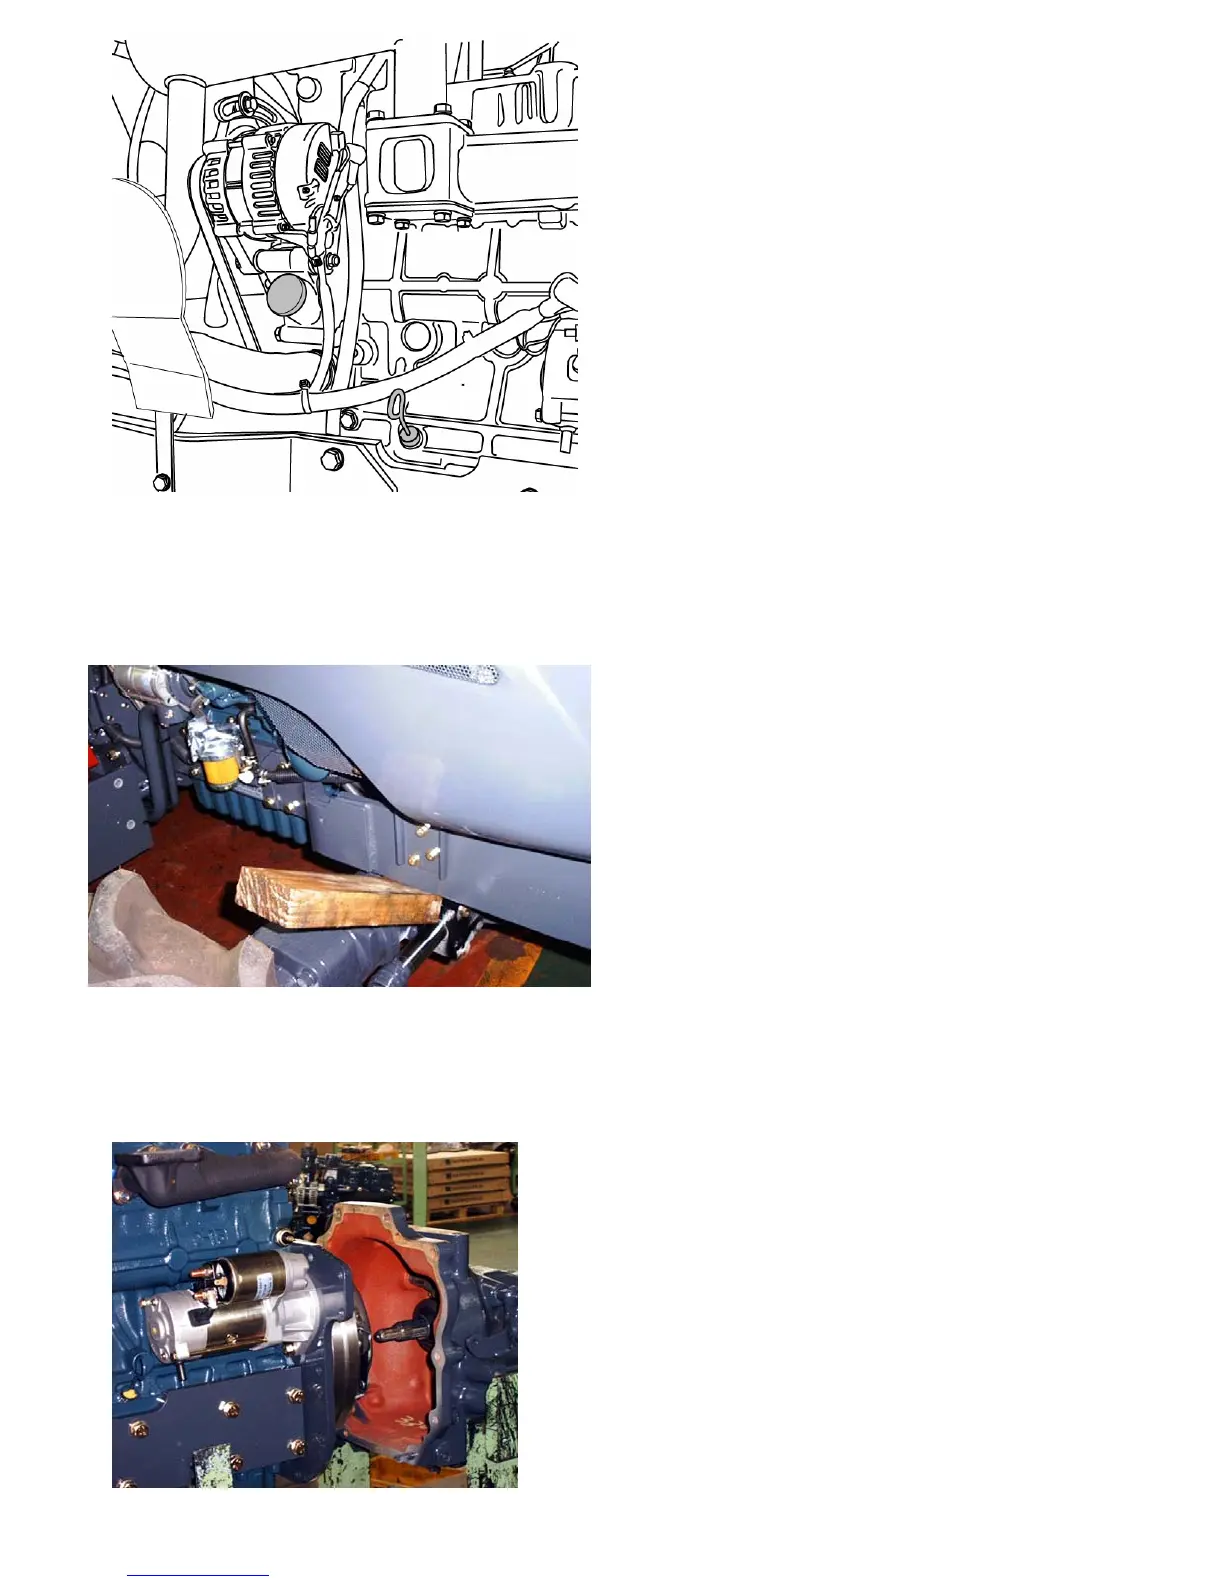
FIG.2-19 Wedging
13) Remove the clutch housing and
engine tightening bolts and move the
engine forward.
FIG.2-20 Engine
(2) Engine separation from the chassis.
When separating the engine from the
chassis,the following steps are required
as well as the ones mentioned above.
1)Lift the engine with the hoist and hold
the front axle bracket with a stands or the
like.
2) Disconnect the upper, Lower ,and drain
hoses from the radiator.
3) Disconnect the two power steering
system hoses.
4) Remove the fuel hose.
5) Disconnect the the inlet pipe.
6) Loosen the right hand pivot metal
tightening bolts beforehand.
7) Separate the engine from the front axle
bracket.
(3) INSTALLATION
REASSEMBLY IN REVERSE ORDER OF
REMOVAL.
1) Install the engine on the front axle bracket.
2) Retighten the right hand pivot metal tightening
bolts.
3) Connect hoses.
4) Assemble the engine and the front transmission.
Note:
- Apply small mount of grease to each of the sliding
parts. Be careful not to apply excessive amount of
grease as this could cause clutch slipping.
- During operation, be sure to avoid any of the
reassembly operations that may place load upon the
input gear.
5) Install the hydraulic system piping.
6) Install the dash panel.
7) Install the wiring and rods.
8) Install the covers.
9) Connect the panel set wiring and then install the
panel.
10) Connect the wiring for the engine.
11) Connect the battery terminals.
12) Install the engine hood and side cover.
2-9
 Loading...