Installation and commissioning
● Connect all plugs as labelled to the control box .
● On the TYPICAL 574 with the control unit P40 ED plug 1 of the adapter cable (see blow-up)
should be inserted in socket X2. The motor and the "external" plug of the synchronizer
should be connected to the "motor" plug.
● On the TYPICAL 574 with the control unit P44 PD-L the synchronizer plug should be inser-
ted directly in socket X7.
● Screw the earth cable from the sewing head and the main switch to earth point A.
● Connect earth point A to earth point B with earth cable.
● Fasten the earth cable from plug X1 to earth point B.
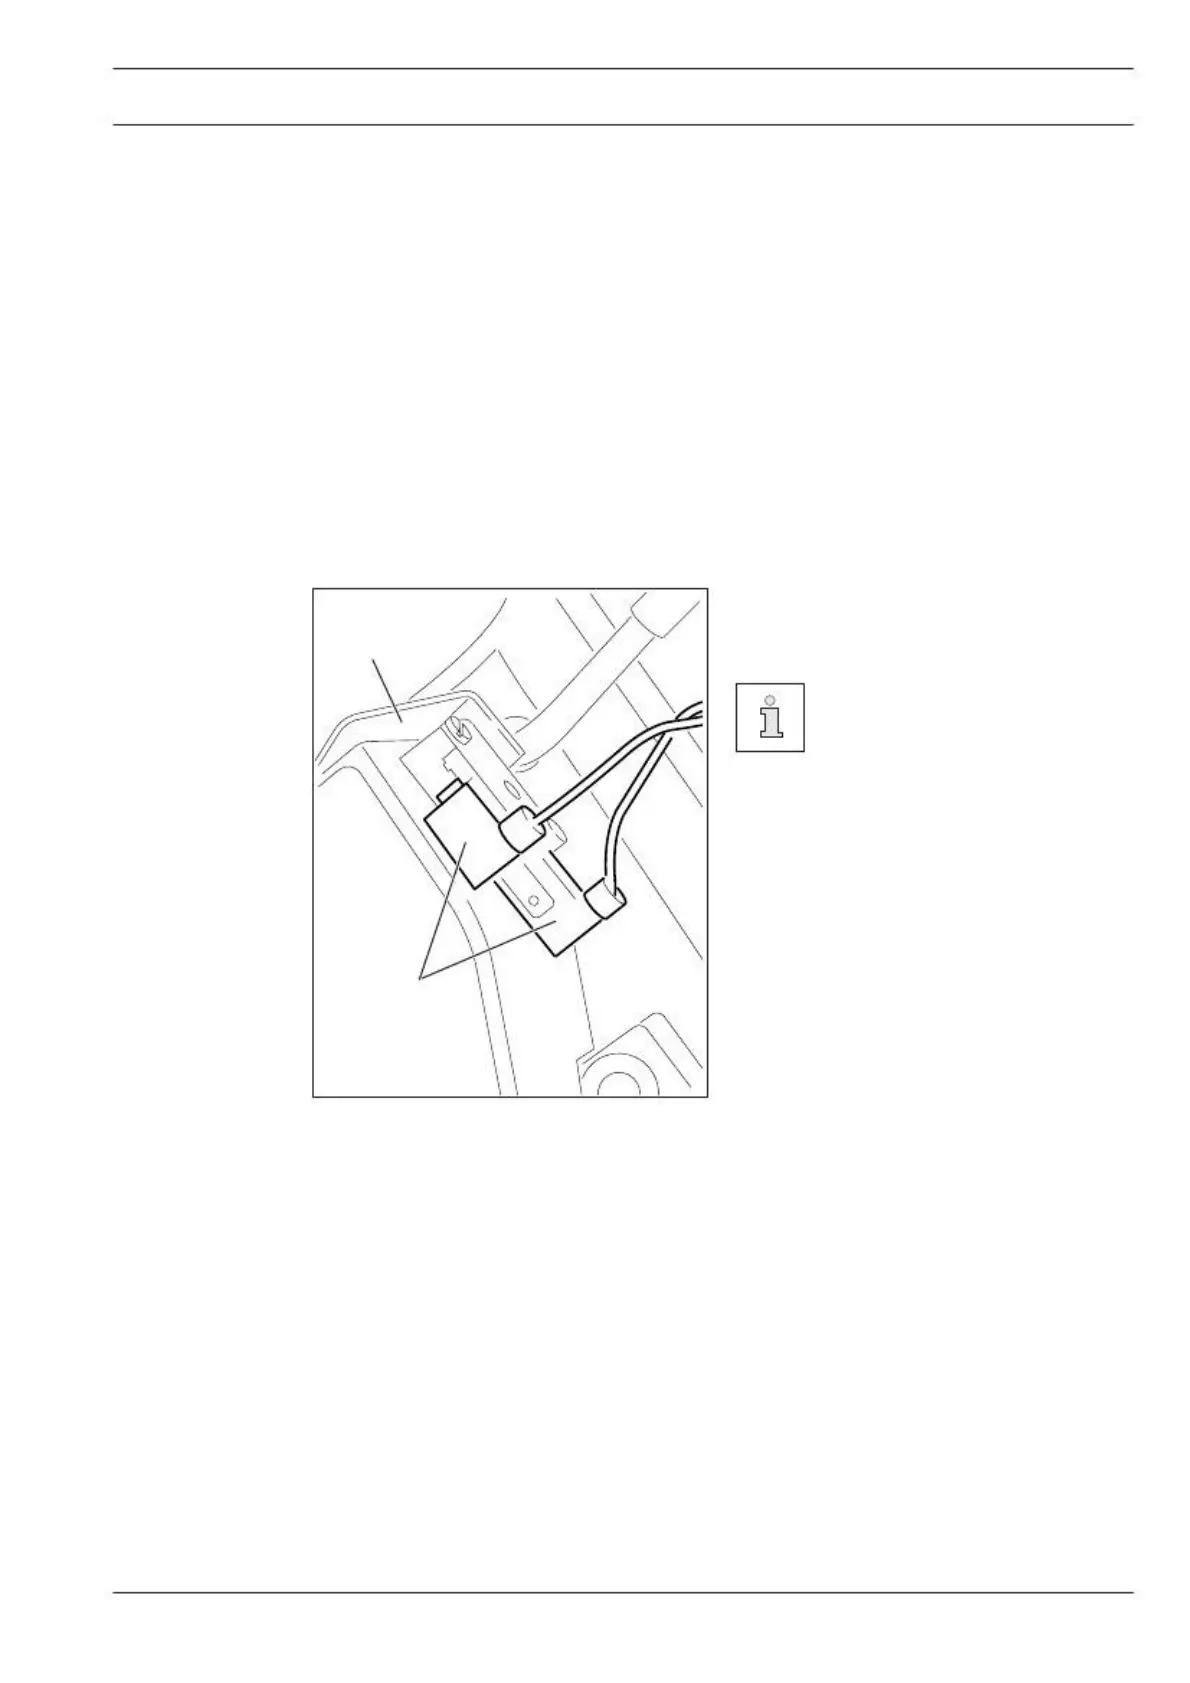
Connecting the safety switch
● Connect plug 1 of safety switch 2 as
When the sewing head is til-
ted back, the safety switch pre-
vents the machine starting
when the main switch is on.
Checking the start inhibitor function
● Switch the machine on at the main switch and tilt back the sewing head.
● The error message "Error 9" must appear on the control panel.
● If the message does not appear, check the setting of safety switch 2.
● After the sewing head has been returned to the upright position, the machine is
ready for operation again.