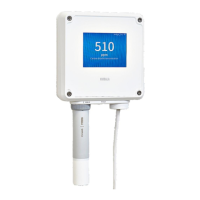
3. Installation
3.1
Mounting
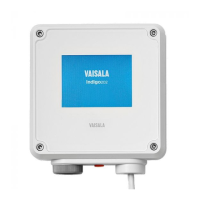
1. Open the 4 screws on the transmitter cover and pull the cover o the base.
To avoid damaging the connector pins of the transmitter, pull the
tr
ansmitter cover o the base in a straight angle. Do not twist or bend.
CAUTION!
2. Place the transmitter base on the installation surface and mount it with 3 screws. See
the scr
ew positions in Figure 1.
3. Lead the input/output cable inside the transmitter (see W
iring Options). If you are
wiring through the lead-through on the bottom of the transmitter, test that the strain
relief works with your cable.
4. Connect the input/output cable's wiring to the screw terminals (see Indigo Transmitter
Base) and reattach the cover when done.
5. When you have finished wiring and reattached the cover, switch on the power supply
input.
Chapter 3 – Installation
13
 Loading...