45
Installation With 1430CIK—Clean Install Kit
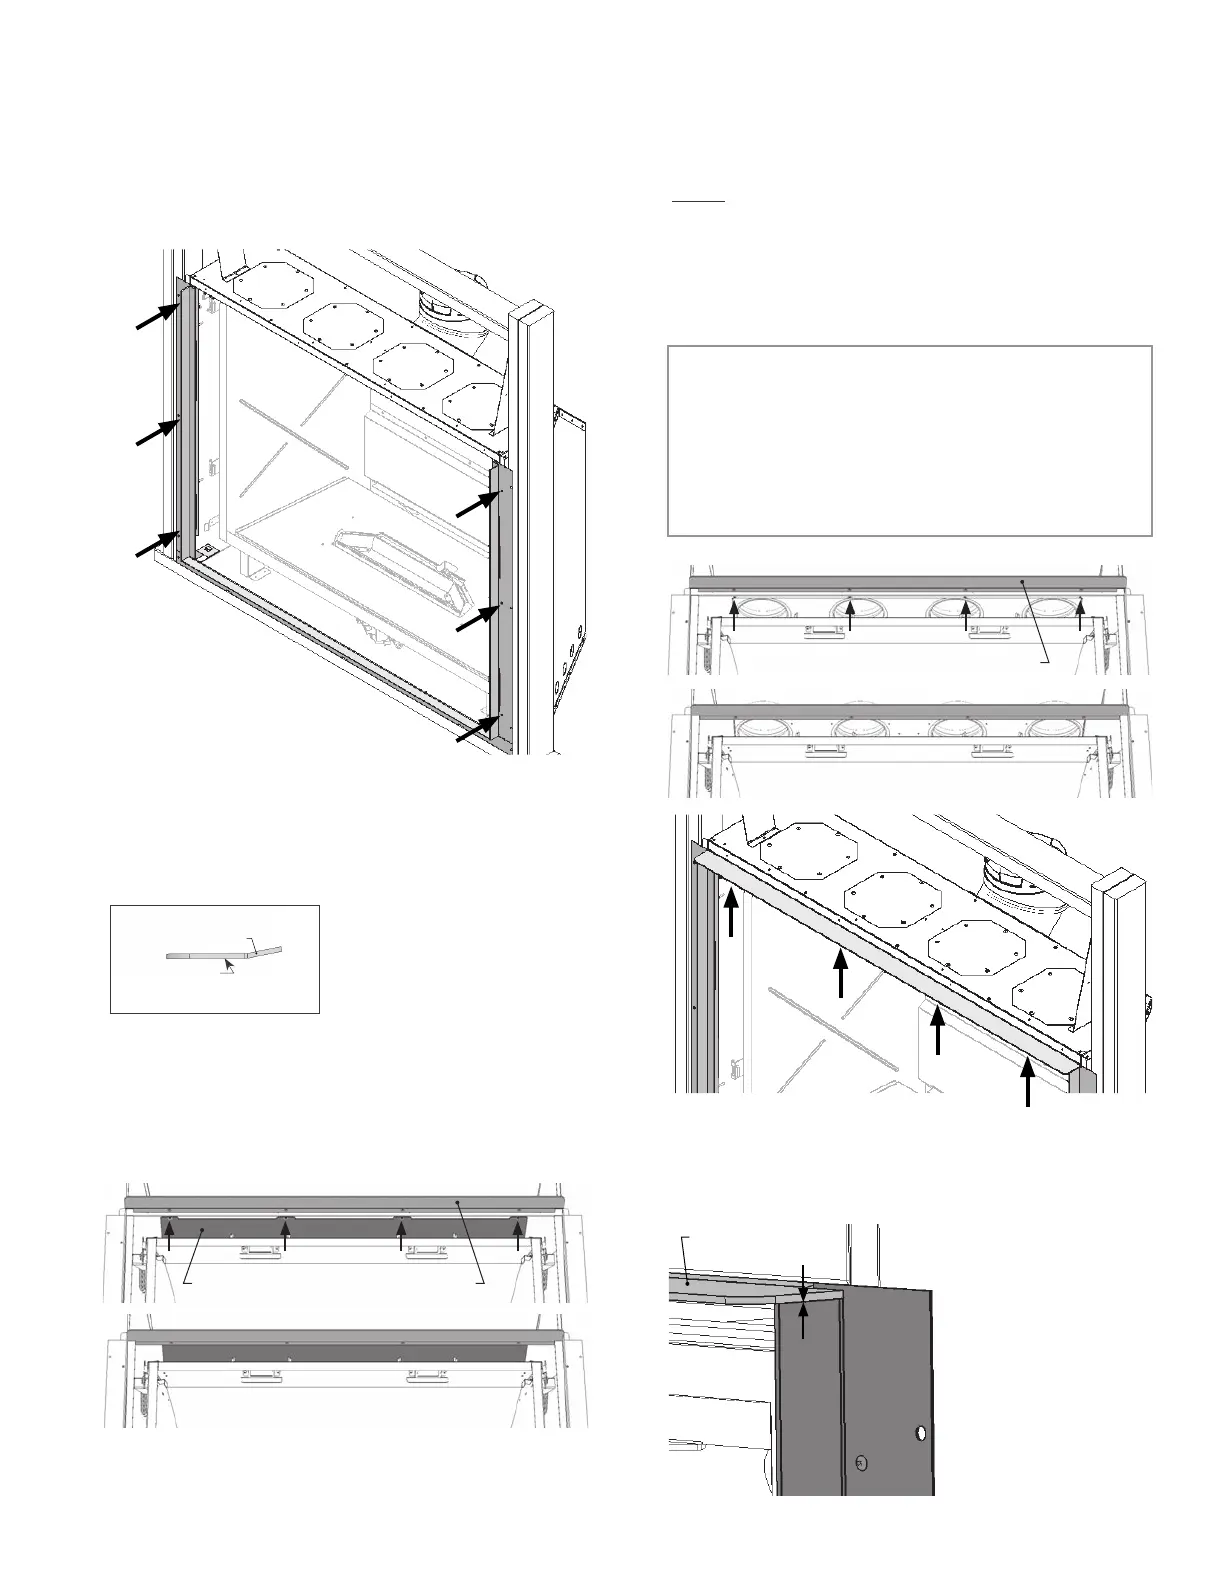
7. On the appliance, install the side panels as indicated
(3 x 1/2” screws per side).
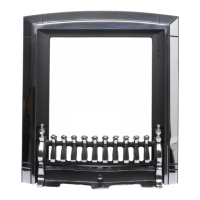
8. Install the upper fi nishing strip in the orientation
shown below, under the appliance’s case top edge.
The fi nishing strip is secured to the appliance using
the removable baffl e’s 4 existing screws holes:
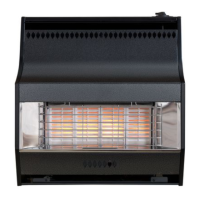
With no HeatShift. Remove the 4 screws retaining a
removable convection baffl e and discard them. Slide
the fi nishing strip over the baffl e`s tabs, then secure
the strip and baffl e together to the appliance with 4
countersunk screws supplied with the kit.
ONLY with HeatShift. Remove the 4 screws retain-
ing the removable convection baffl e. Remove the
baffl e, then slide the fi nishing strip over the screw
holes and secure it to the appliance with 4 counter-
sunk screws supplied with the kit. Discard the
convection baffl e and its original screws.
Ensure there is no gap between the upper fi nishing
strip and the side panels.If there is a gap, release
the side panel’s 3 screws, push the panel up to close
the gap and tighten the screws.
NOTE
Use of the optional HeatShift System requires
the convection baffle to be removed above the
firebox. See Appliance Preparation, Optional
HeatShift on page 40 or Appendix D - HeatShift
System pages 79–98.
Convection baffle
removed
Finishing strip installed
Finishing strip
Side
panel
Upper
finishing strip
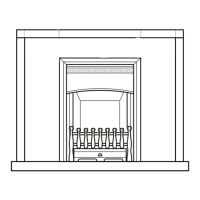
Curves upwards
in fireplace
Bottom
Front Rear
Side View
Convection baffle
Finishing strip installed
Finishing strip