6. Acquiring PANO images
72
I
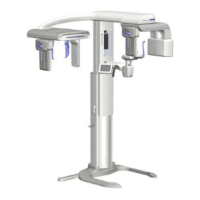
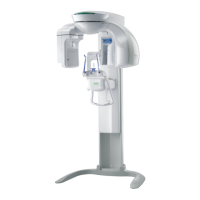
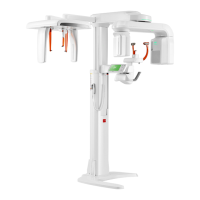
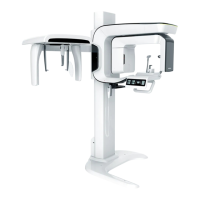
PaX-i3D Smart
Finishing Patient Positioning
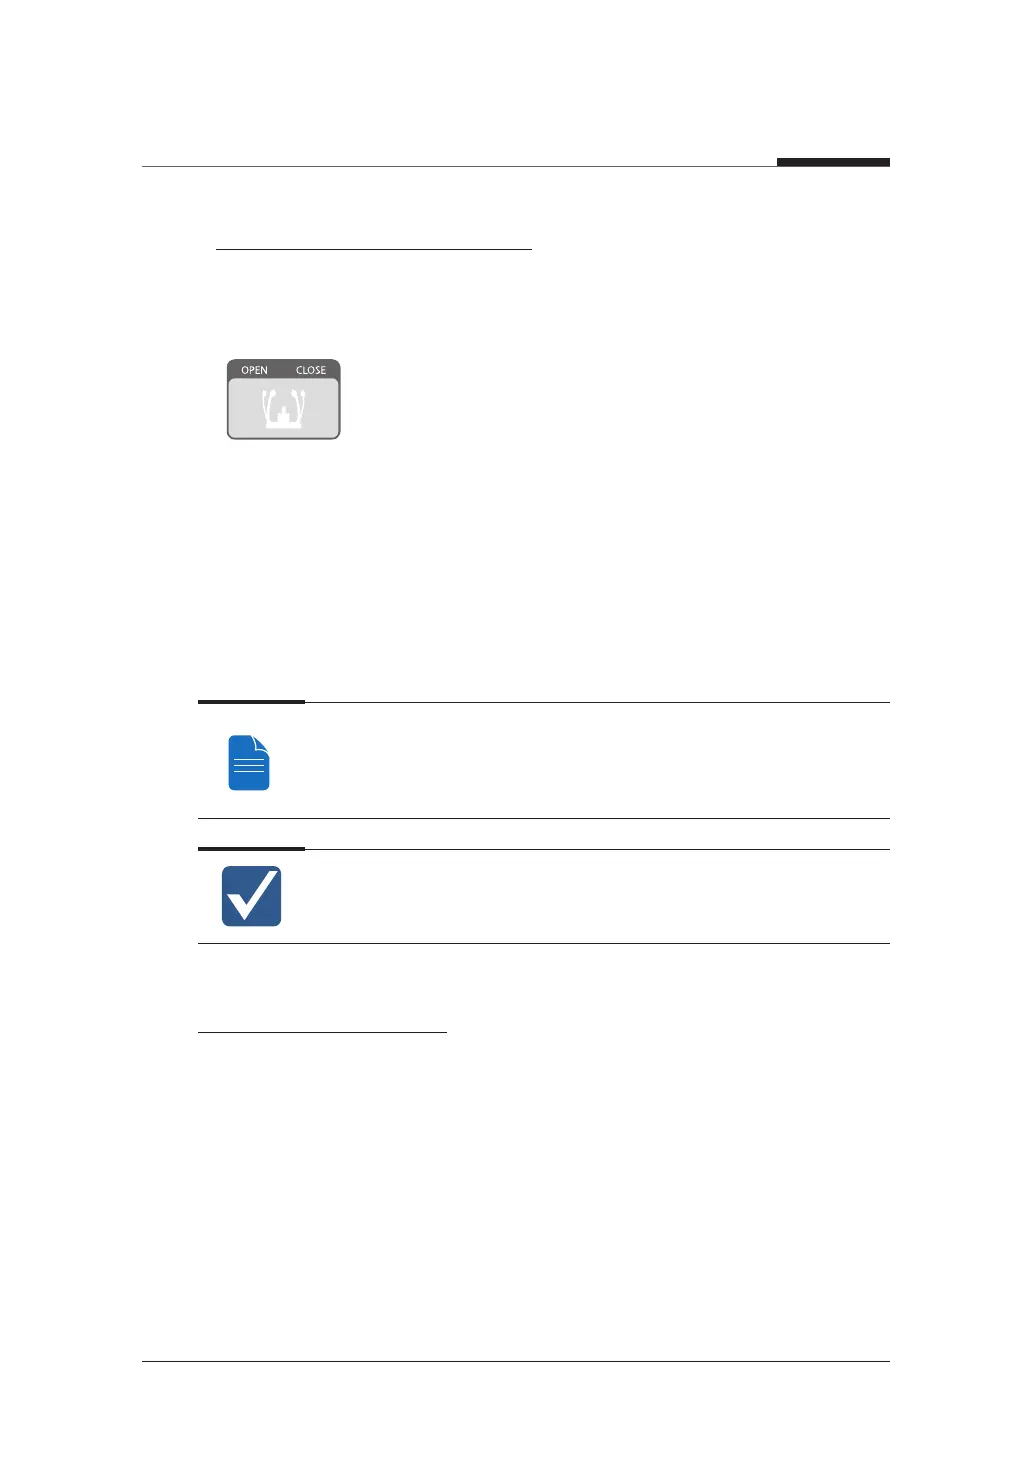
1. After checking the positions of the patient and the laser beam, click the Temple
Support Open/Close button on the control panel to prevent the patient's head
from moving.
2. Click the READY button. The x-ray exposure has not started yet.
3. Now go to 6.3 X-ray Exposure to begin operation.
6.2.3
TMJ Close Mode
Acquire the TMJ Close image after the TMJ Open image has been acquired.
Steps for TMJ Mode
TMJ Open positioning > Align Laser Beam > X-ray Exposure > TMJ Close
positioning > Align Laser Beam > X-ray Exposure
Correct posture reduces the shadow cast by the patient's cervical spine and
allows for clear image acquisition.
TMJ Close Positioning
1. After TMJ Open image is acquired, a "Do you want to take the TMJ Close image
continuously?" message is displayed. Press the Confirm button to begin TMJ Close
Mode.
2. Lower the integrated chin rest to the bottom and turn the knob to fix it.
3. Guide the patient to press the base of their nose (acanthion point) against the chin
rest and tilt their head forward about -5˚. At this point, make sure the patient's jaw
does not to touch the equipment.