To install the appliance rails
1
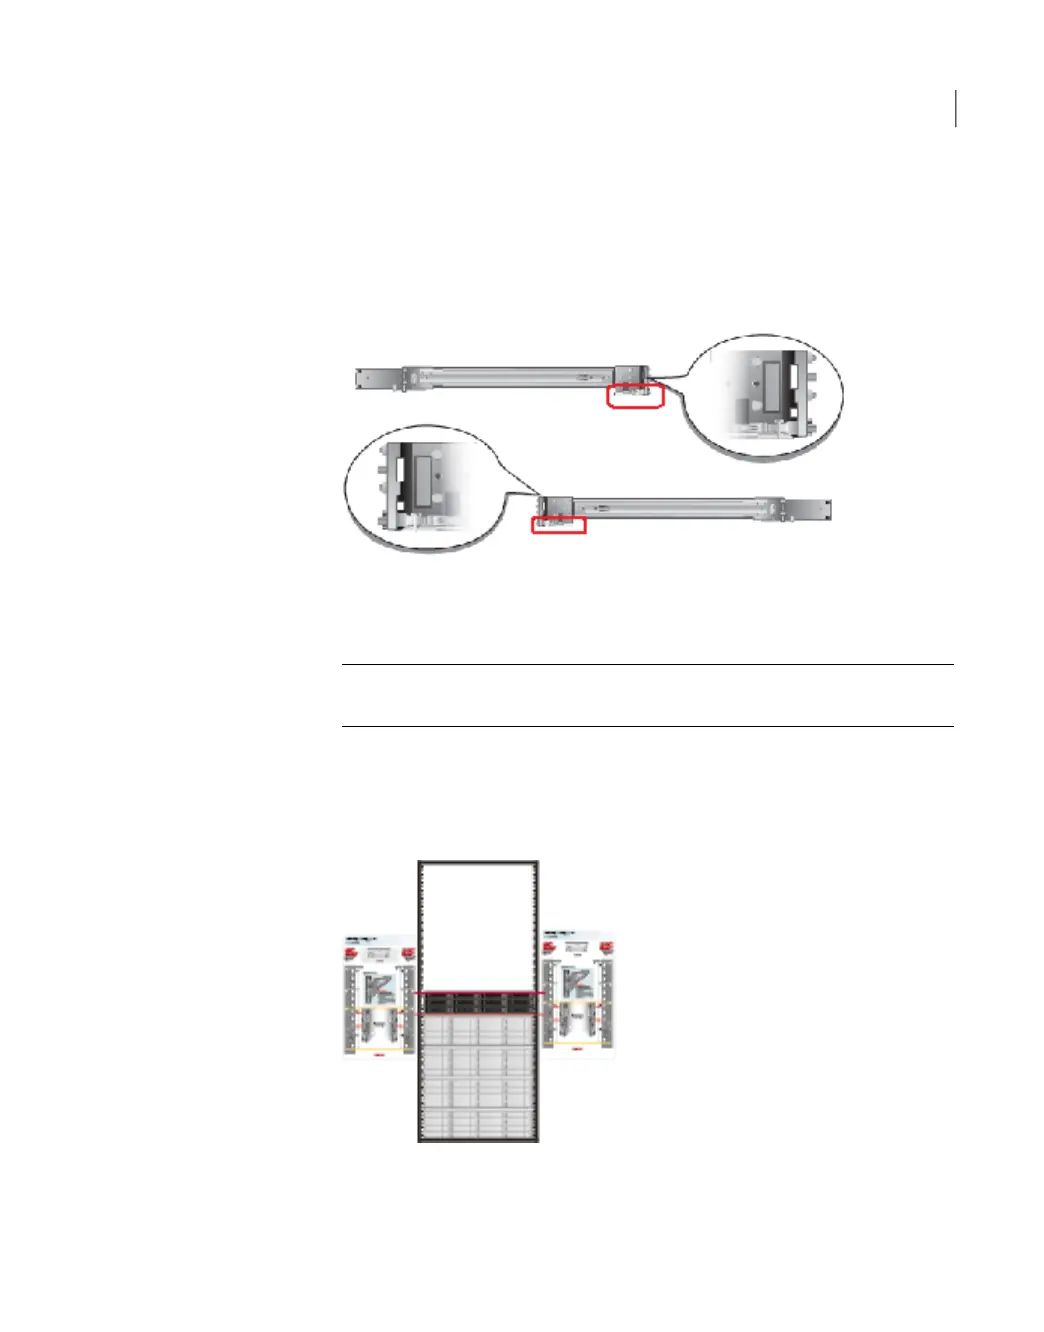
Identify the front and the rear of each rail. The following illustration shows the
front of the left-hand and the right-hand rails. The front of the left rail is labeled
A. The front of the right rail is labeled B. The labeled sides face the rack wall
when the rails are installed.
The small metal extensions that are outlined in the illustration must point down,
towards the floor of the rack.
Note: The information in this document supersedes any of the information in
the printed installation materials.
2
Use the rack templates to align the rails with the rack holes.
Fold the template along the yellow dotted lines to create an exact, physical
match to the rack.
Be sure to use the same holes on each side of the rack.
27Installation procedures
Installing the appliance rack rails

 Loading...


