3
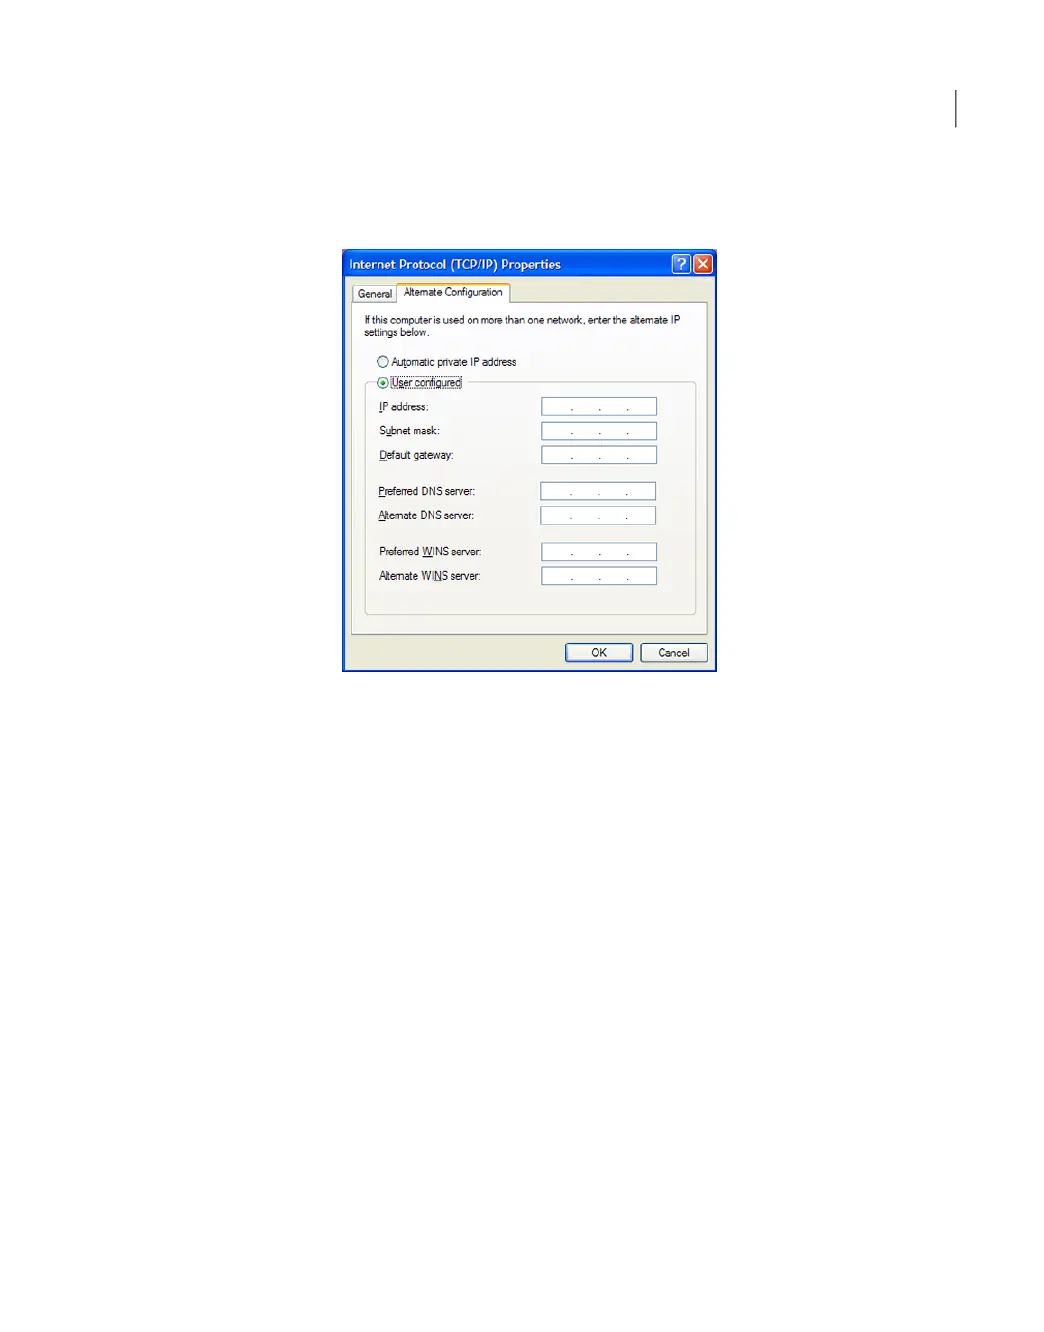
In the Internet Protocol (TCP/IP) Properties dialogue window, click the
Alternate Configuration tab.
4
From the Alternate Configuration tab, make sure the User Configured option
is selected.
In the IP address field, enter the following addresses:
■ Type the eth0 port IP address (default 192.168.229.nnn), where nnn is
any number from 2 to 254, except 233.
In the Subnet mask, enter 255.255.255.0.
Click OK.
5
Test the connection by using the following method:
■ Open a secure shell (SSH) connection to 192.168.229.233 using an SSH
client. Once the NetBackup Appliance Shell Menu opens with a user name
and password prompt, you have successfully connected to the appliance
for initial configuration.
6
When the NetBackup Appliance Shell Menu appears, log on using the user
name and password for the appliance
By default, the user name is admin and the password is P@ssw0rd where 0 is
the number zero.
7
Go to the Main_Menu > Support view.
61Installation procedures
Configuring the IPMI from the NetBackup Appliance Shell Menu

 Loading...


