Vertiv | SmartAisle2 | User Manual 45
Installation
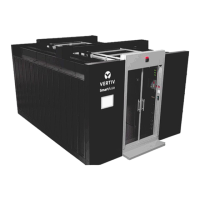
Figure 2-37 Control Installation
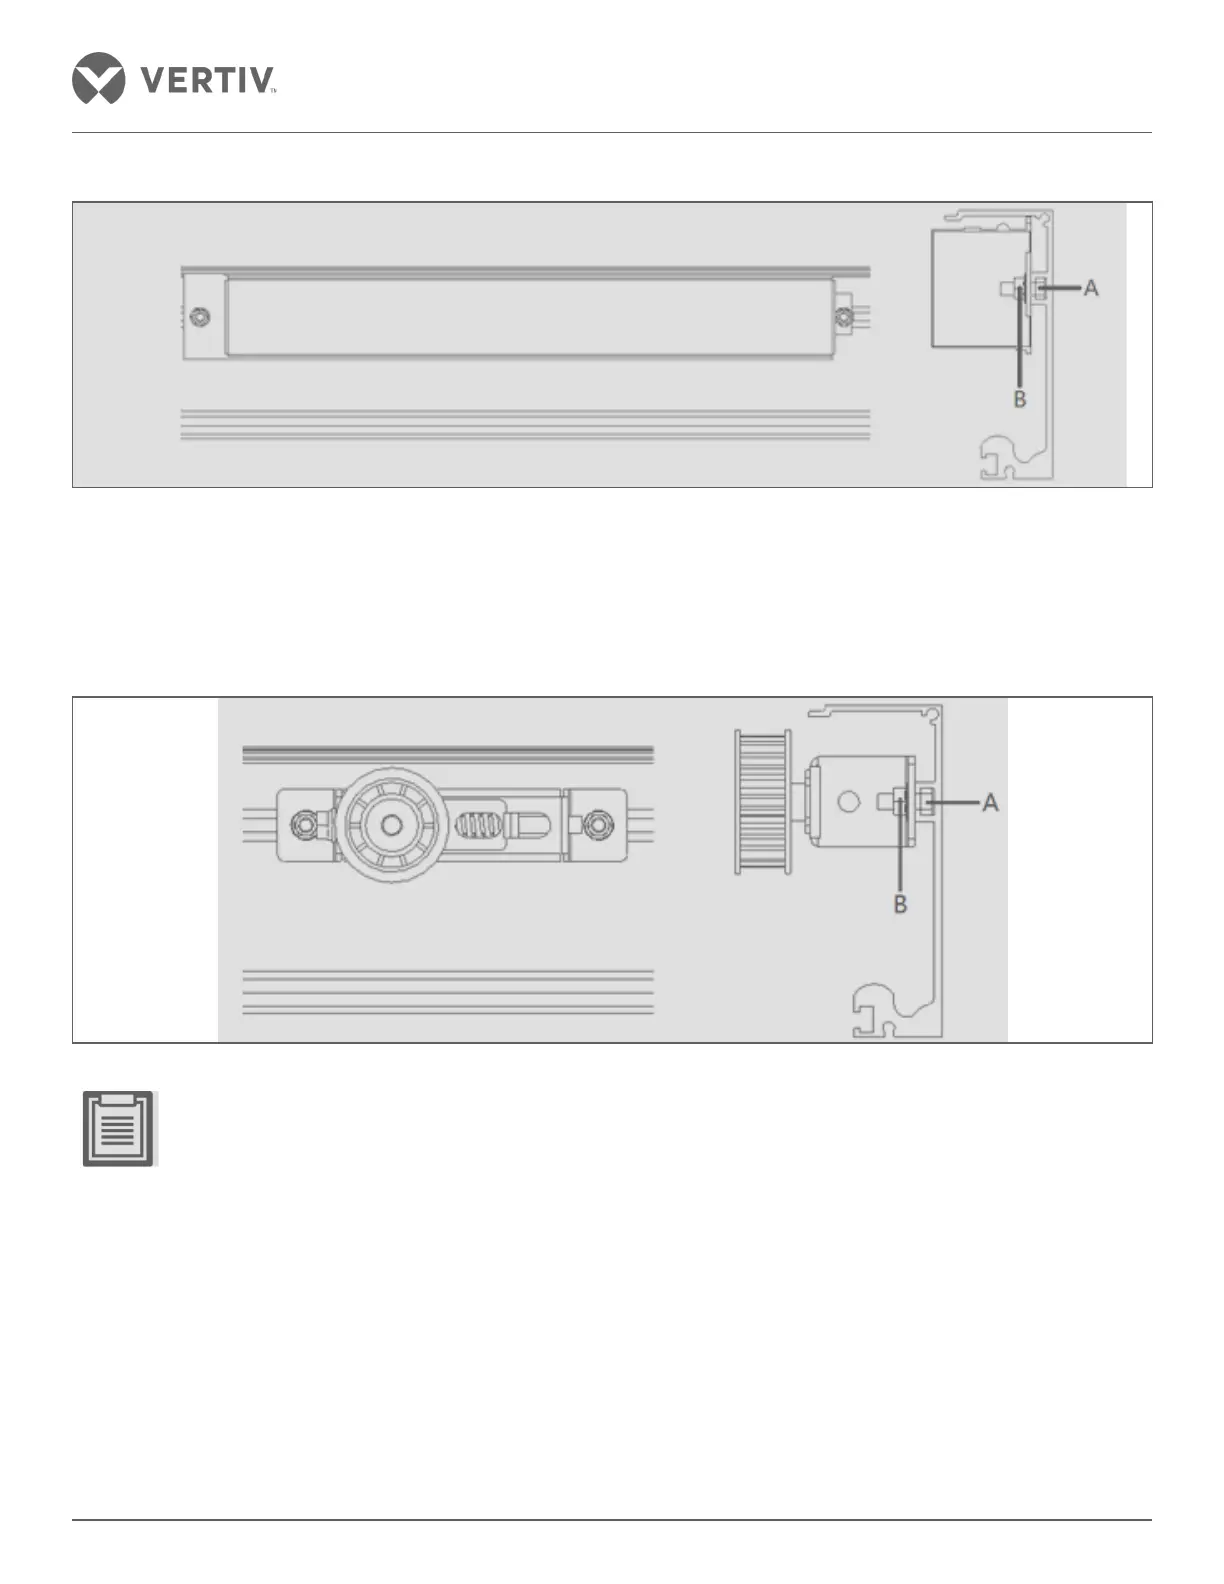
• Installation of the driving wheel - Slide the screw A from the left to the right on the guide rail into the groove
on the guide rail and place it on the left end. Then adjust the screw spacing with the driven wheel mounted
on the screw; Install the nut B on the screw A but do not tighten it; confirm that the driven wheel assembly is
temporarily fixed on the guide rail gently so that it can move slightly.
Figure 2-38 Driving wheel installation
• Ensure that the power switch is mounted in the wiring space of the power lines and signal lines.
• The device can fall if the cable connections of the device are not carried out correctly.
• Control the distance between the motor and the control device to ensure ease of wiring.
• Glass installation and adjustment – The glass door clamp and magnetic stripe have been pre-installed on the
glass door where it spans 50 mm from edge to edge. Before assembly, check if the doors are in a reliable and
correct position. Check if the installation direction is correct; each hanger and glass door clamp connection
should be done by using the door clamp hanging bolt.