VIKING TECHNICAL SUPPORT 1.800.908.0884
16
Mounting the Gate Operator
GATE OPERATOR INSTALLATION
Refer to Dimensions
A & B for positioning
Level Line
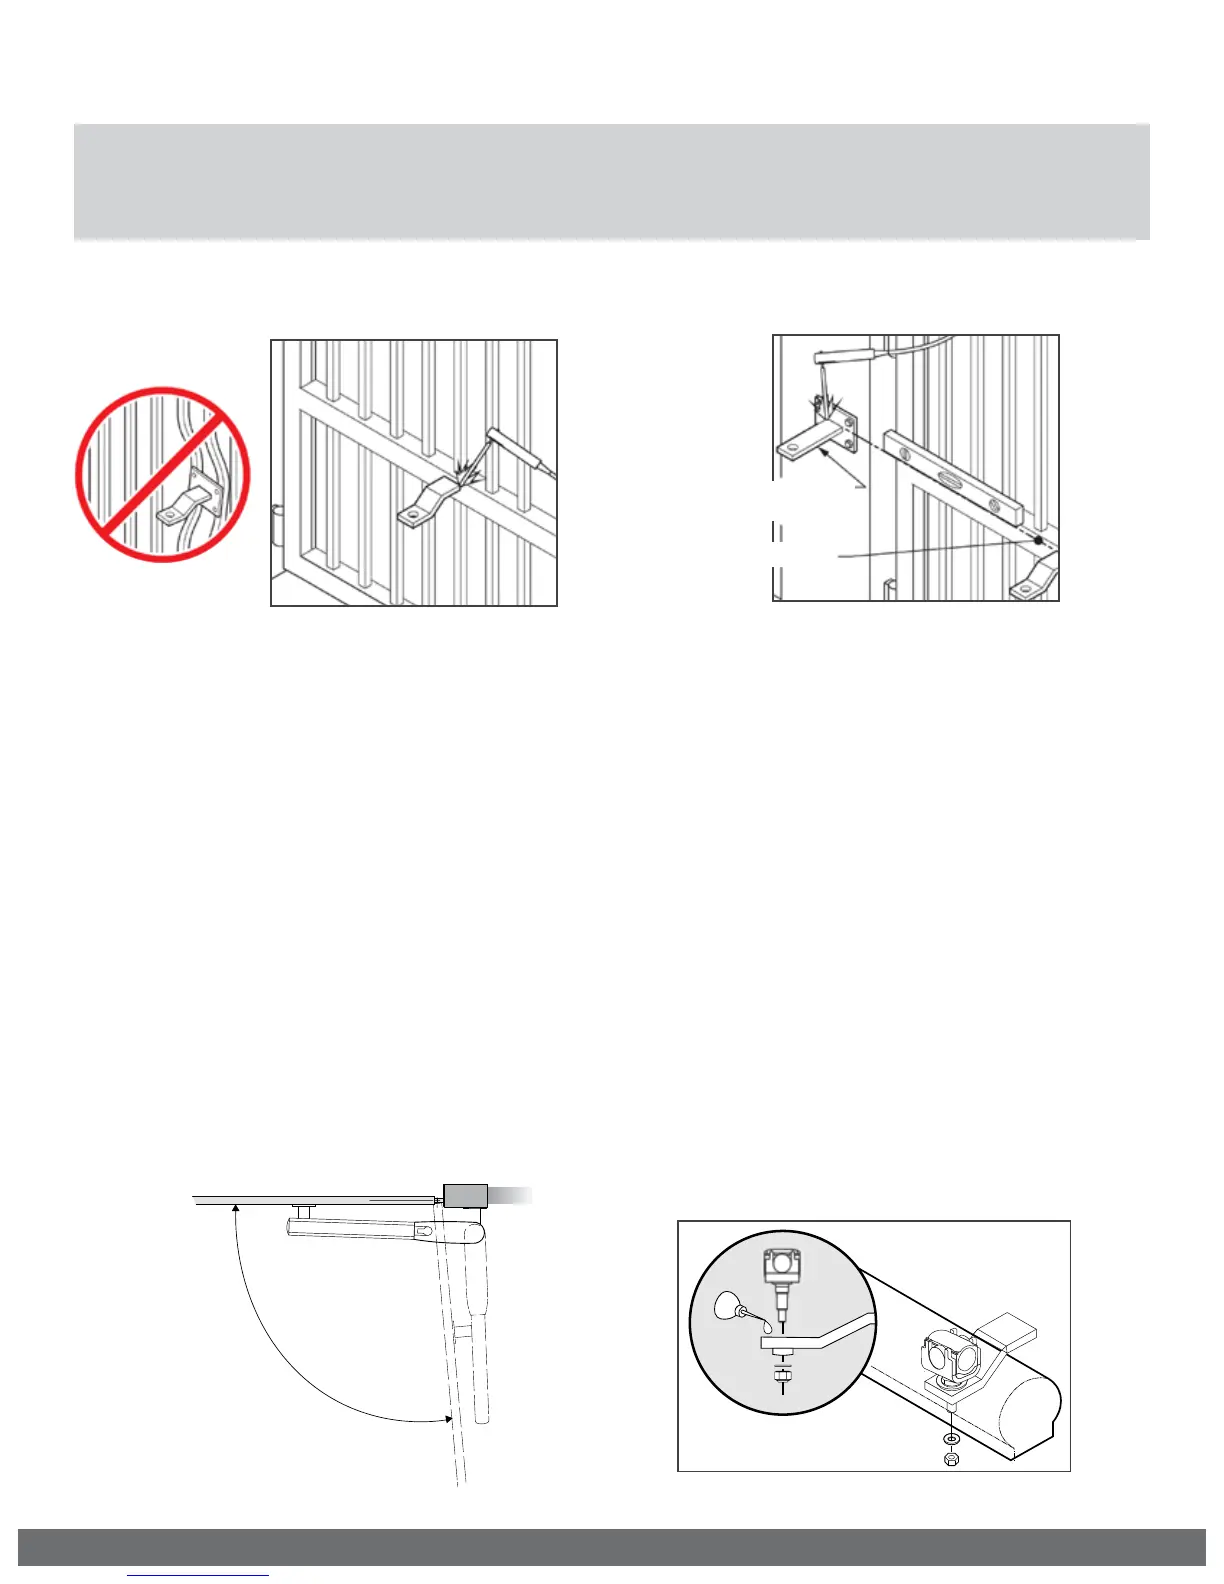
STEP 1
Front Mounting Bracket:
a.
Position the bracket according to the
dimensions provided on pages 14 or 15.
b.
Ensure the bracket is level and tack
weld in place.
! TIP: Alternatively, if you choose to bolt
this bracket to the gate, a backing plate
has been provided with four bolt holes.
STEP 2
Back Mounting Bracket:
a.
Cut and position the bracket according
to pages 14 or 15.
b.
Ensure the bracket is level and tack
weld in place.
! TIP: Alternatively, if you choose to bolt
this bracket to the gate, a backing plate
has been provided with four bolt holes.
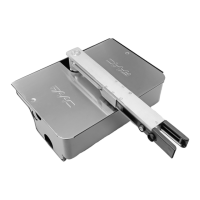
STEP 3
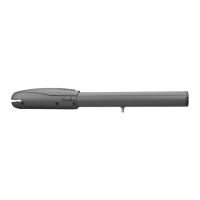
Mount the Gate Operator:
a.
Install the operator onto the mounting
brackets.
b.
Manually Release the E-4 Operator.
Refer to page 11.
c.
Manually move the gate to ensure the
gate and operator moves freely.
STEP 4
Complete the Installation:
a.
Dismount the operator.
b.
Complete the welding process.
c.
Lubricate the front bracket pivot point.
d.
Reinstall the gate operator and verify
once again that the gate moves freely.
e.
Rotate the Manual Release Handle
clockwise to the engage position.
! Caution: If the Front Mounting Bracket is not attached to a frame member that
runs the full length of the gate, the gate operator may damage the gate. DO NOT
attach the bracket or backing plate to just a few pickets.