12 Installation
1
Note: Use only thoroughly degassed HPLC-grade solvents. Gas in the mobile
phase may form bubbles in the flow cell and cause the detector to fail the Reference
Energy diagnostic.
2. Flush the detector for 10 minutes or until no bubbles appear in the outlet line.
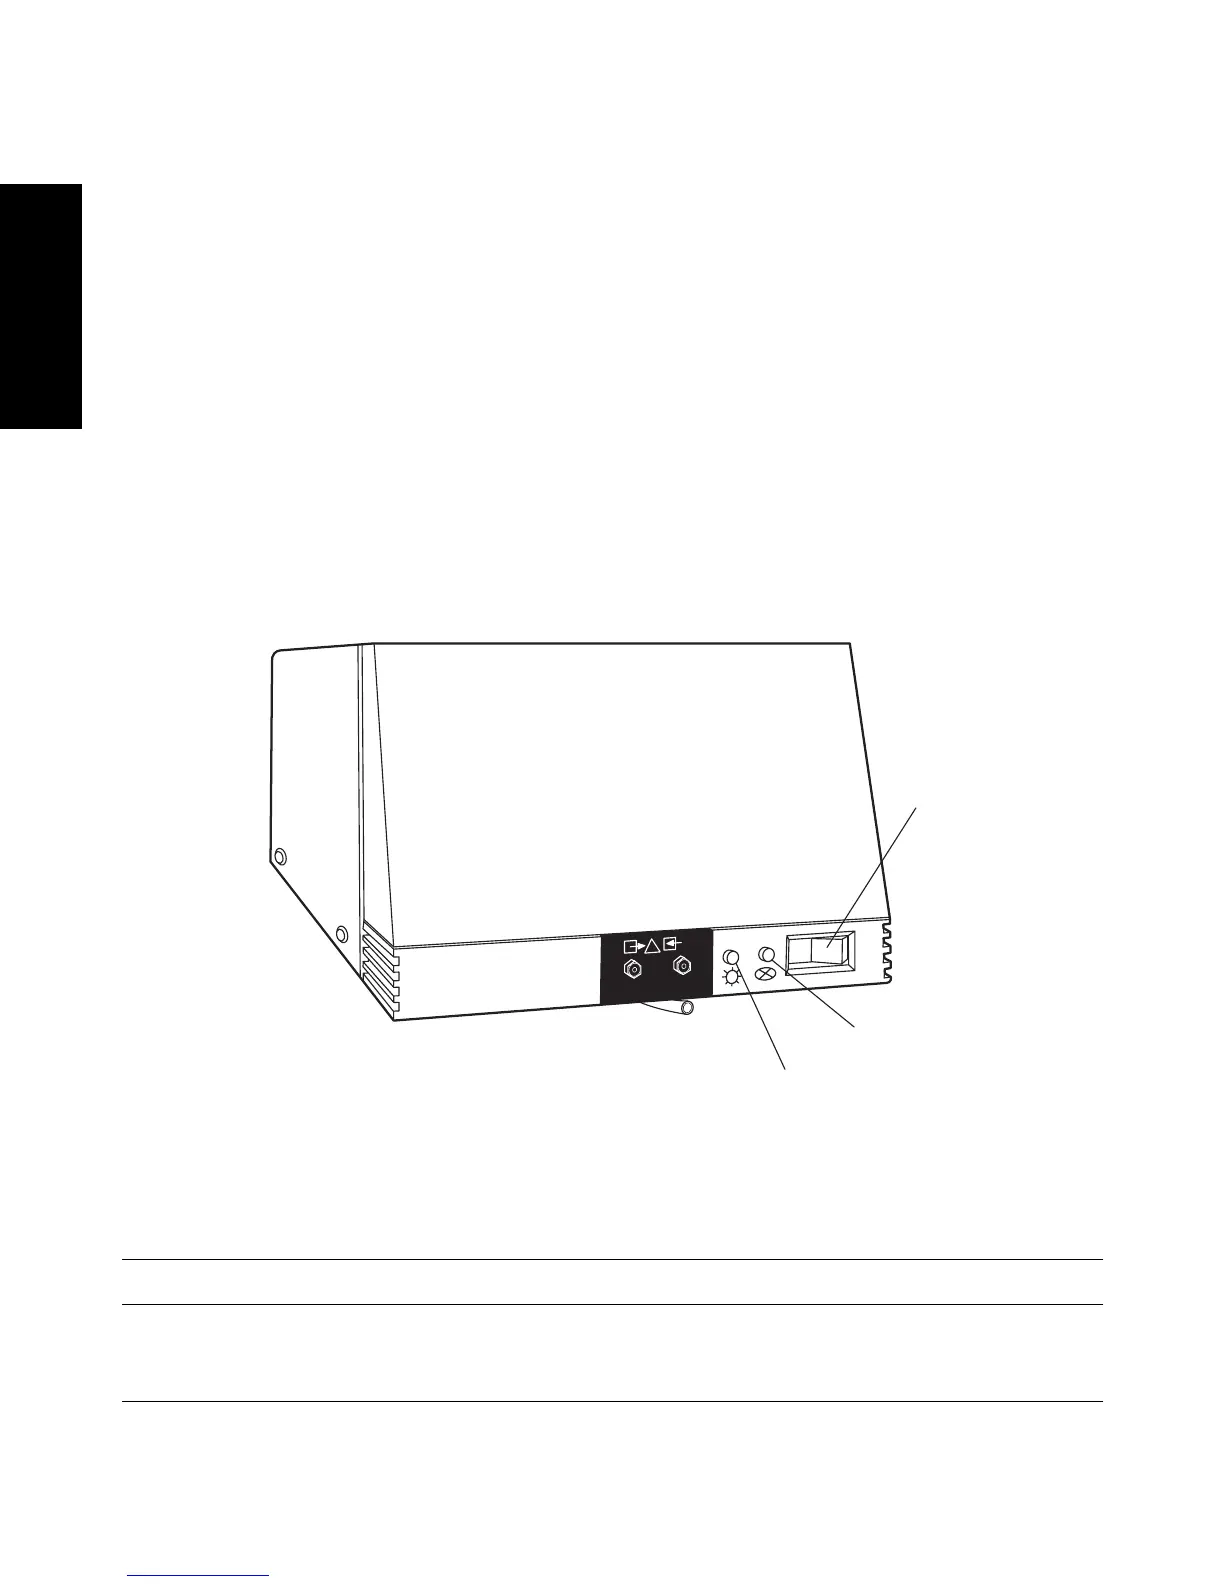
3. Press the 0/1 (Off/On) switch on the front panel of the detector (Figure 1-8) to the
1 (On) position.
4. Observe the Lamp and Status indicator LEDs on the front panel of the detector
(Figure 1-8).
• If both lights remain illuminated, the detector passed the internal diagnostics.
• If either indicator light blinks or is off, refer to the troubleshooting tables in
Chapter 2, Diagnostics and Calibration.
5. Wait 1 hour for the 2996 Detector to stabilize before acquiring data.
Figure 1-8 2996 Detector Indicator Lights
Table 1-4 LED Indicator Sequences During Startup
Lamp LED Status LED Indicates Troubleshooting
OFF OFF No power or CPU
failure.
Check ac source and main
fuse. Contact Waters Tech-
nical Service.
TP01460
LAM
P
WATERS 2996
Photodiode Array
Detector
Lamp Indicator
Status Indicator
On/Off Switch