Replacing the Fuses 27
3
4. Use a slotted head screwdriver to unscrew the two mounting screws.
5. Grip the metal base of the lamp, pull the lamp out, and set it aside. Do not pull the
wires to remove the lamp.
6. Carefully unpack the replacement lamp.
7. While wearing powder-free gloves and holding the lamp by its base, position the
lamp so that the notch in the base aligns with the positioning pin in the optics bench.
8. Insert the lamp and secure it with the two screws. Make sure that the lamp base is
flush against the lamp housing.
9. Reconnect the lamp power connector (Figure 3-4).
10. Secure the lamp access panel.
11. Install the front panel cover.
12. Reconnect the power cord and power on the 2996 Detector.
3.3 Replacing the Fuses
Replace the fuses under the conditions indicated in the troubleshooting table (Section 2.1,
Diagnostics). The 2996 Detector requires two 2 A, 250 V fuses (5 mm × 20 mm).
To replace the two fuses in the 2996 Detector:
1. Power off the 2996 Detector and remove the power cord.
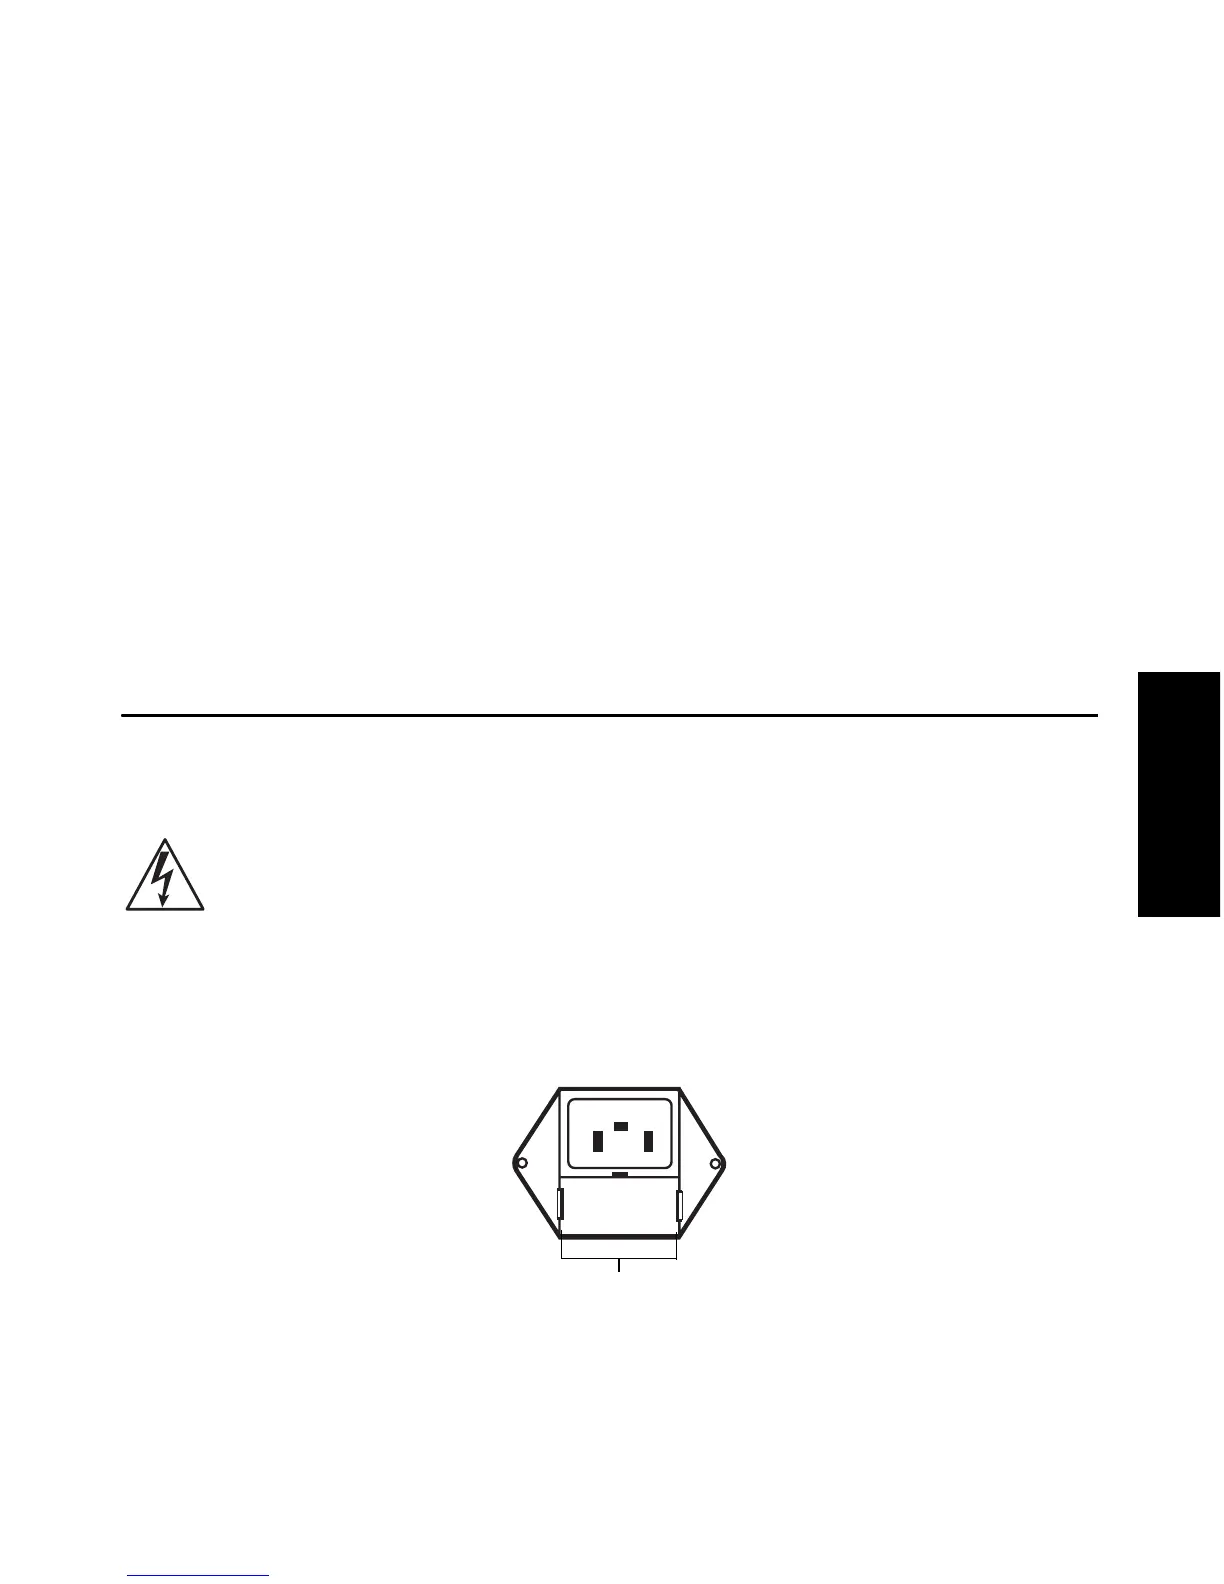
2. Locate the fuse block below the power cord plug (Figure 3-5) on the rear panel.
Figure 3-5 Fuse Block
Caution: To avoid electrical hazards, power off the 2996 Detector and disconnect the
power cord before you perform the following procedure.
Squeeze Side Clips to
Access Fuses