Cleaning and replacing check valves 4-23
10. Remove the cartridge from the housing and replace it with the new
cartridge.
Removing the outlet check valve
Tip: To help keep the cartridge sealed within the housing, moisten it
with methanol during installation.
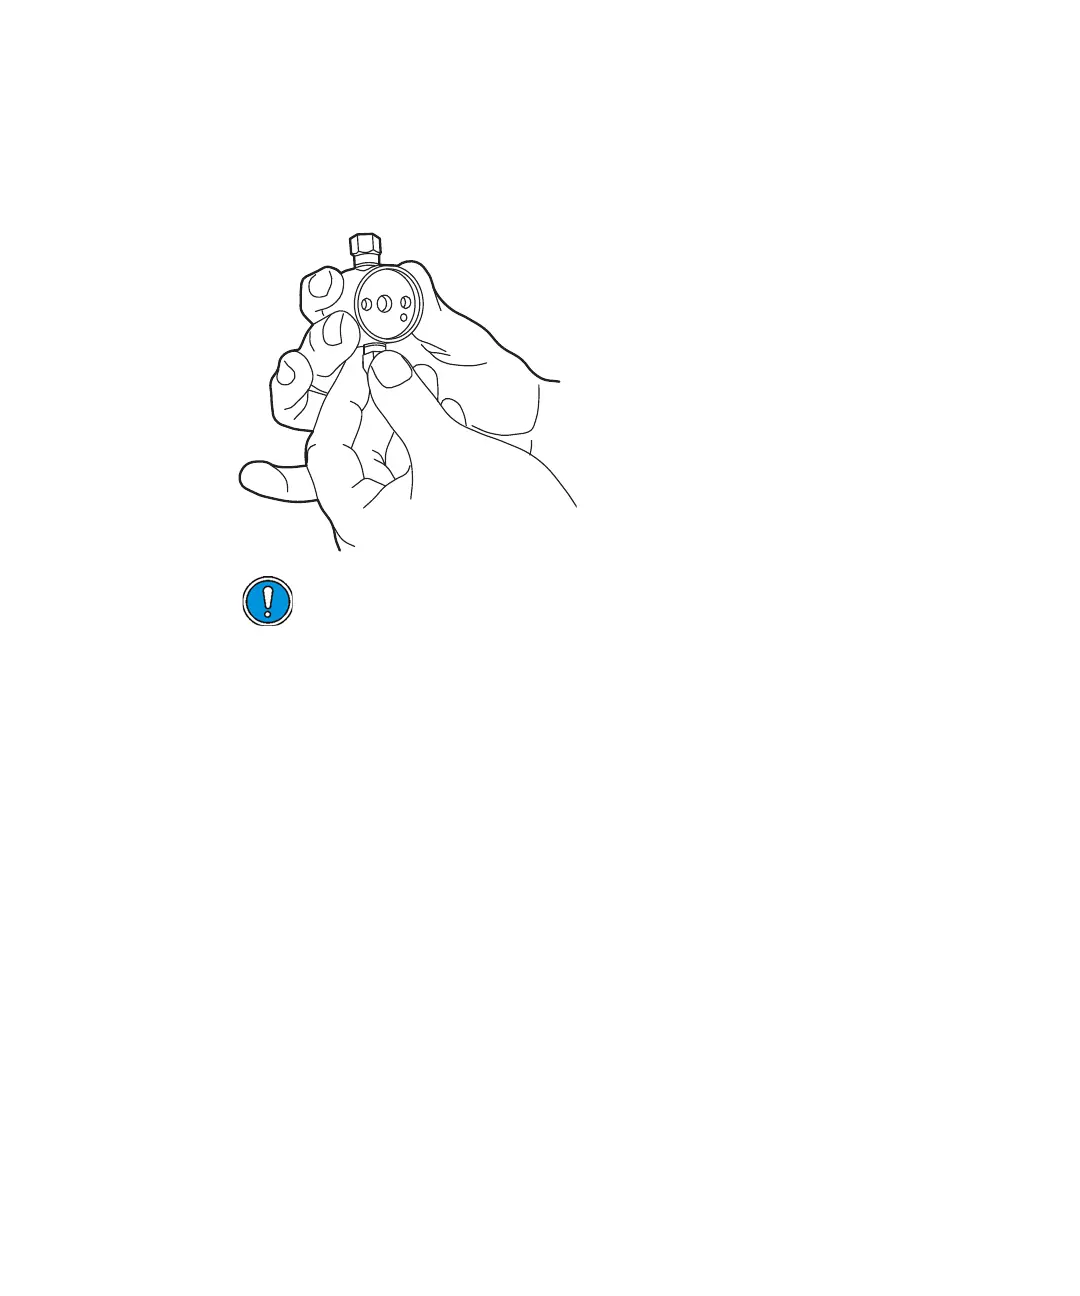
11. With the check valve housing held upright to prevent the cartridge from
falling out, hand-tighten the housing into the pump head. Then, tighten
it another 1/2-turn with the 1/2-inch wrench.
12. Reinstall the pump head as described in “Cleaning and replacing the
plungers” on page 4-13.
13. Reconnect the inlet and outlet tubing to the pump head. Use the
5/16-inch wrench to tighten the compression screw while holding the
housing with the 1/2-inch wrench.
14. Reconnect the eluent line to the inlet manifold on the pump.
15. Remove the fitting plug from the pump outlet, then reposition the eluent
reservoir.
Caution: The arrow printed on the check valve cartridge indicates
the direction in which it will allow liquid to flow. Therefore, its
direction is critical for proper operation. For all check valve
assemblies, the arrow should point upward when installed on the
pump.