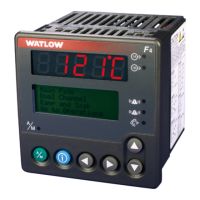
Watlow PM LEGACY
™
Limit Controller • 29 • Chapter 2 Install and Wire
receive -
unused
E8
E7
E6
E5
E4
E3
E2
E1
unused
unused
unused
receive +
transmit -
+
RJ-45
pin
T568B wire col-
or
Signal
Slot B,
E
8 brown unused E8
7 brown & white unused E7
6 green receive - E6
5 white & blue unused E5
4 blue unused E4
3 white & green receive + E3
2 orange transmit - E2
1 white & orange transmit
+
E1
• Do not route network wires with power wires.
• Connect one Ethernet cable per controller to a 10/100 Mbps Ethernet switch.
Both Modbus TCP and EtherNet/IP™ are available on the network.
• Communications instance 2
Slot B
PM6[L,M] _ _J - [G,3] _ _ _ G_ _
Note:
When changing the fixed IP address cycle module power for new address to take effect.
Ethernet LED Indicators
Viewing the control from the front and then looking on top four LEDs can be seen aligned vertically
front to back. The LEDs are identified accordingly: closest to the front reflects the Network (Net) Sta-
tus, Module (Mod) Status is next, Activity status follows and lastly, the LED closest to the rear of the
control reflects the Link status.
Note:
When using Modbus TCP, the Network Status and Module
Status LEDs are not used.
Network Status
Module Status
Activity Status
Link Status

 Loading...