Watlow PM LEGACY
™
Limit Controller • 13 • Chapter 2 Install and Wire
2
Chapter 2: Install & Wiring
INSTALLTION
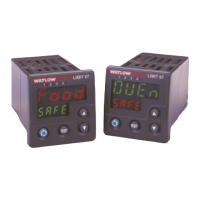
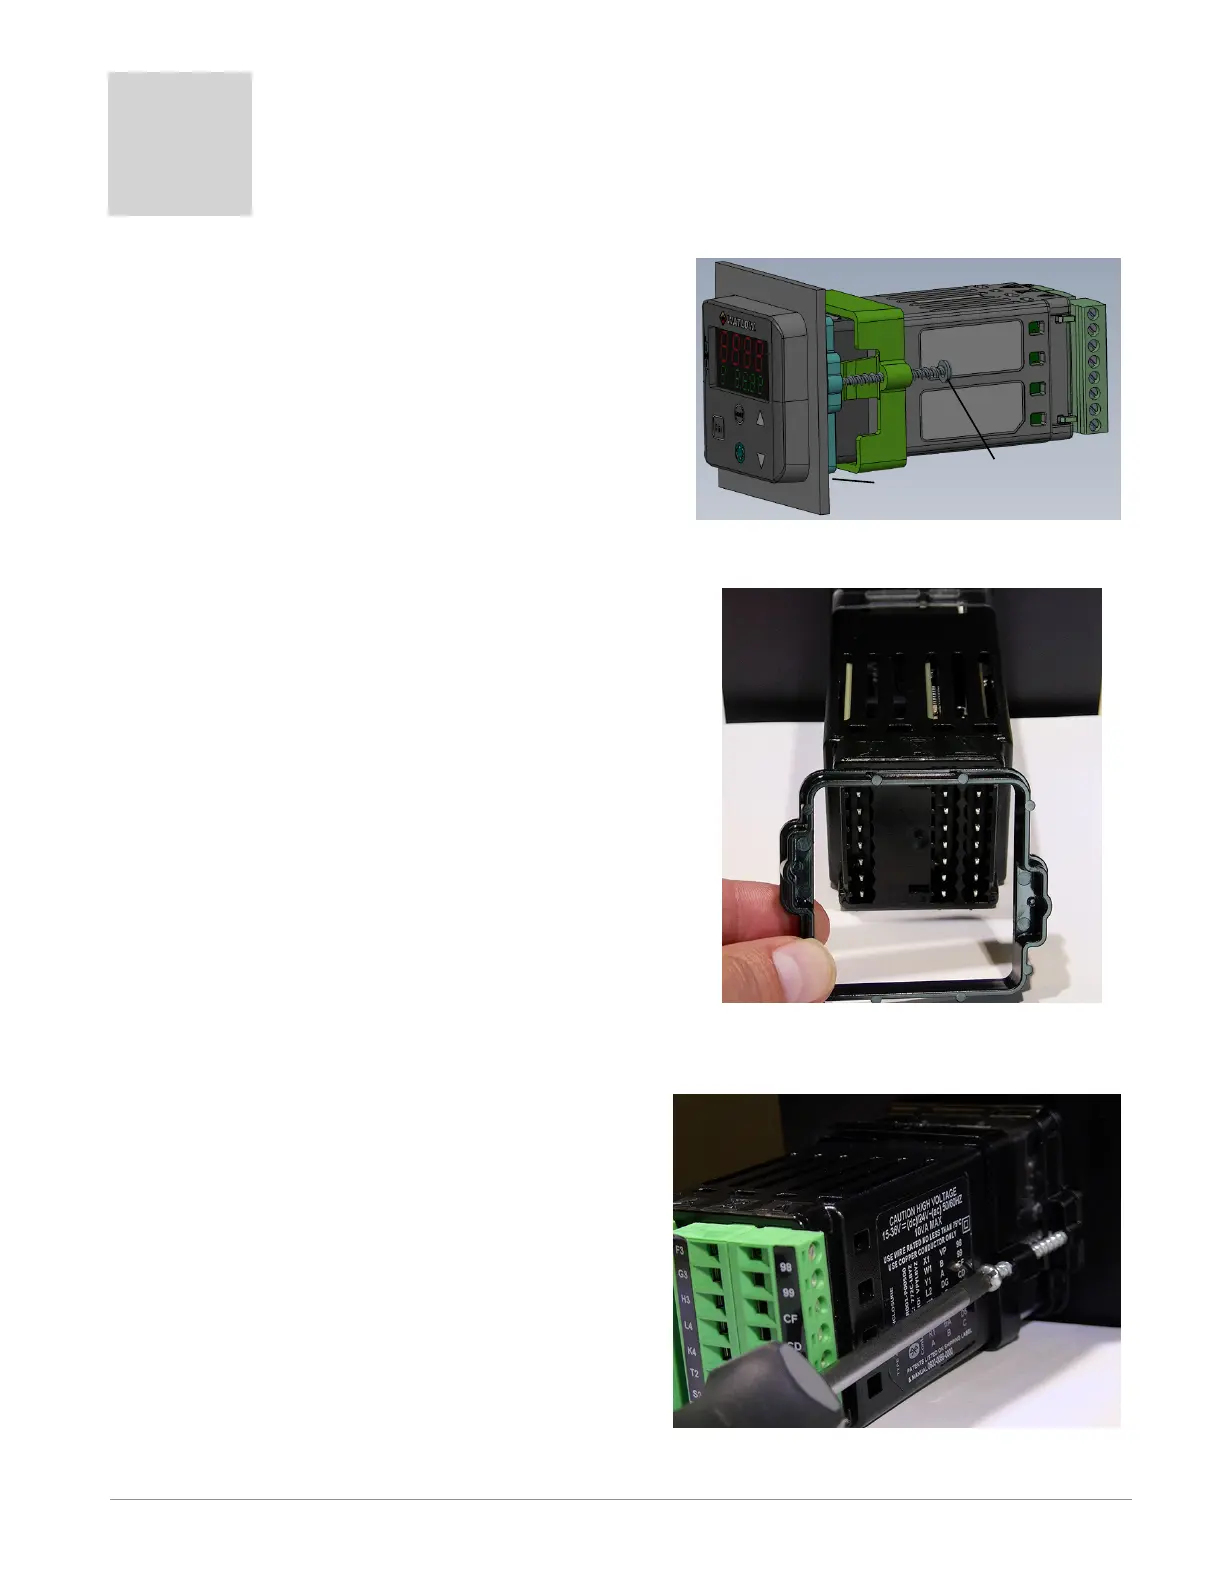
1. For a PM3 Controller, make the panel cutout
using the measurements shown on page 6.
2. For a PM6 Controller, make the panel cutout
using the measurements shown on page 7.
3. Remove the green terminal connectors and
the mounting collar assembly.
4. Insert the controller into the panel cutout from
the front. See Figure 2. The controller shown
is a PM6 Controller.
5. Orient the collar base so the flat side faces
front and the screw openings are on the sides
(see Figure 2), then slide the base over the
back of the controller.
6. Slide the mounting bracket over the controller
with the screws aligned to the collar base.
See Figure 2. Push the bracket gently but
firmly until the hooks snap into the slots in
the case.
7. Tighten the two #6-19 x 1.5 in. screws with a
phillips screwdriver until the device is flush to
the panel (3 to 4 in-lbs torque). See Figure 3.
8. Reinstall the terminal connectors to their
original locations.
PM6 Controller
Mounting Screw
Mounting Panel
Figure 1: PM6 Installation
Figure 2: Slide Mounting Bracket
over Controller
Figure 3: Tighten the Mounting
Screws

 Loading...