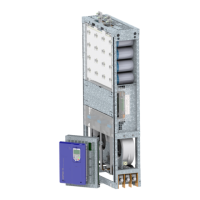
6-10 | CFW-11
Table 6.4 - Recommended periodic inspections - Every 6 months
Component Abnormality Corrective Action
Terminals, connectors Loose screws Tighten
Loose connectors
Fans/cooling system Dirty fans Cleaning
Abnormal acoustic noise Replace the fan. Refer to the Figure 6.1 on page 6-11
for the removal of the fan. Install the new fan in the
reverse sequence of the removal
Check the fan connections
Blocked fan
Abnormal vibration
Dust in the cabinet air filter Cleaning or replacement
Printed circuit boards Accumulation of dust, oil, humidity, etc Cleaning
Odor Replacement
Power module/power connections Accumulation of dust, oil, humidity, etc Cleaning
Loose connection screws Tighten
DC bus capacitors
(DC link)
Discoloration/odor/electrolyte leakage Replacement
Expanded or broken safety valve
Frame expansion
Power resistors Discoloration
Odor
Heatsink Dust accumulation Cleaning
Dirty
6.5.1 Cleaning Instructions
When it is necessary to clean the inverter, follow the instructions below:
Ventilation system:
Disconnect the inverter power supply and wait at least 10 minutes.
Remove the dust from the cooling air inlet by using a soft brush or a flannel.
Remove the dust from the heatsink fins and from the fan blades by using compressed air.
Electronic boards:
Disconnect the inverter power supply and wait at least 10 minutes.
Remove the dust from the electronic board by using an anti-static brush or an ion air gun (Charges Burtes
Ion Gun - reference A6030-6DESCO).
If necessary, remove the boards from the inverter.
Always wear a ground strap.