page 4 – 10
IP-12/IP-16 / Dec 2014
WHEATNET-IP 88cb CONSOLE BLADE
“CUSTOM” configu-
ration only applies to
Sources, the Destina-
tions are fixed.
• Choose the Console_Mono_In template to create all of the needed signals for
your IP‑12 control surface. When using this template the input signals are
created as Mono sources. This template maps all of the Program, Headphone,
Cue, and Monitors signals.
• Choose the Custom template to create your own layout. Note that if you chose
the Custom signal template (because you wanted to use both stereo and mono
signals) you will have to use the optional Navigator GUI to create sources
and destinations and dene which ones are to be mono or stereo before you
can actually make any cross connections (refer to WheatNet-IP Audio Over
IP Network manual).
Scroll the knob to the template you want to use and press the front panel
TAKE switch and you’re done. After completing the setup process the BLADE
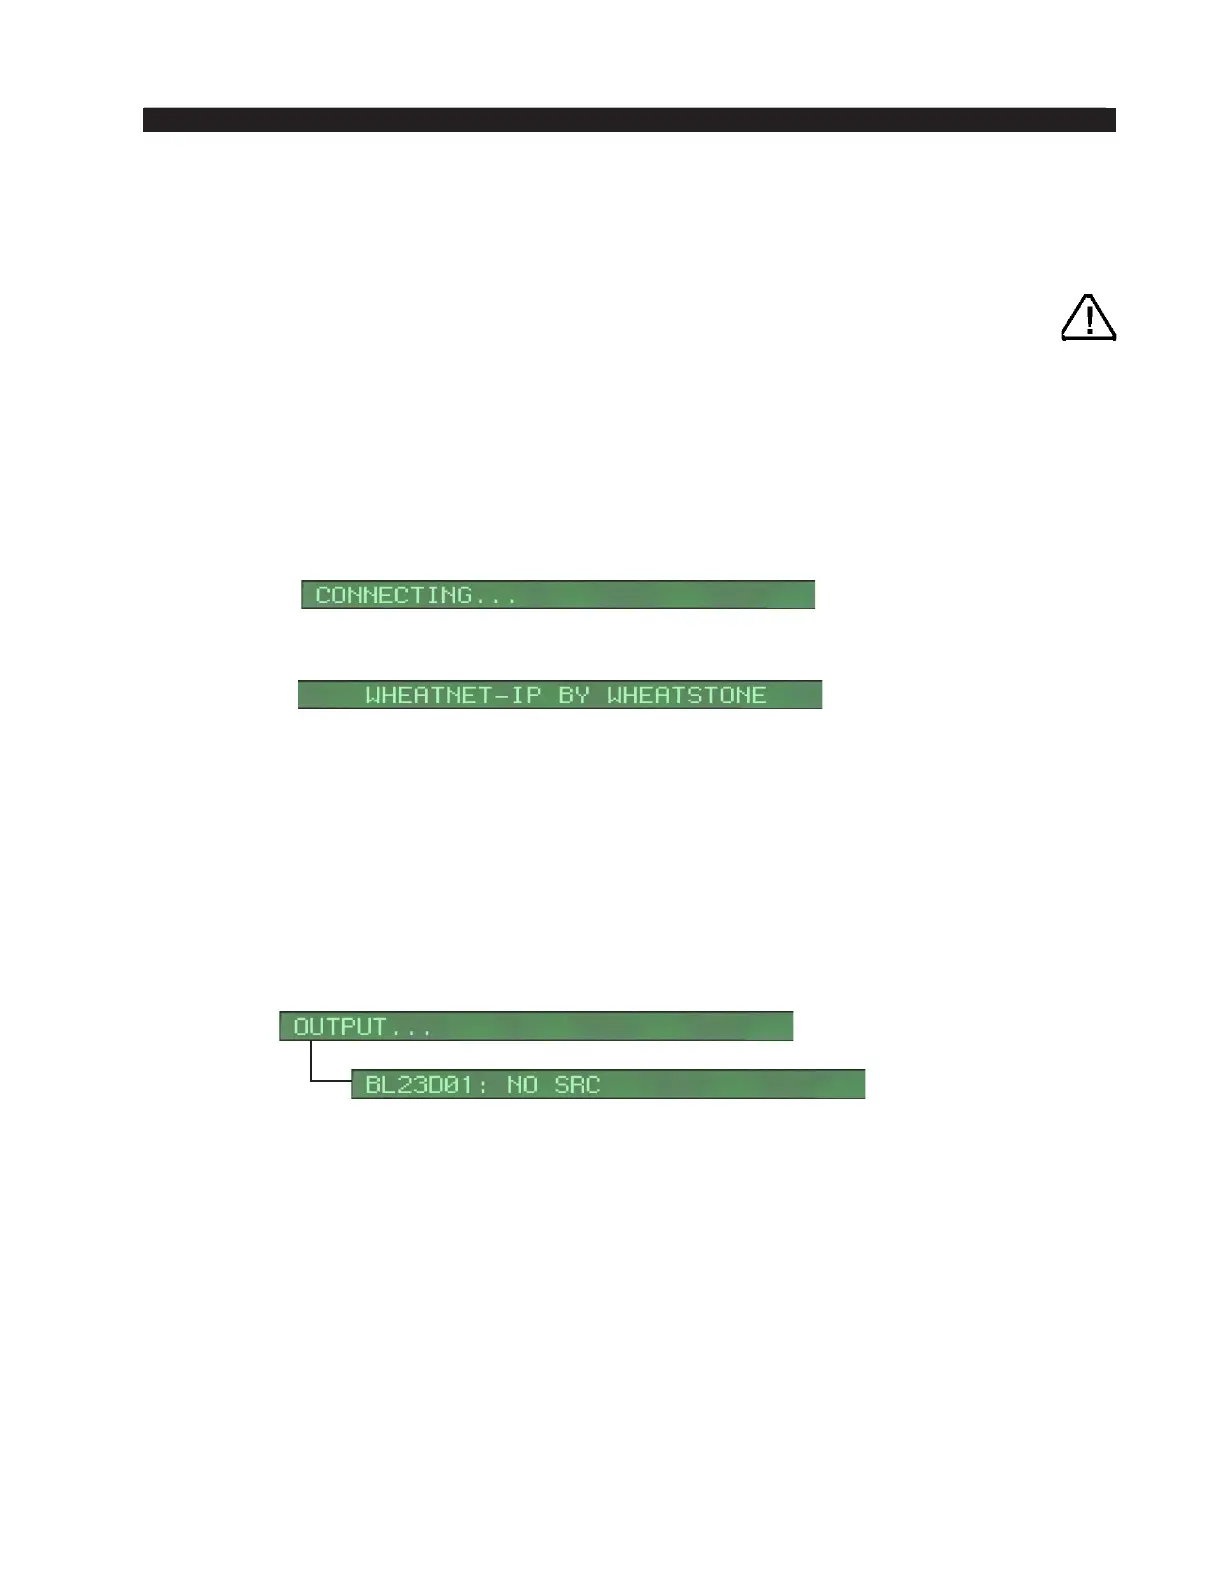
will attempt to join the network. During this process a CONNECTING... message
will appear on the display.
Once the BLADE has successfully joined the network the front panel will
display:
To access the Main Menu rotate the encoder and select the desired option by
pressing TAKE.
You can use the front panel controls to make crosspoint connections. First turn
the encoder knob through the menu selections until OUTPUTS... is shown. Press
the switch and the display will show the rst audio destination, corresponding to
the rst output jack. The default name BL01D01: NO SRC will be shown in the
display. This cryptic shorthand means “BLADE 01, destination 01 has no source
connected to it.” Obviously, then, there will be no audio output at destination 1.
Pressing the front panel TAKE switch will change the source section of the
display to show underlines ashing under the source name, indicating that the
source can now be changed. Scroll the knob until the desired source is shown
and press the switch. The crosspoint connection will be made and the display will
change to indicate the destination/source connection. Turning the knob again will
change the display to the next destination, where the process can be repeated. In
this manner, connections for all of the destinations can be made. Note that you
can connect any source to any destination. You can connect the same source to
multiple destinations. If you wish to break a connection to a particular destination,
simple select that destination via the encoder, and scroll through the sources until
you see NO SRC and select it.
In addition to the normal destinations (eight to 16, depending on conguration)
each BLADE has a special destination corresponding to the front panel headphone