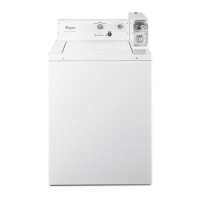
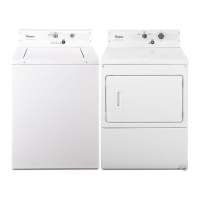
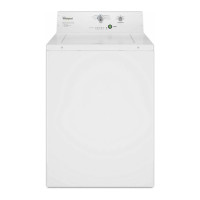
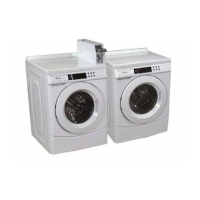
6-1
DIAGNOSIS & TROUBLESHOOTING
Before servicing, check the following:
n Make sure there is power at the wall outlet.
n Are both hot and cold water faucets open
and water supply hoses unobstructed?
n Check all connections before replacing
components. Look for broken or loose
wires, failed terminals, or wires not pressed
into or onto connections far enough.
n A potential cause of a control not functioning
is corrosion on connections. Observe
connections and check for continuity with an
ohmmeter.
n Connectors: Look at top of connector.
Check for broken or loose wires. Check for
wires not pressed into connector far enough
to engage metal barbs.
n Resistance checks must be made with
power cord unplugged from outlet, and with
wiring harness or connectors disconnected.
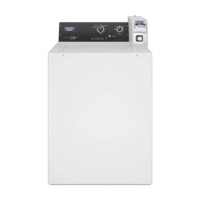
Use the Washer Cleanout Cycle once a
month to keep the inside of the washer
fresh and clean. This cycle uses a higher
water level. Use with liquid chlorine bleach
to thoroughly clean the inside of the washer.
This cycle should not be interrupted.
IMPORTANT: Do not place garments or
other items in the washer during the Washer
Cleanout Cycle. Use this cycle with an
empty spin basket.
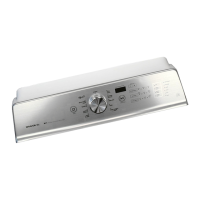
2. Cycle Credit – With the entire display
ashing, a cycle may be credited by
pressing the HOT button (CC will display).
When the service mode is exited, ‘SELECT
CYCLE’ will be displayed unless the end-of-
cycle door opening is required.
3. Manual Overview Test –With the entire
display ashing, this is started by pressing
the COTTON/WHITES button. This provides
more typical full length lls, tumbles,
and drains, allowing for a more thorough
analysis of the washer operation, including
pressure switch behavior.
4. Quick Spin Cycle – With the entire display
ashing, this cycle is started by pressing the
PERM PRESS button. This cycle provides
a method to quickly drain and spin (remove
water from the washer), if desired.
5. Quick Overview Test – With the entire
display ashing, this is started by pressing
the WARM button. This provides a quick
verication that the lock mechanism, motor,
cold and hot water valves, and pump motor
are working. It also includes drain and spin
operations.
Press the COLD button to exit diagnostic
mode and cancel a diagnostic cycle in
process.
WASHER DIAGNOSTIC
MODE
To enter the ‘Washer Diagnostic Mode,’ rst
enter ‘Start Operating Set-Up.’ Then press
and hold the COLD button for 1 second while
in set-up code 6, anytime a diagnostic code is
present, or while in dAS displays if operating
with a Data Acquisition set-up.
On entry to diagnostic mode, the entire display
will ash, a cycle in process is canceled,
money in escrow is cleared, and diagnostic
codes are cleared. If a diagnostic code
persists, it must be corrected before the
following cycle options are permitted.
There are ve possible ways to initiate cycle
activity from diagnostic mode as follows:
1. Washer Cleanout Cycle – With the entire
display flashing, this cycle is started by
pressing the COLORS/DELICATES button.