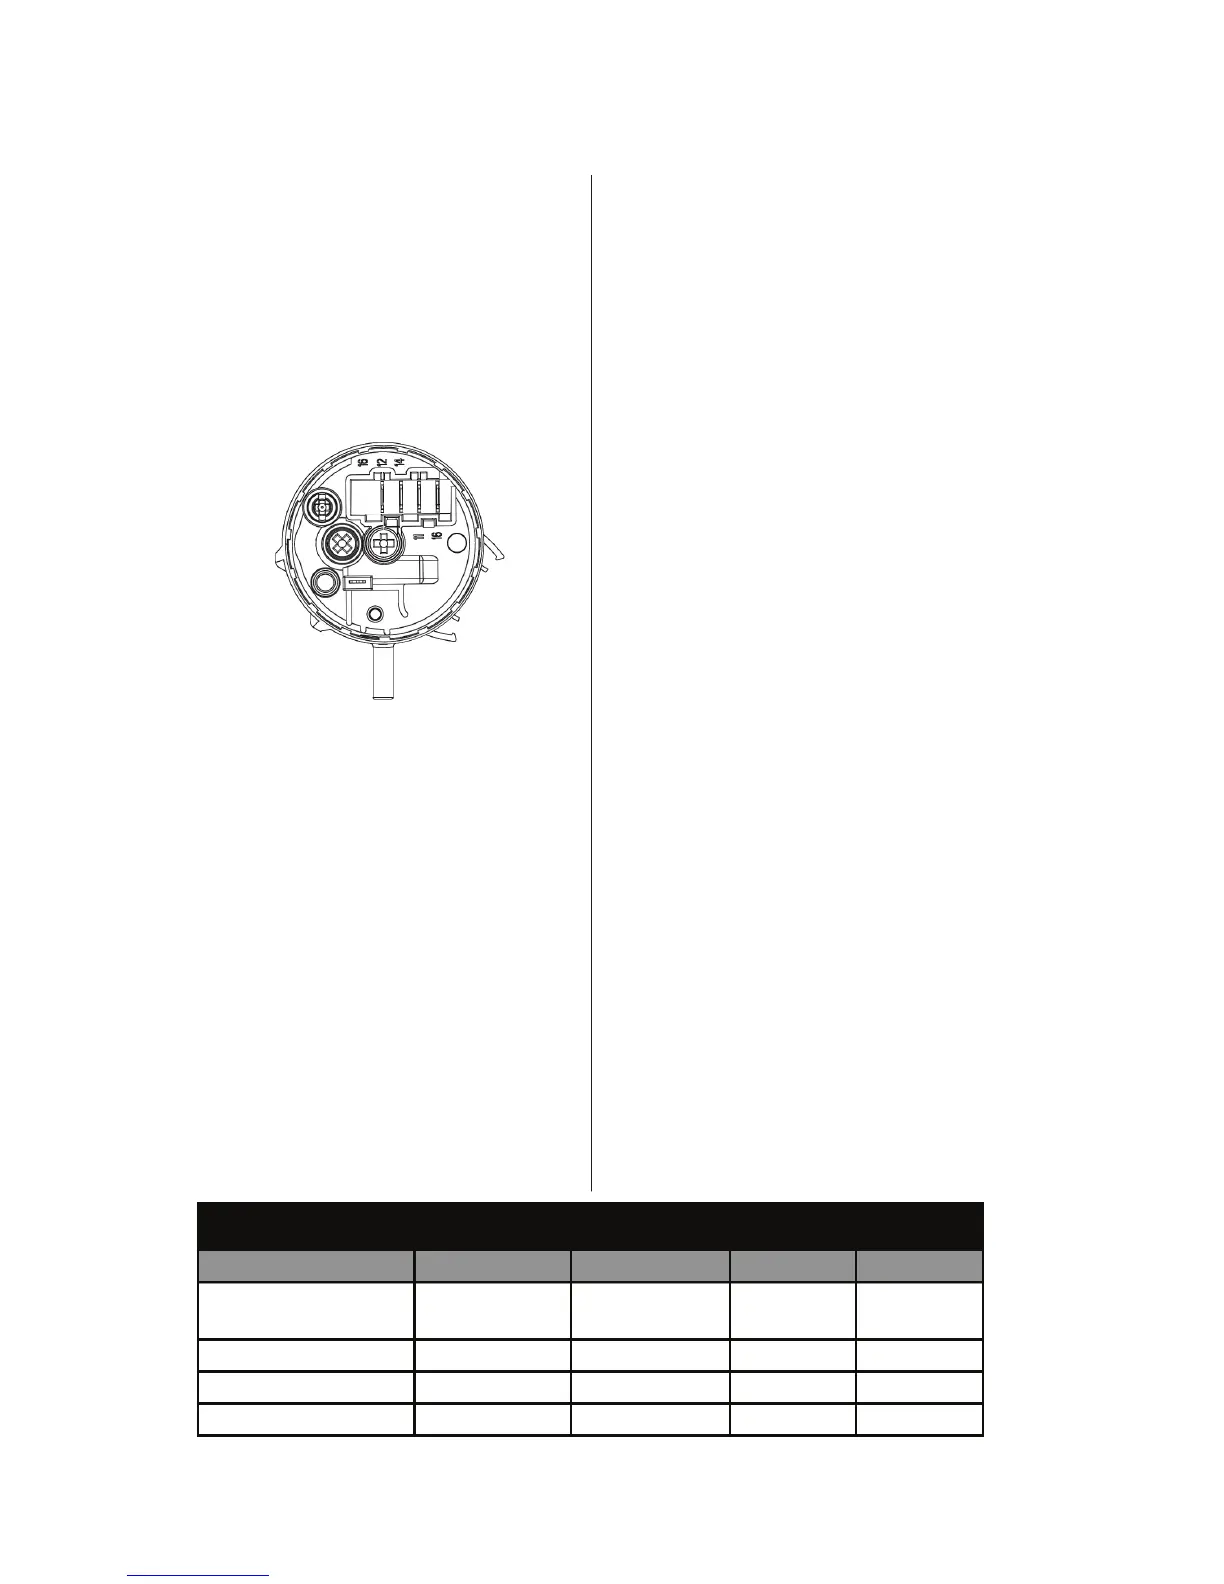
Pressure Switch (Non-Steam Models)
This test checks the pressure switch, CCU,
and wiring. NOTE: Usually, if the pressure
switch malfuncons, the washer will generate
a long fill or long drain error.
1. Check the funconality of the pressure
switch by running a small load cycle. The valves
should turn off automacally aer sensing the
correct water level in the tub. The following
steps assume that this step was unsuccessful.
2. Press START/PAUSE to stop the cycle and
then press POWER. The cycle will cancel and
drain the water from the tub.
3. Unplug washer or disconnect power.
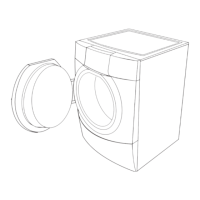
4. Remove top panel to access machine
electronics. Pressure switch is located
at top right rear of cabinet.
5. Check hose connecon between the
pressure switch and the pressure dome
aached to the tub.
6.
Check to ensure hose is routed correctly in
the lower cabinet and not pinched or crimped.
7. Verify there is no water, suds, or debris
in the hose or dome. Disconnect hose from
pressure switch and blow into hose to clear
water, suds, or debris.
8. Check hose for leaks. Replace if needed.
9. Visually check that connector PS8 is
inserted all the way into the CCU (refer to
CCU diagram). Also check that
the pressure switch harness is securely
connected to the switch.
10. Check the harness between the CCU and
Pressure Switch for connuity.
� If there is connuity, go to step 11.
� If there is no connuity, repair or replace
as necessary.
11. Disconnect PS8 from the CCU and
perform the connuity checks listed in the
chart below. This check can also be performed
at the pressure switch.
a. With no pressure to the switch, there
should be connuity across PS8, pins 4
& 6 (switch pins 11 & 12).
b. Lightly blow into the pressure switch unl
a “click” is heard. Maintain that pressure and
verify that there is connuity across PS8, pins
4 & 5 (switch pins 11 & 14).
c. Strongly blow into the pressure switch.
Maintain that pressure and verify that there is
connuity across PS8, pins 4 & 3 (switch pins
11 & 16).
� If the pressure switch passes the connuity
check, go to step 12.
� If not, replace the pressure switch and
perform step 1 to verify repair.
12. If the preceding steps did not correct the
problem, replace the CCU.
� Unplug washer or disconnect power.
� Replace the CCU.
� Reassemble all parts and panels.
� Perform the “Quick Diagnosc Test”
on pages 5–6 to verify repair.
Figure 6 - Pressure Switch
Heater Trip Wash Level Vcc Overflow
CCU PS8 Pinout 6 5 4 3
Press Sw Pinout 12 14 11 16
No Pressure Closed Open Common Open
Low Pressure Open Closed Common Open
High Pressure Open Closed Common Closed
Pressure Switch Continuity Check