6.5.6 Frequency output
To output a frequency, follow the steps below:
1. In the main menu, switch to the lower display
“LOWER” and select “FREQ”.
2. The input/output setting must be set to “OUT”.
3. Set the corresponding frequency unit.
4. Connect the test cables to the terminals for
frequency output (see figure “Connections for
voltage, frequency and pulse outputs”).
5. Enter the desired frequency value via the keypad.
6. To change the amplitude, select the option
“FREQ LEVEL” in the menu function “Frequency or pulse output”.
7. Enter the desired amplitude value via the keypad.
6.5.7 Pulse output
The calibrator can generate a pulse train with an
adjustable number of pulses at a desired frequency.
As an example, if the frequency is set to 60 Hz and
the number of pulses set to 60, the calibrator will
generate 60 pulses in 1 second.
For operation as a pulse generator, the same
connections are used as for frequency “Output”.
To output a pulse, follow the steps below:
1. In the main menu, switch to the lower display “LOWER” and select “PULSE”.
2. Set the corresponding pulse unit.
3. Connect the test cables to the terminals for pulse output (see figure “Connections for
voltage, frequency and pulse outputs”).
4. With the function “COUNTS” in the start menu, the number of pulses is set. The signal
is started and stopped using the “TRIG” key.
5. To change the amplitude, select the option “FREQ LEVEL” in the menu function
“Frequency or pulse output”.
6.5.8 Simulating thermocouples
To simulate a thermocouple, follow the steps below:
1. Connect the wires of the thermocouple to the input/output of the calibrator using the
thermocouple mini-connector (see following figure).
2. In the main menu, switch to the lower display “LOWER” and select “TC”.
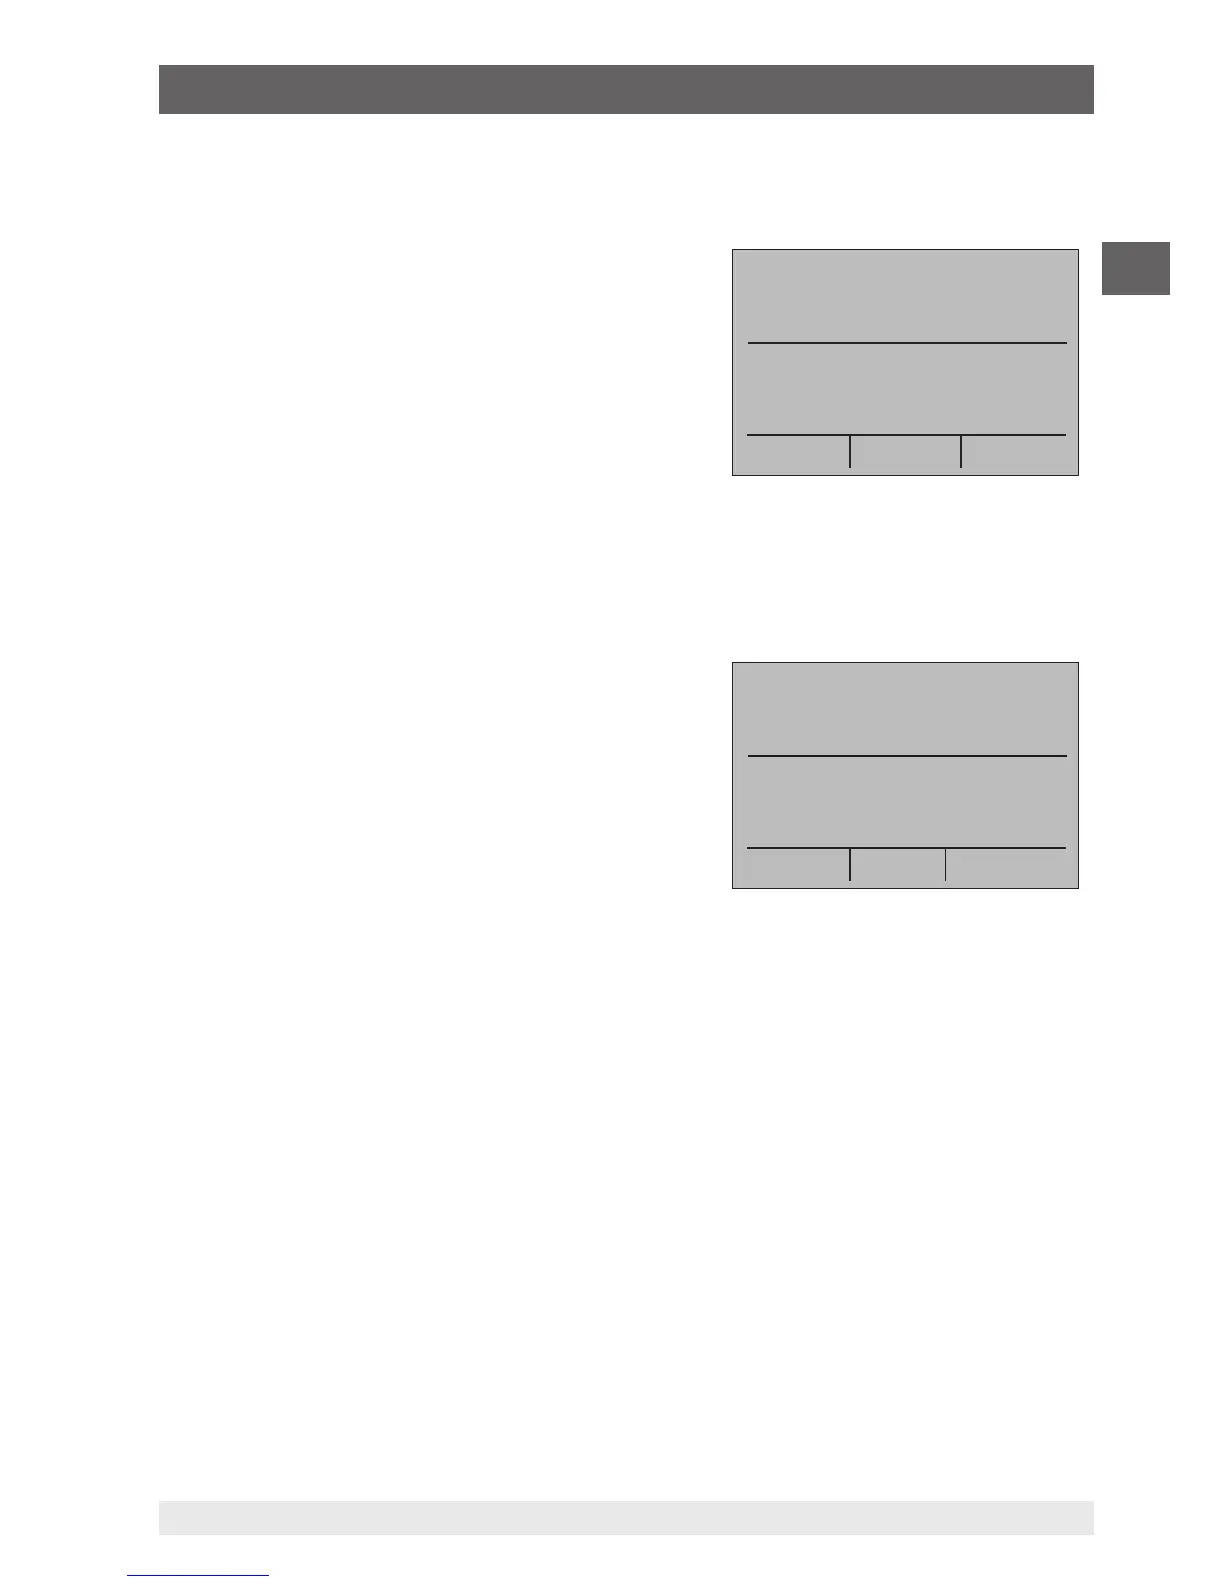
mA IN
0.000 mA
-25.00%
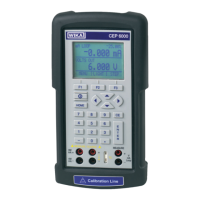
FREQ OUT
5.0 Vpp
MENU
4.0 kHz