71
WPS-365-DVR-9CH & 16CH Installation and Users Manual
•MATCHEDFILELIST
The results of the Smart Search will be displayed in the right side of the dialog box. The les are shown from
oldest to newest and a page number is shown on the lower-left corner of the dialog box. The user may:
1. Press the ENTER button on the front panel of the DVR or on the remote control to select or deselect a
matching event le in the results list. Multiple events can be selected in this manner. Alternatively use
the mouse to select or deselect each event.
2. Press Play (►/II, ►►) button on the front panel of the DVR or on the remote control to playback all the
selected events. Alternatively use the mouse to select the Play button.
3. Press Copy ( ) button on the front panel of the DVR or on the remote control to backup (copy)
all of the selected recorded video and audio events to the connected backup device. Alternatively
use the mouse to select the Copy button. The Backup menu (described in the Archive portion of Sec-
tion 8.6) will be displayed.
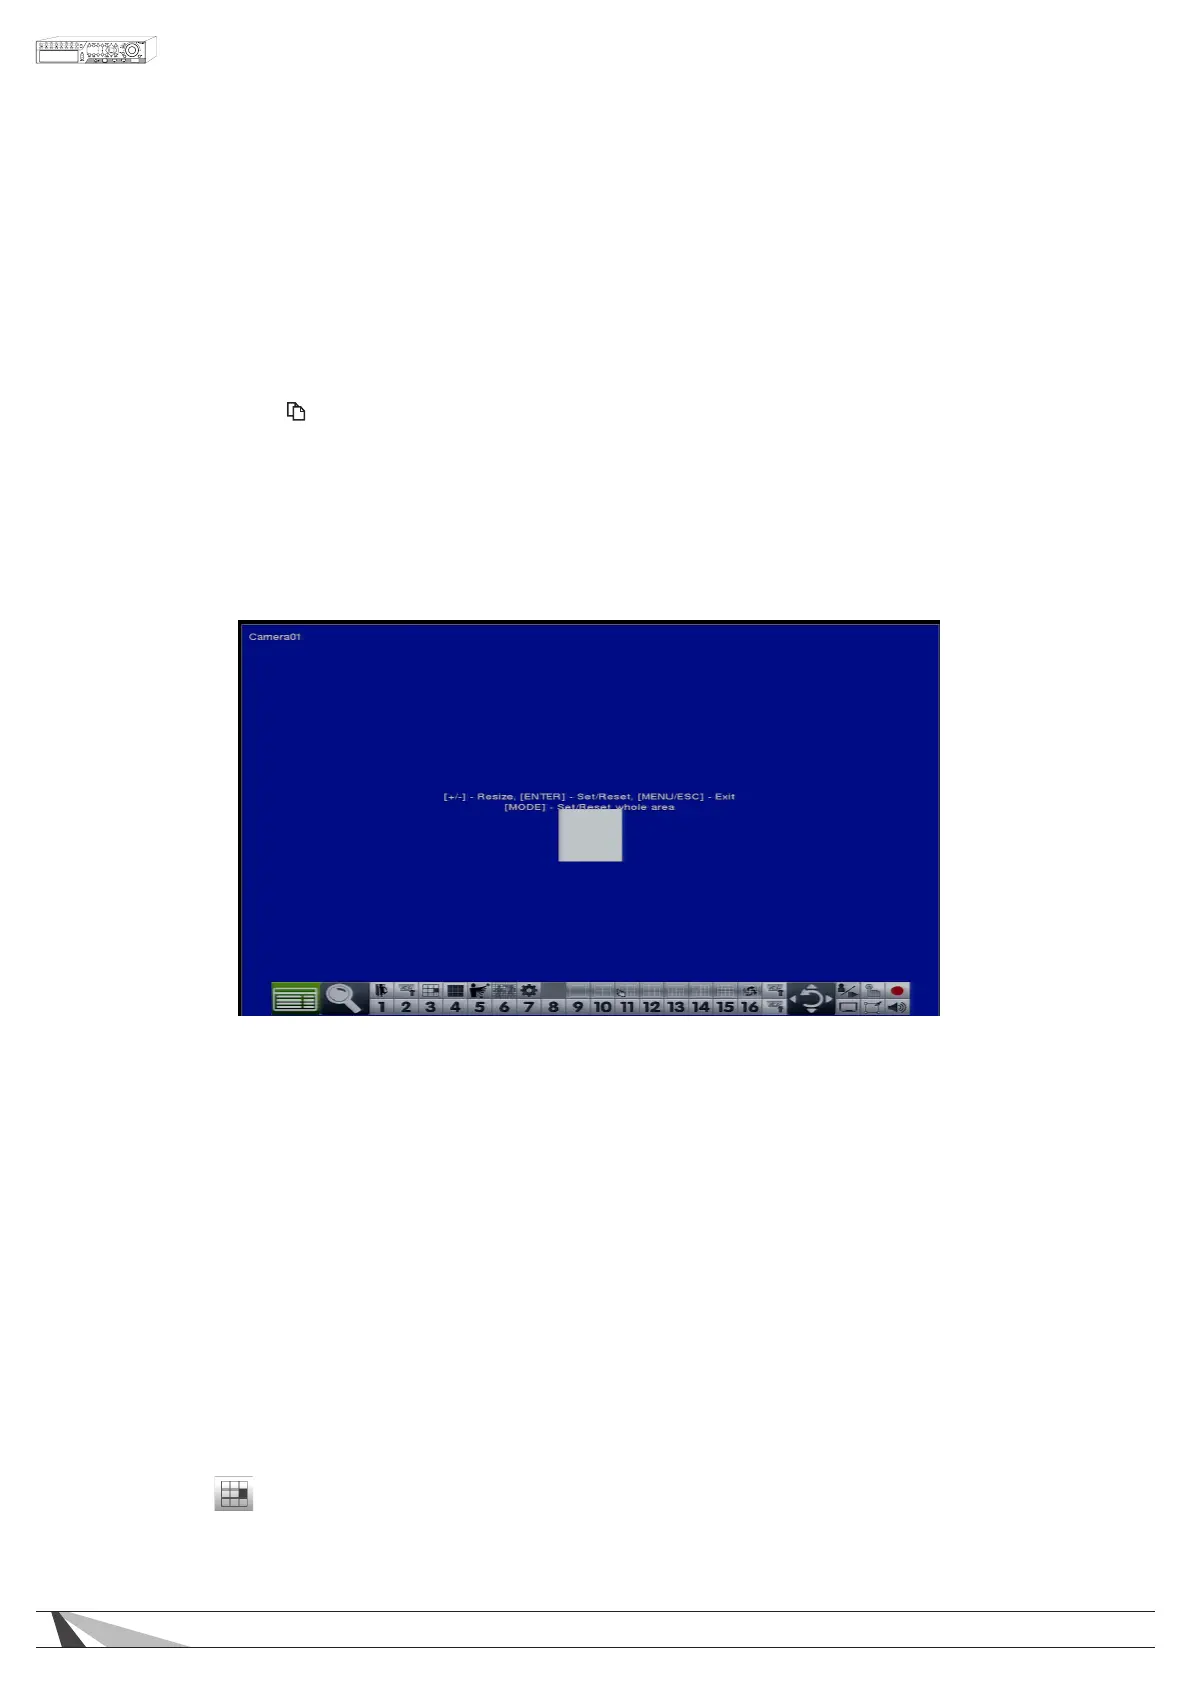
•Area
Area dened as the motion area for the video to be searched for matching les. Use the buttons on the
front panel of the DVR or the remote control to highlight Area and press ENTER to display Motion Area
Setting screen as shown below.
In the Motion Area Setting screen use the white mask window to dene the Smart Search area in the same
manner as setting up Motion Detection (see Section 6.2.2).
Note:TheareaofavideosearchedusingSmart SearchmustbepartofthedenedareaforMotion
Detection(seeSection 6.2.2).Onlyleswithmotioncoveringallofthedenedmotionareawillbe
displayedasmatchingresults.Therefore,basedonthesearchalgorithm,therewillbemorematchingles
forsmallerdenedmotionareas.
Thefollowingisabriefdescriptionforeachiteminthismenuanditsspecicoperations:
•▲▼◄►
Press these buttons on the front panel of the DVR or remote control to move the Mask window (grids white
in color). Alternatively use the mouse to select and move the Mask window (grids white in color) by “left
clicking” and dragging the mouse over the desired area.
•+/-
Press these buttons on the front panel of the DVR or remote control to resize the Mask window (grids white
in color). Alternatively use the mouse to select and move the Mask window (grids white in color) by “left
clicking” and dragging the mouse over the desired area.
•ENTER
Press this button on the front panel of the DVR or remote control to Set/Reset the area of the Mask window
(grids white in color). Alternatively use the mouse to select the Mask icon and adjust the Mask window
(grids white in color). Once the mask area is set, the mask window will change to yellow.
 Loading...