RM200QC User Manual
32
If desired, adjust the measurement area by pressing on the up or down side of the
Navigation control while lightly holding down the Measure button. Note: You can preset
your aperture preference in the Settings menu.
6. When you have located the area you wish to measure, press the Measure button firmly. An
audible “camera-click” sound indicates the start of the measurement. A progress bar
appears at the bottom of the display to indicate the measurement status. It is important
that the instrument is held steady for the duration of the measurement.
7. Continue with additional measurements to obtain an average value if sample averaging is
activated in the Settings.
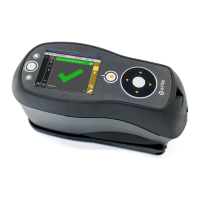
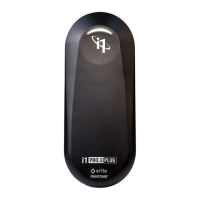
After the measurement, a simulated color patch of the sample appears along with the
Pass/Fail indication. The sample below would indicate that the sample failed based on the
tolerance set in the Setting menu.
Note: Flashing arrows indicate that additional measurement views can be selected by
pressing the up or down sides of the Navigation control. The “arrow” option can be turned
off using the Display Options settings.
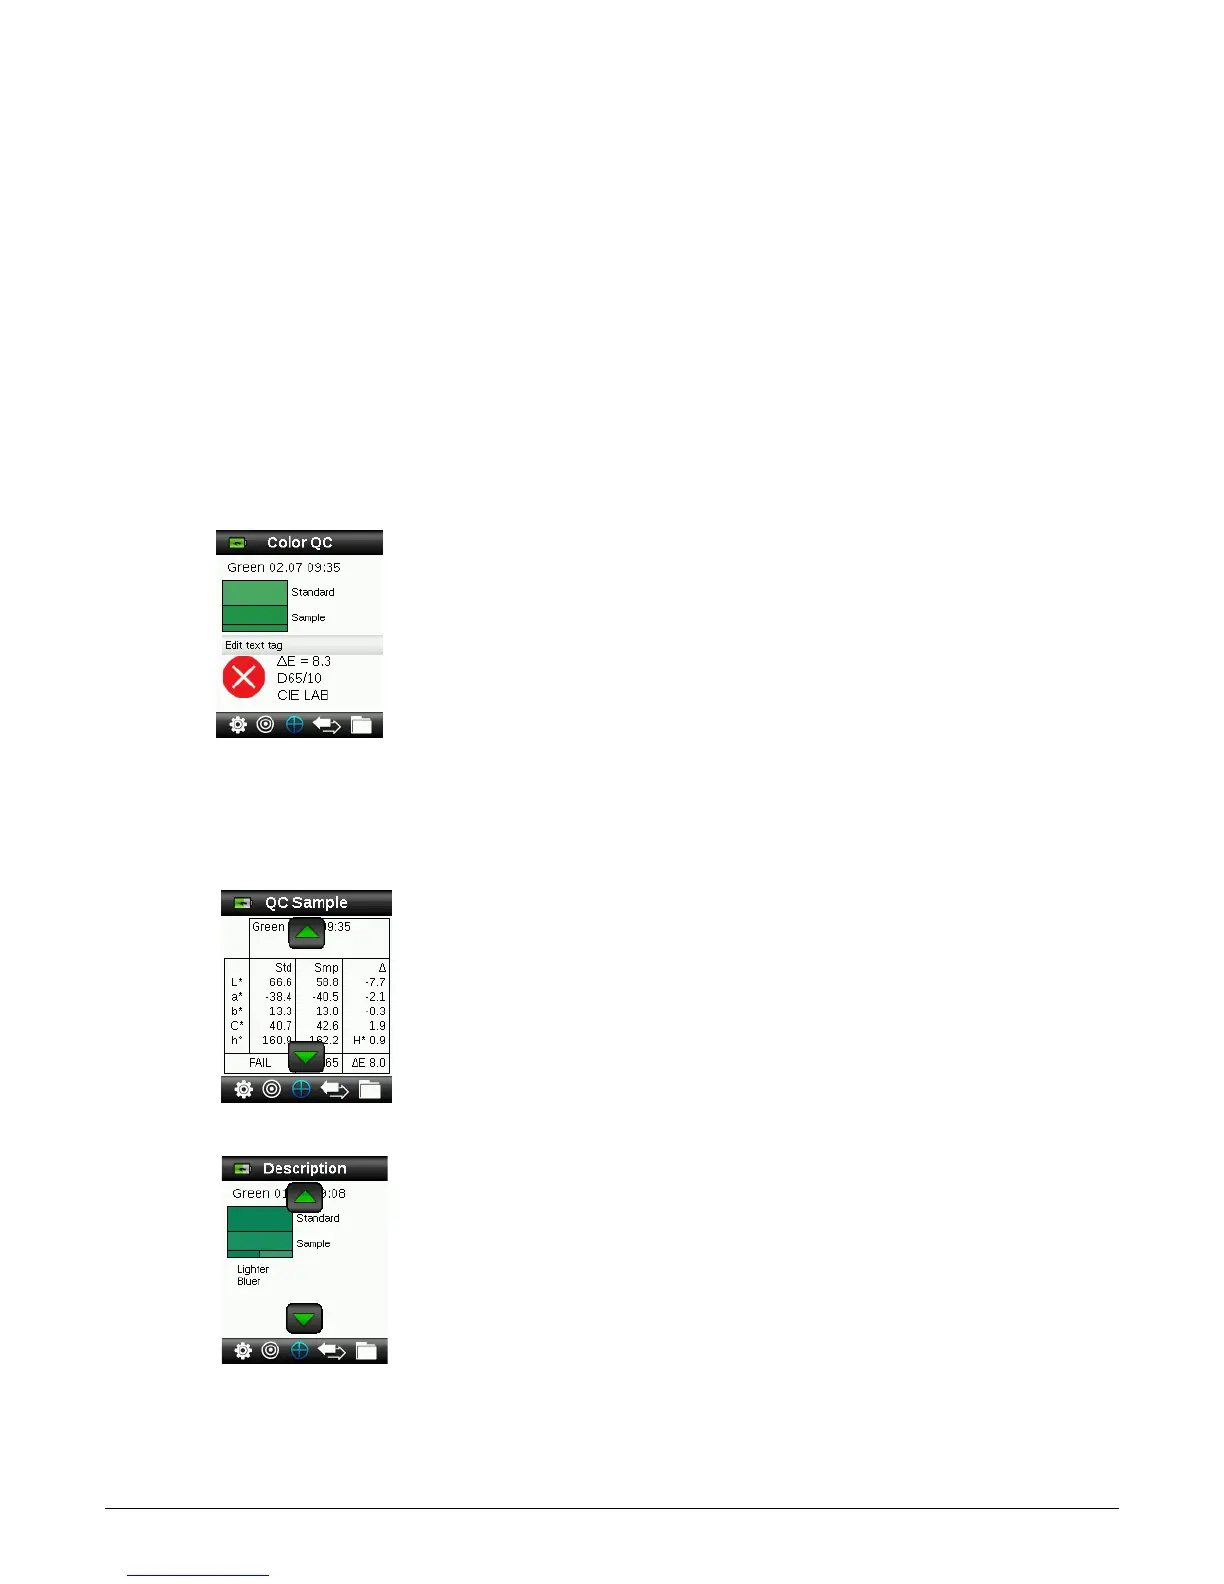
8. Press the down side of the Navigation control to advance to the QC Sample data screen.
9. Press the down side of the Navigation control to advance to the Description screen.
10. Press the down side of the Navigation control to advance to the Sample Image screen.