8825/8830 DDS User Guide/84
Reference
Scanner Diagnostics (continued)
Normalize Cameras
The NORMALIZE CAMERAS selection is used to cause the SCANNER to
correct the response of the elements in its 3 cameras to a target of standard
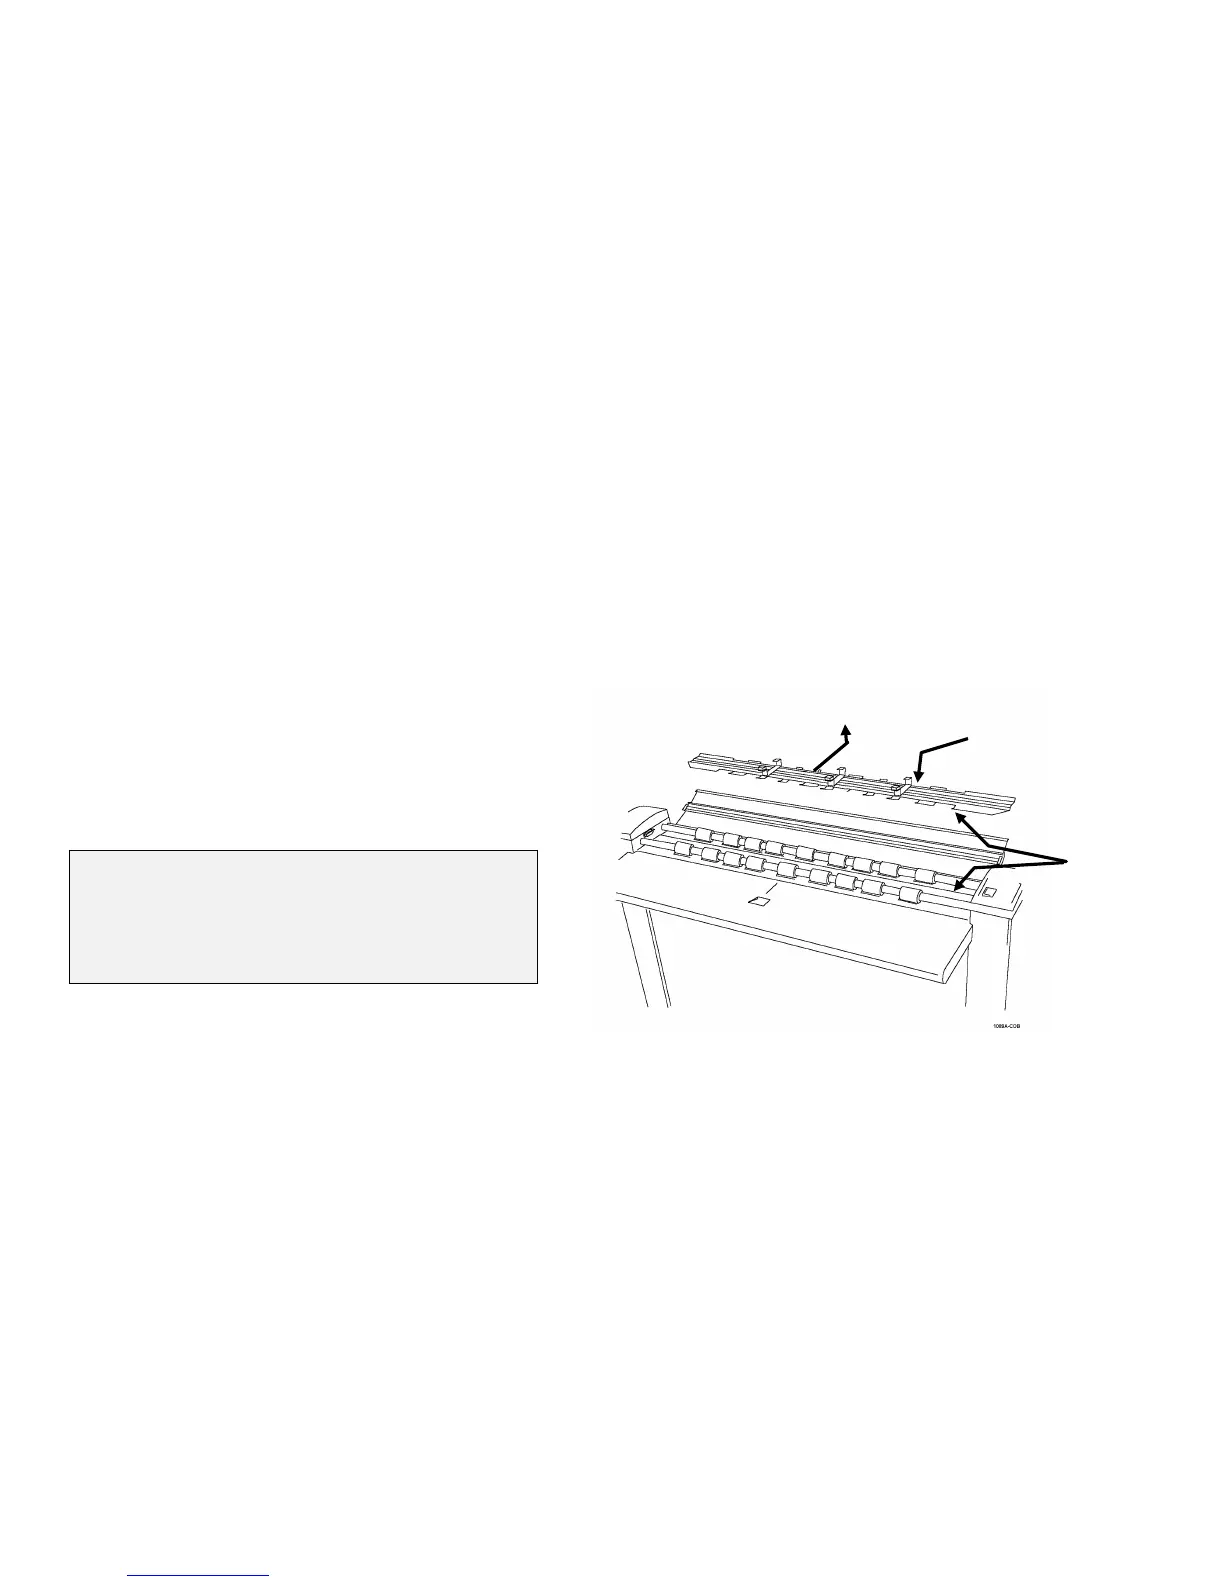
reflectance. The target used is the white Document Hold-down Guide on top
of the Platen Glass.
The Scanner automatically performs this operation when it is first switched
on, but the NORMALIZE CAMERAS selection may be used at any time to
verify that the cameras are indeed responding properly.
Do the following steps to normalize the cameras:
1. Remove any document from the Scanner.
2. Ensure that the Platen Glass and the surface of the Document Hold-
down Guide are completely clean. If not, clean both surfaces with Xerox
Lens and Mirror Cleaner 43P81. Be sure to reinstall the guide before
proceeding to the next step.
3. Select the NORMALIZE CAMERAS option from the SCANNER
DIAGNOSTICS menu. The NORMALIZE CAMERAS screen is
displayed.
4. Follow the instructions on the screen. During normalization, the screen
will display RUNNING... and the DDS User Interface will not respond to
any keys. The Scanner will not accept any documents.
5. Wait until the screen displays PASSED. Normalization may require up
to three minutes to complete.
6. Press the Exit key to leave the NORMALIZE CAMERAS screen.
NORMALIZE CAMERAS
PRESS START TO BEGIN
3. Reinstall
1. Remove
2. Clean