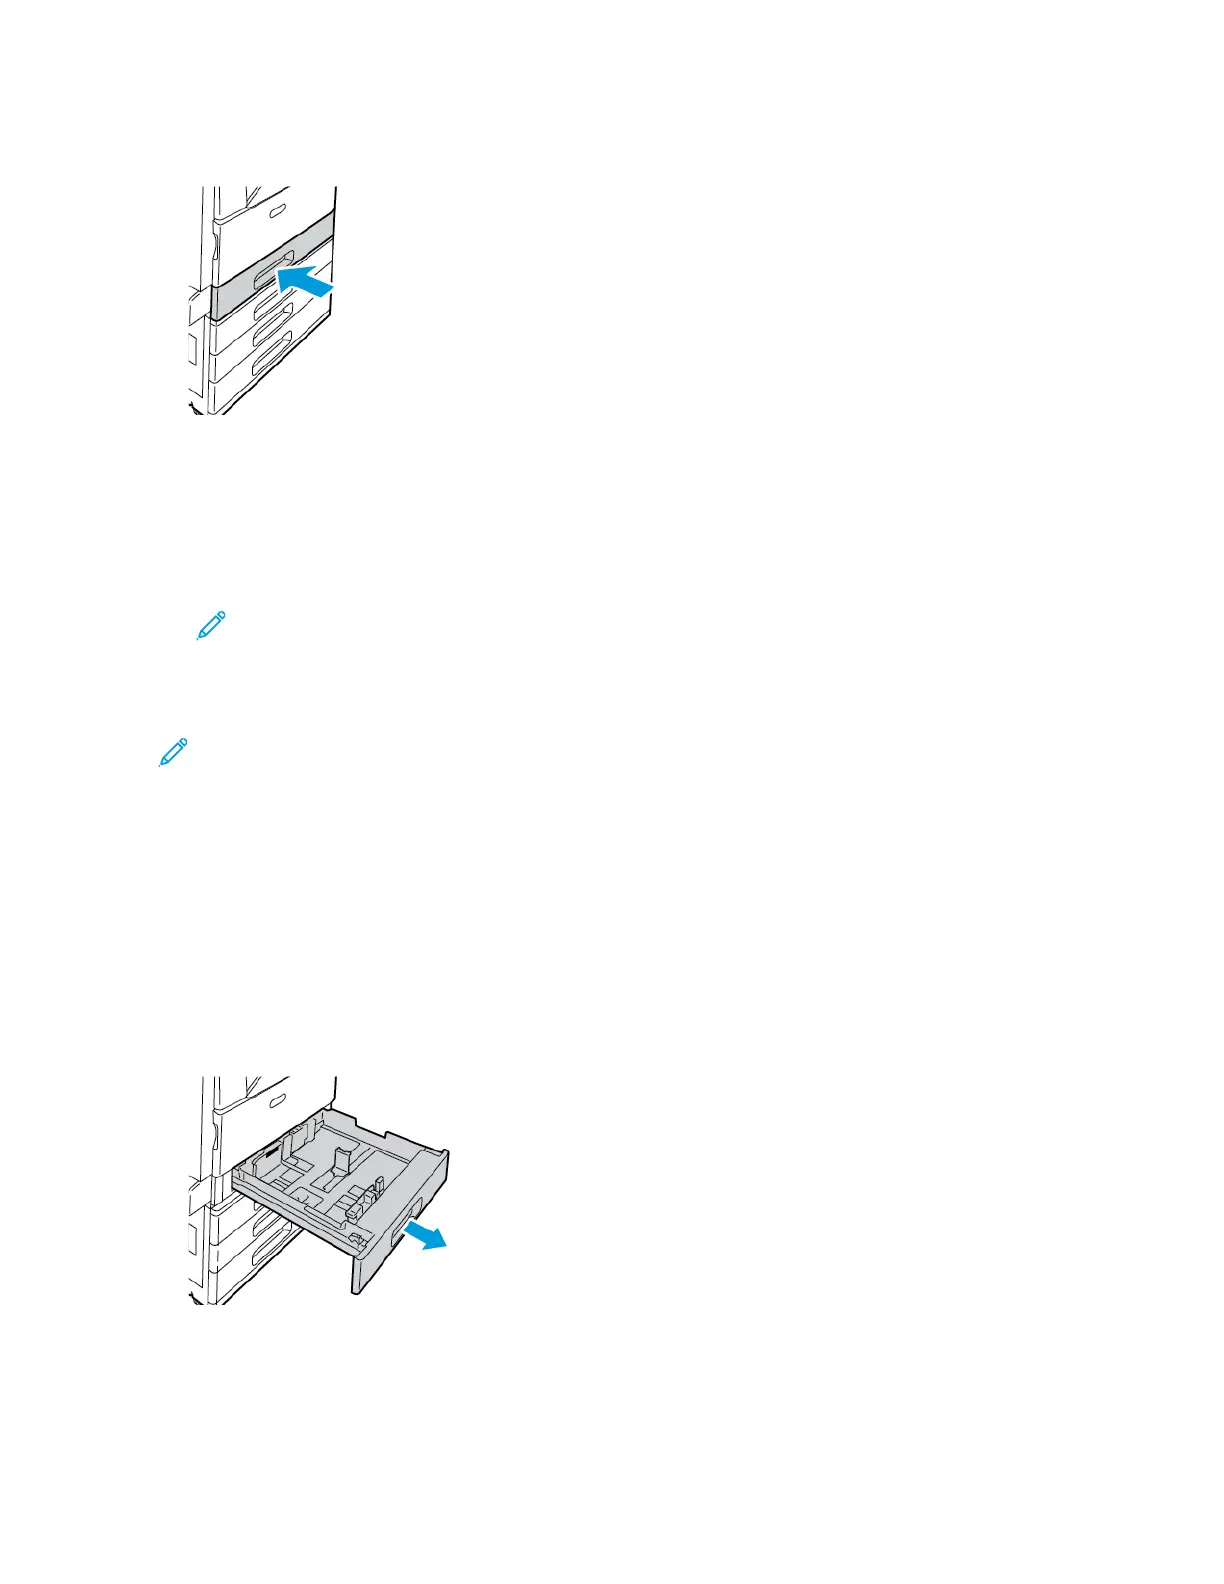
8. Close the tray.
9. At the control panel, if a prompt appears, select the correct paper size, type, and color.
• To select a new paper size, touch Size.
• To select a new paper type, touch Type. For letterhead paper, select Letterhead. For pre-
printed paper, select Pre-Printed. For hole-punched paper, select Hole Punched.
• To select a new paper color, touch Color.
Note: If a prompt does not appear, and you have changed the paper size, type, or color,
update the Required Paper Policies. For details, refer to the System Administrator Guide at
www.support.xerox.com.
10. To confirm the settings, touch Confirm.
Note: To change the paper settings when the tray is set to Dedicated mode, refer to
Configuring Tray Settings.
AAddjjuussttiinngg tthhee PPaappeerr GGuuiiddeess iinn tthhee 552200--SShheeeett
AAddjjuussttaabbllee TTrraayyss
You can adjust the paper guides in Trays 1–4 to accommodate standard or custom paper sizes. In the
standard position, the guides move into the supported standard paper settings. In the custom
position, the guides move in 1-mm (0.04 in.) increments.
To move the paper guides from the standard to the custom paper-size position:
1. Pull out the tray until it stops.
Xerox
®
EC8036/EC8056 Color Multifunction Printer
User Guide
191
Paper and Media