Xerox
®
N60w Scanner Email
8-4 User Guide
Deleting an Email group
To delete a current email group:
1. Select the group which you want to remove from the list then tap Delete.
2. A prompt will appear. Click OK to confirm removing the file profile or Cancel to exit.
Email Scanning
Send your scanned images directly from the scanner to an email address or an email contact
group. To begin, touch the Email button on the LCD menu.
Note: Internet connection is required and the mail server must be setup. See Wired and
Wireless Network Connection.
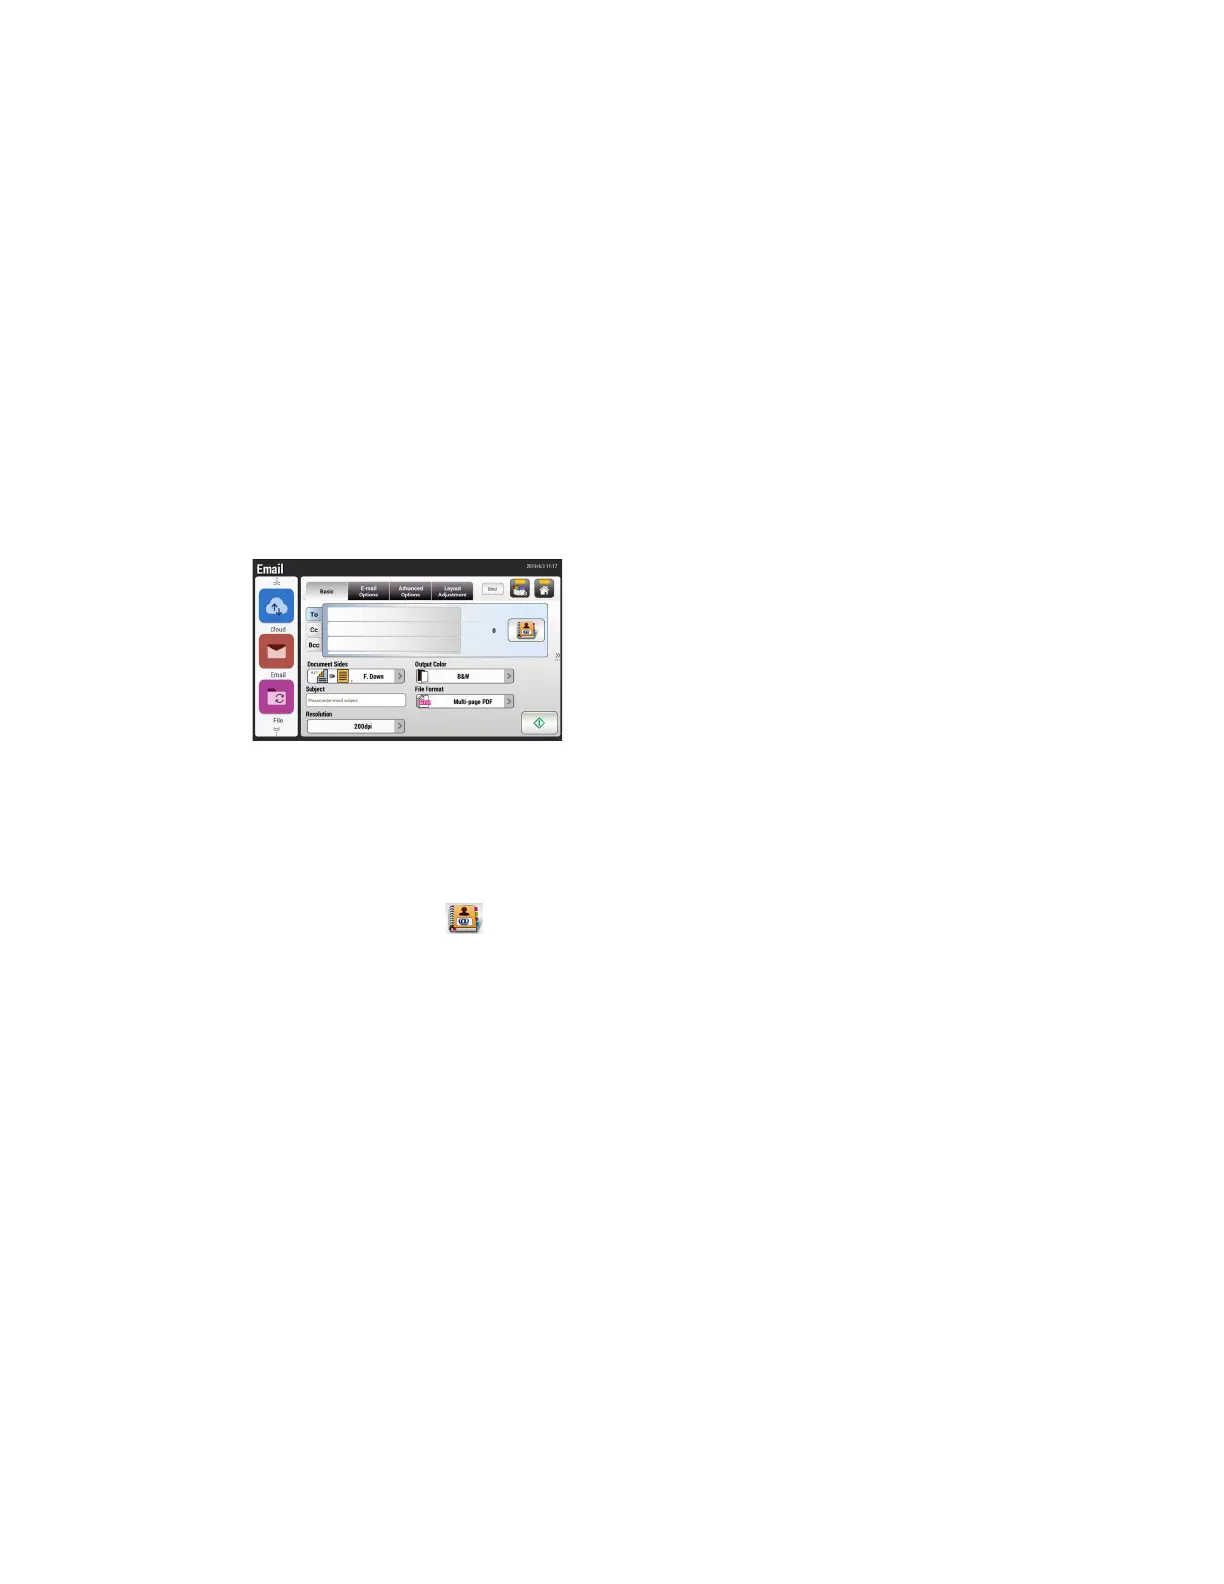
Basic tab
1. Select recipients. There are two options:
– Manually enter an email address in the To, CC and/or BCC fields using the on-screen
keyboard. Simply tap the field to enable.
– Select a contact or group from the Address Book.
–Touch the Address Book icon.
– Touch a contact name or group. The contact will be highlighted and the To, CC
and BCC options appear, touch your selection. The contact or group will appear
in the corresponding field below.
– To return to the main Email screen, tap the Back icon.
Note: To add contacts to the Address Book see Setting up the Address Book.
2. In the Email Options tab, enter From address. This address must match the one in your
settings.
3. Set up the scan profile, see Scan Settings.
4. Tap the Scan button to initiate scan.
5. From the Preview screen, observe your scan.
6. Press the Scan button to distribute the scanned image.
 Loading...