User Guide 4-1
4. Wired and Wireless Network
Connection
Connect your scanner to the network for standalone use to send scanned images via email, cloud
service, or to store them in a 24-hour public folder, which can be pin-protected, available on The
Scanner’s Web Interface.
Connecting to the Network using a Ethernet LAN Cable (Wired)
This is the scanner’s default network mode.
1. Connect one end of an ethernet LAN cable to an available port of your ethernet hub.
2. Connect the other end to the port marked at the back of the product.
Connecting to the Network using a Wireless Client
Setting up the Wireless Client
In wireless mode, your mobile devices and scanner are connected wirelessly through a wireless
network. When connecting the scanner to a wireless LAN, you may need information for a wireless
access point such as an SSID (network name) and a security key (password). For details, contact
your Network Administrator or refer to the manual.
Note: The wired and wireless mode cannot work at the same time. If you have connected an
Ethernet cable to your scanner, please disconnect it before connecting to a wireless network.
Connecting to the Wireless Client automatically
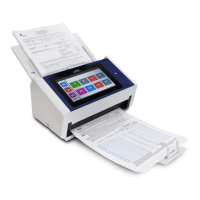
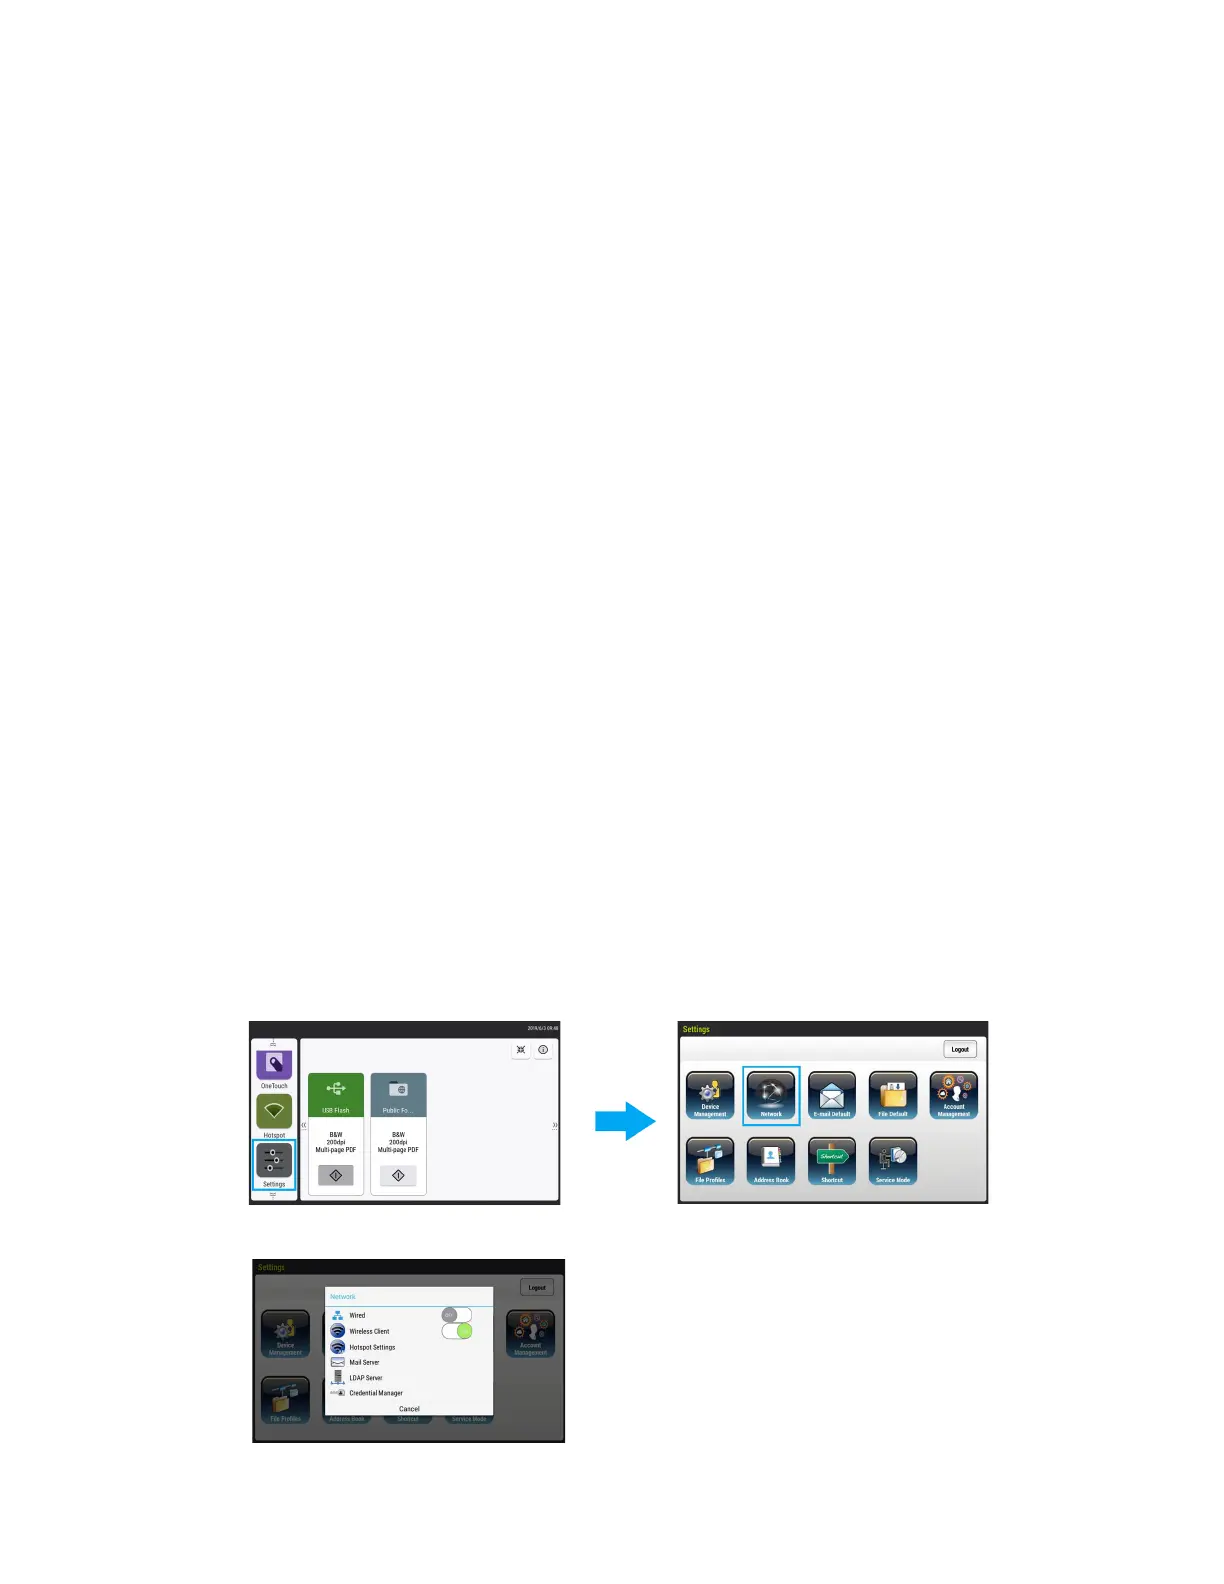
1. On the Home Screen of the LCD Touch Panel, tap Settings >Network.
Note: Login to Settings with the default credentials Login Name: admin and Password:
admin. See “Changing your Login Credentials” to customize these.
2. Make sure that Wireless Client is turned on.
 Loading...