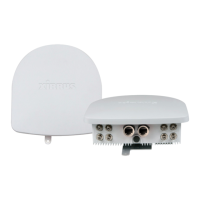
Wireless Array
74 Installing the Wireless Array
subnet, and set its subnet mask to 255.255.255.0. If this subnet is already
in use on your network, you may connect your laptop directly to the
Array by connecting the laptop to the power injector’s IN port
temporarily (this port may be called the SWITCH port or the DATA port
on your injector).
Starting the WMI
Use this procedure to log in to the WMI via your Web browser.
1. Establish a network connection and open your Web browser.
2. Connect to the Wireless Array using its host name or IP address as
described in the previous section.
http://<hostname or IPaddress>
Logging In
When logging in to the Array, use the default user name and password — the
default user name is admin, and the default password is admin.
See Also
Installation Workflow
Performing the Express Setup Procedure
Powering Up the Wireless Array
Licensing
When a newly deployed Array boots up, it automatically contacts Xirrus with its
serial number and MAC address and obtains its license key, software image, and
initial configuration from XMS or Mobilize. Any unlicensed Array running
ArrayOS release 6.5 or above will update in this way after it boots up, if it has
Internet connectivity.
A license is needed to enable the full functionality of the Array. Without a license,
the Array can be powered up and will only have a basic wireless network
configuration including just one operating radio.

 Loading...