Periodic maintenance and adjustment
8-33
8
6. Install the windshield by installing
the screws.
7. Install the caps.
8. Install the screw access covers by
installing the quick fasteners.
If a fuse is blown, replace it as follows.
1. Turn the vehicle power off.
2. Remove the blown fuse, and then
install a new fuse of the specified
amperage. WARNING! Do not
use a fuse of a higher amperage
rating than recommended to
avoid causing extensive dam-
age to the electrical system and
possibly a fire.
[EWA15132]
3. Turn the vehicle power on and turn
on the electrical circuit in question
to check if the device operates.
4. If the fuse immediately blows
again, have a Yamaha dealer
check the electrical system.
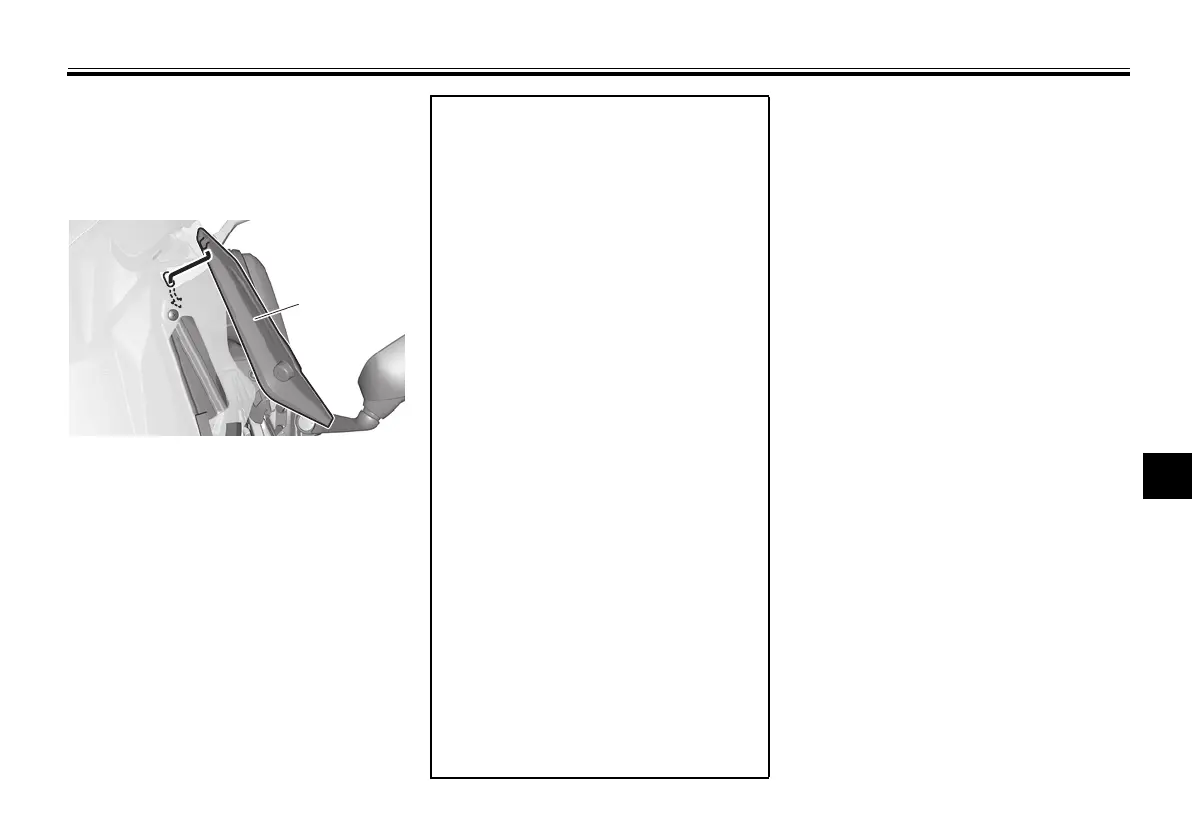
1. Screw access cover
Specified fuses:
Main fuse:
40.0 A
Headlight fuse:
7.5 A
Taillight fuse:
7.5 A
Signaling system fuse:
7.5 A
Ignition fuse:
7.5 A
Radiator fan motor fuse:
15.0 A
Fuel injection system fuse:
7.5 A
ABS control unit fuse:
7.5 A
ABS motor fuse:
30.0 A
ABS solenoid fuse:
15.0 A
Auxiliary DC jack fuse:
2.0 A
Backup fuse:
15.0 A
Electronic throttle valve fuse:
7.5 A
Baggage fuse:
7.5 A (XP560E)
Brake light fuse:
1.0 A (XP560D)
Cruise control fuse:
1.0 A (XP560D)
Windshield motor fuse:
20.0 A (XP560D)
UB3TE0E0.book Page 33 Tuesday, September 17, 2019 9:35 AM