5 - 82
ENG
CRANKCASE AND CRANKSHAFT
5. Install:
• balancer connecting rod
• connecting rod cap
CAUTION:
• When tightening the nuts be sure to use
an F-type torque wrench.
• Without pausing, tighten to full torque
specification. Apply continuous torque
57 ~ 63 Nm (5.7 ~ 6.3 m · kg, 41 ~ 45 ft · lb).
Once you reach 57 Nm (5.7 m · kg, 41 ft · lb)
DO NOT STOP TIGHTENING until final
torque is reached. If the tightening is inter-
rupted 57 ~ 63 Nm (5.7 ~ 6.3 m · kg, 41 ~
45 ft · lb) loosen the nut to less than 57 Nm
(5.7 m · kg, 41 ft · lb) and start again.
T
R
.
.
60 Nm (6.0 m · kg, 43 ft · lb)
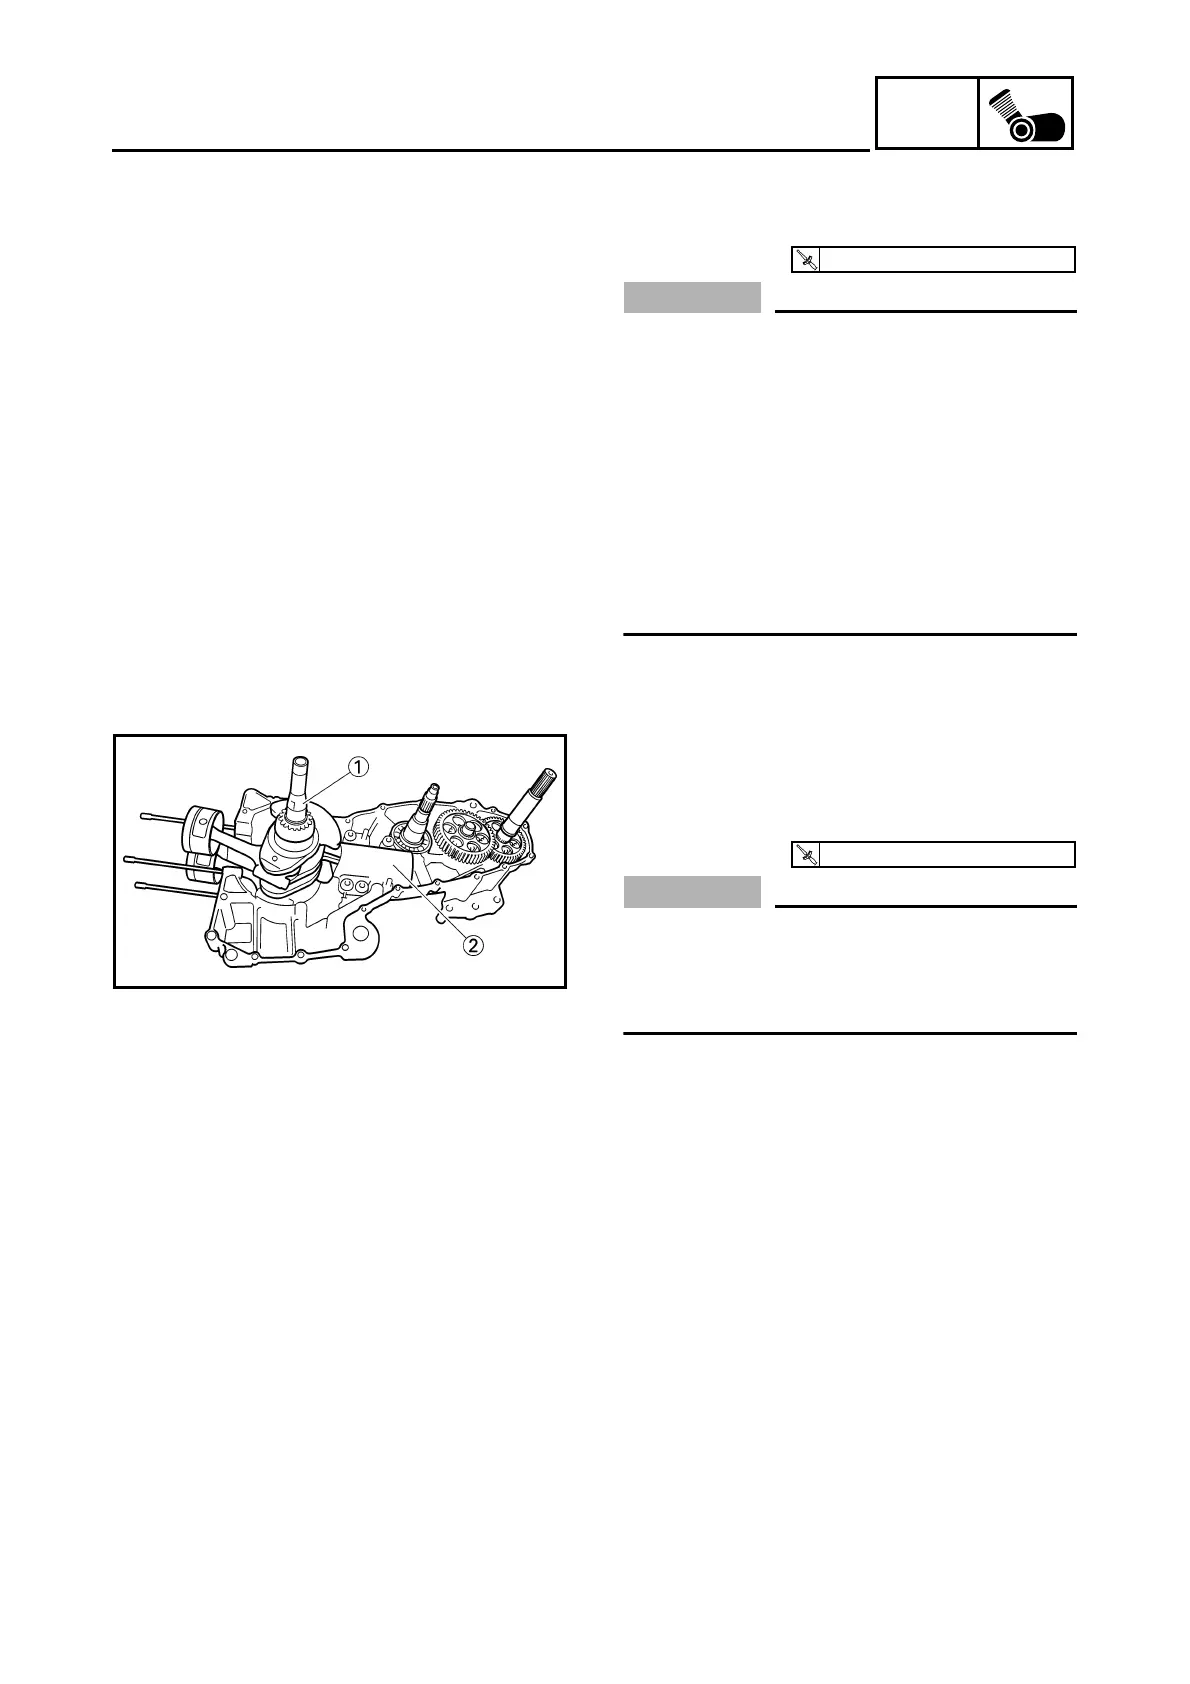
INSTALLING THE CRANKSHAFT
1. Install:
• crankshaft assembly 1
• balancer piston cylinder 2
CAUTION:
To avoid scratching the crankshaft and to
ease the installation procedure, apply
grease onto the oil seal lips and apply
engine oil onto each bearing.
T
R
.
.
58 Nm (5.8 m · kg, 42 ft · lb)
EAS00418
ASSEMBLING THE CRANKCASE
1. Thoroughly clean all the gasket mating sur-
faces and crankcase mating surfaces.