3-27
CHECKING THE BRAKE PADS/CHECKING THE BRAKE SHOES/
ADJUSTING THE REAR BRAKE LIGHT SWITCH
CHK
ADJ
NOTE:
a
b
EAS00117
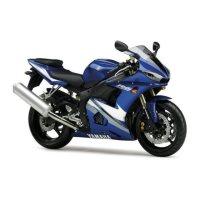
CHECKING THE BRAKE PADS
The following procedure applies to all of the
brake pads.
1. Operate the brake.
2. Check:
S brake pad
Wear indicators
1
almost touch the brake
disc ! Replace the brake pads as a set.
Refer to “FRONT BRAKE” in chapter 6.
EAS00126
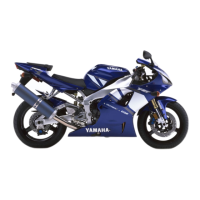
CHECKING THE BRAKE SHOES
1. Operate the brake.
2. Check:
S wear indicator
1
Reaches the wear limit line
2
! Replace the
brake shoes as a set.
Refer to “REAR WHEEL” in chapter 6.
EAS00128
ADJUSTING THE REAR BRAKE LIGHT
SWITCH
The rear brake light switch is operated by move-
ment of the brake pedal.
The rear brake light switch is properly adjusted
when the brake light comes on just before the
braking effect starts.
1. Check:
S rear brake light operation timing
Incorrect ! Adjust.
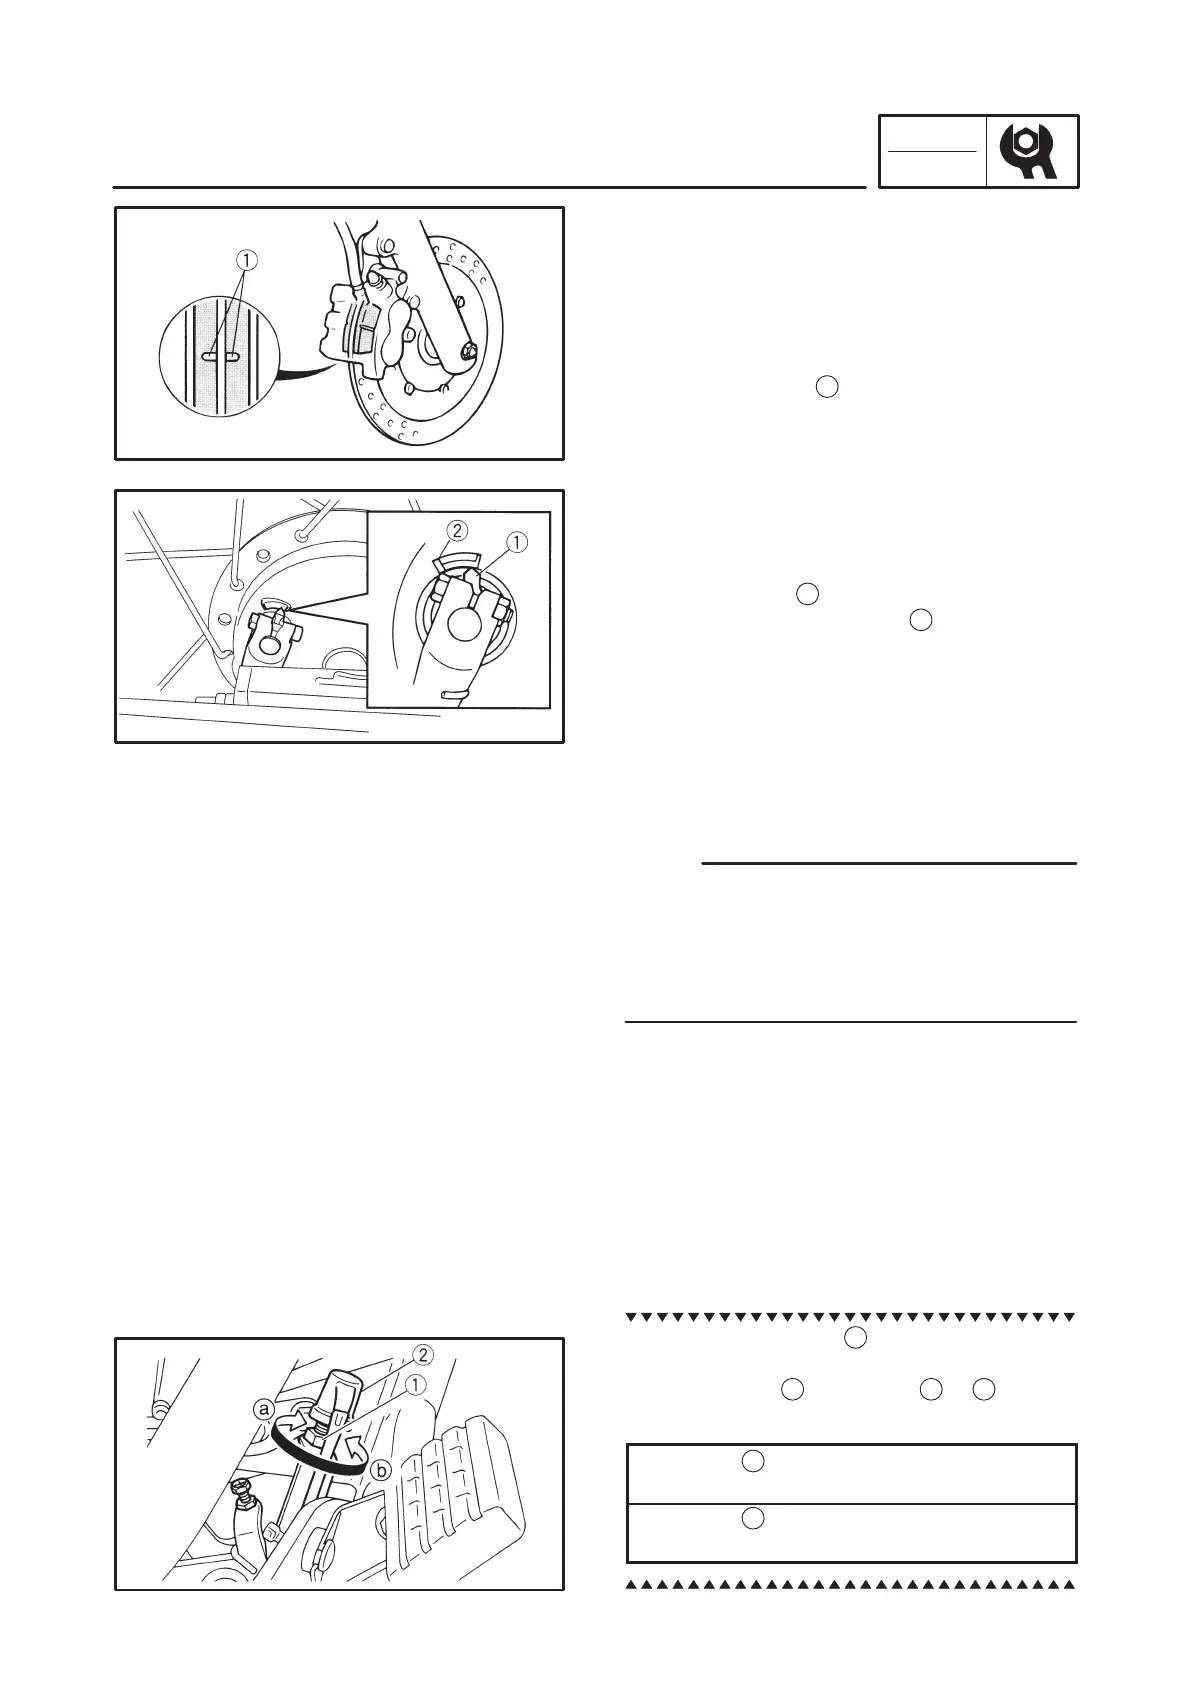
2. Adjust:
S rear brake light operation timing
a. Hold the main body
1
of the rear brake light
switch so that it does not rotate and turn the
adjusting nut
2
in direction
a
or
b
until the
rear brake light comes on at the proper time.
Direction ! Brake light comes on
sooner.
Direction ! Brake light comes on
later.