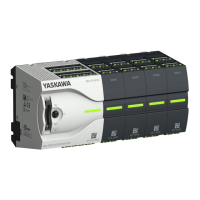
You can screw the CPU to the back wall by means of screws via the locking levers. The
happens with the following proceeding:
Dimensions in mm
1. The CPU has a locking lever on the upper and lower side. Pull these levers out-
wards as shown in the figure, until these engage 2x audible.
ð
By this openings on the locking levers get visible.
2. Use the appropriate screws to fix your CPU to your back wall. Consider the installa-
tion clearances for the CPU.
ð
The CPU is now mounted and can be wired.
2.4.1.2
Mounting with mounting rail
Dimensions in mm
1. Mount the mounting rail. Please consider that a clearance from the middle of the
mounting rail of at least 44mm respectively 55mm above and below exists.
Proceeding
Proceeding
VIPA System MICRO
Basics and mounting
Mounting > Mounting CPU
HB400 | CPU | M13-CCF0000 | en | 16-47 14

 Loading...