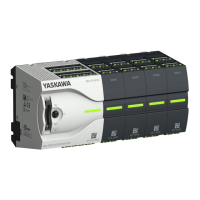
2. The CPU has a locking lever on the upper and lower side. Pull these levers out-
wards as shown in the figure, until these engage audible.
CAUTION!
It is not allowed to mount the module sideways on the mounting rail,
as otherwise the module may be damaged.
3. Plug the CPU from the top onto the mounting rail and turn the periphery module
downward until it rests on the mounting rail.
4. Move the CPU on the mounting rail at its position.
5. T
o fix the CPU at the mounting rail, move the locking levers back to the initial posi-
tion.
ð
The CPU is now mounted and can be wired.
VIPA System MICRO
Basics and mounting
Mounting > Mounting CPU
HB400 | CPU | M13-CCF0000 | en | 16-47 15
 Loading...