Getting Started
28
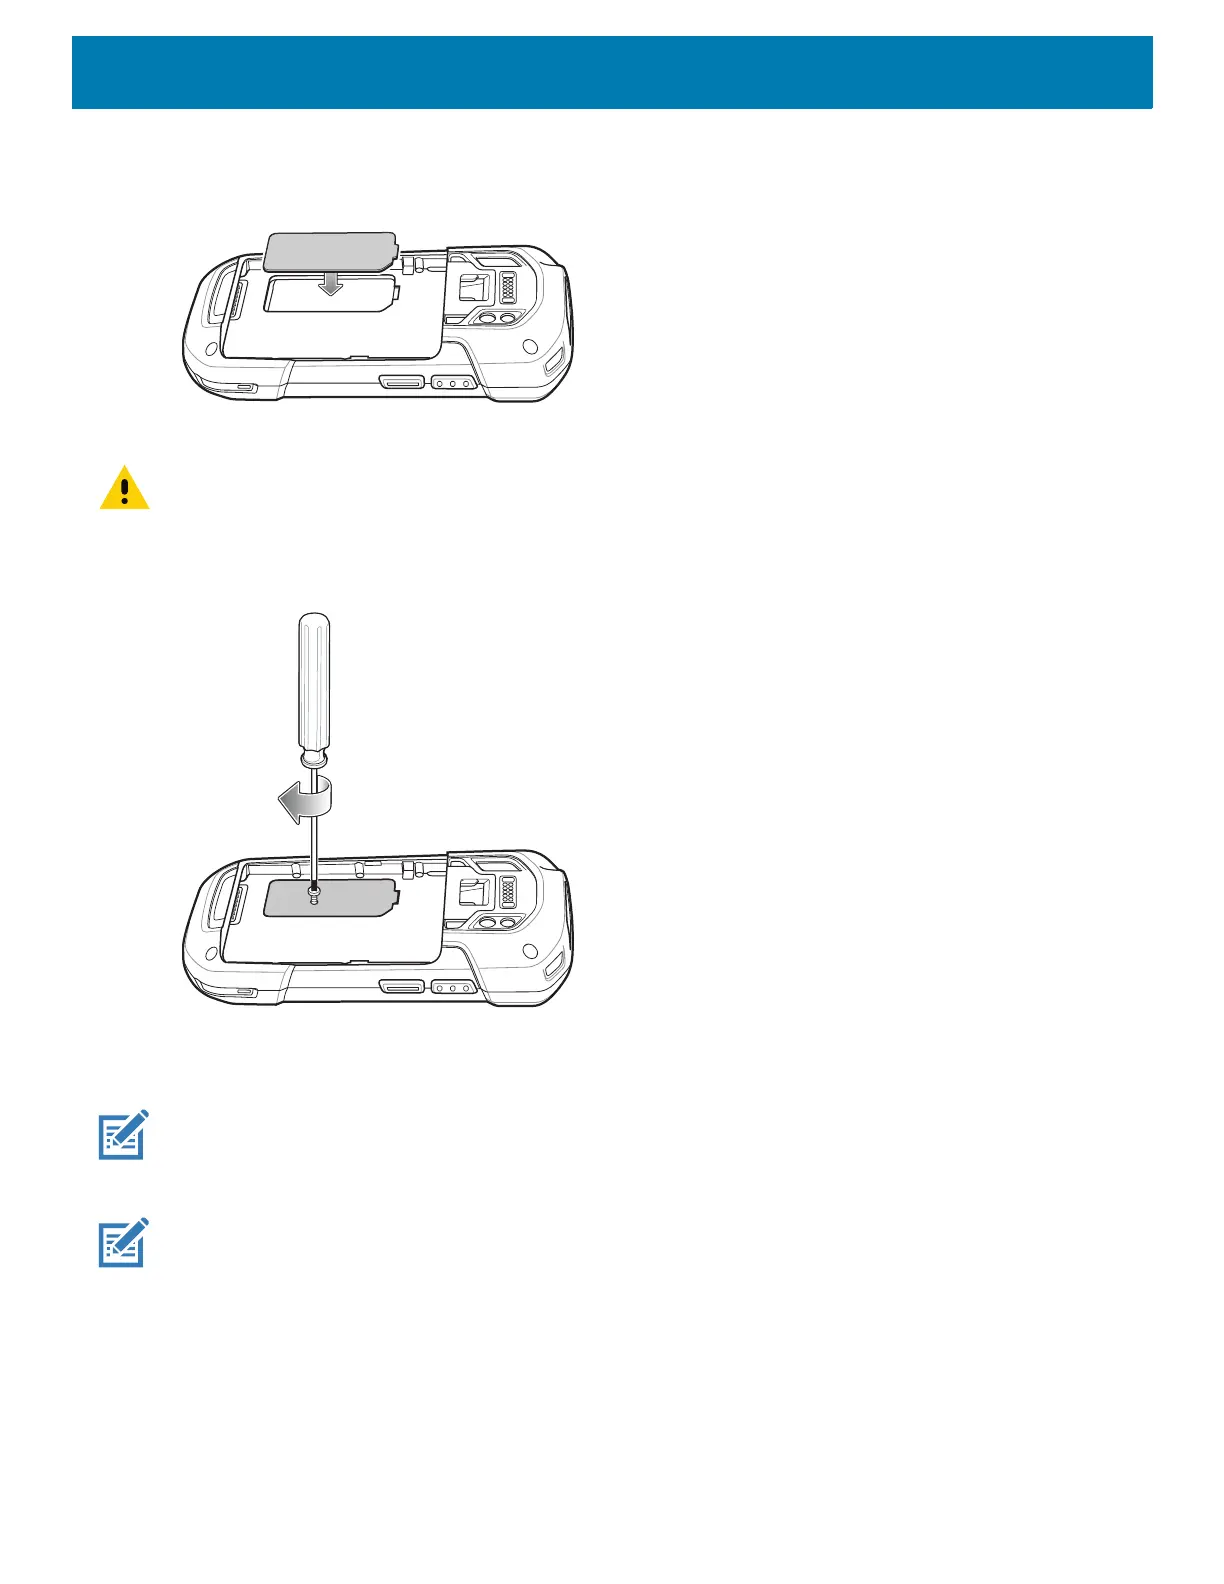
8. Replace the access door.
Figure 24 Replace Access Door
9. Press the access door down and ensure that it is properly seated.
CAUTION: Access door must be replaced and securely seated to ensure proper device sealing.
10.If the device has a secure access door, use a Microstix 0 screwdriver to install the 3ULR-0 screw.
Figure 25 Replace Secure Access Door Screw
Installing the Hand Strap and Battery
NOTE: User modification of the device, particularly in the battery well, such as labels, asset tags, engravings, stickers, etc.,
may compromise the intended performance of the device or accessories. Performance levels such as sealing (Ingress Pro
-
tection (IP)), impact performance (drop and tumble), functionality, temperature resistance, etc. could be effected. DO NOT
put any labels, asset tags, engravings, stickers, etc. in the battery well.
NOTE: Installation of the hand strap is optional. Skip this section if not installing the hand strap.