Reference [Other Functions]
ZOOM HD8/HD16
169
With the default settings of a project, a foot switch connected
to the CONTROL IN jack can be used to control play/stop of
the recorder. To use the foot switch to control manual punch-
in/out recording (→ p. 41), use the following procedure to
change the internal setting.
1. From the main screen, press the [PROJECT/
UTILITY] key.
The indication “REC UTILITY” appears on the first line of the
display, and “PROJECT” is shown on the second line.
2. Use the cursor left/right keys to bring up the
indication “SYSTEM” on the second line of
the display, and press the [ENTER] key.
The display indication changes as follows.
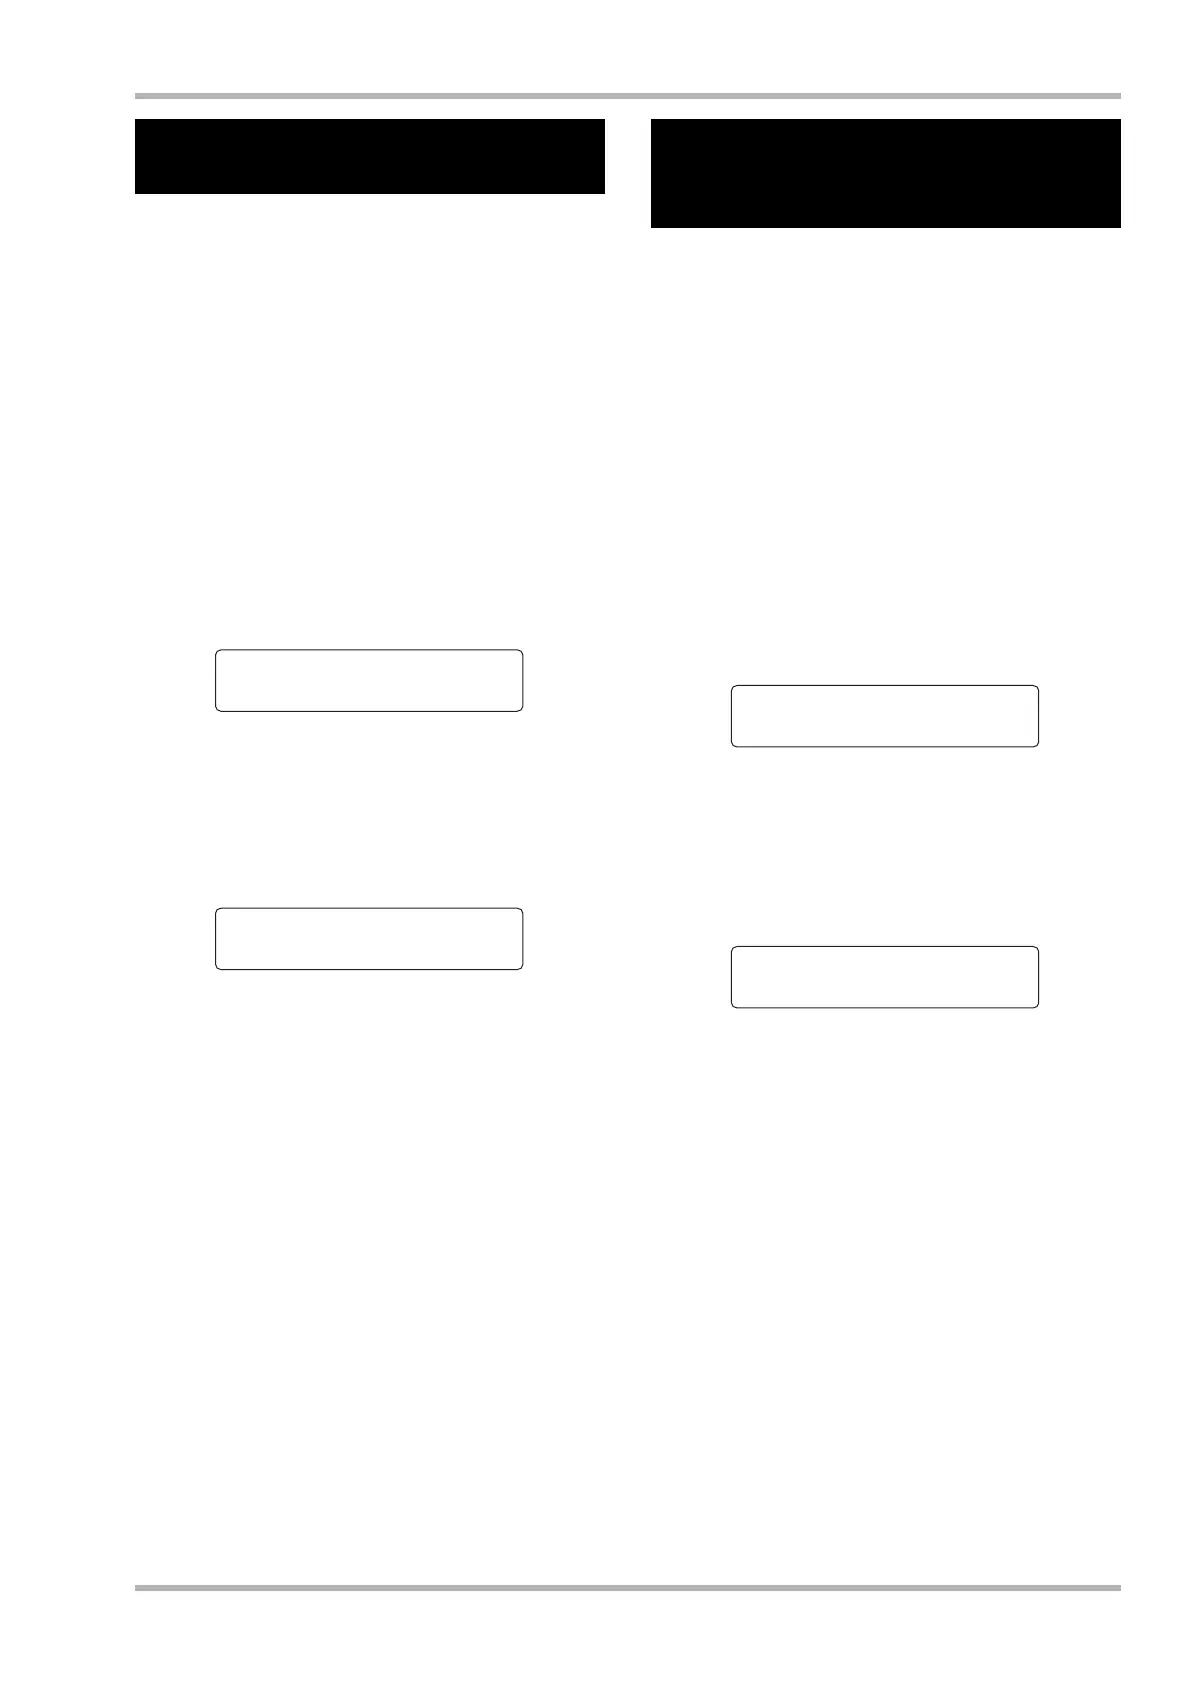
3. Make sure the indication “FOOT SWITCH” is
shown on the second line of the display, and
press the [ENTER] key.
The function currently assigned to the foot switch will be
displayed.
4. Turn the dial to select “Play/Stop” or “Punch
I/O”.
The available settings are as follows.
●
Play/Stop
Each push of the foot switch toggles between play and stop
of the recorder section.
●
Punch I/O
The foot switch can be used to perform manual punch-in/
out. Pressing the foot switch has the same effect as pressing
the REC [O] key.
5. To return to the main screen, press the [EXIT]
key several times.
When mixing down to a DAT recorder, MD recorder or similar
via the DIGITAL OUT jack, you can prevent digital copies
(third-generation copies) from being made from your
completed master disc or tape onto another digital recorder.
The procedure is as follows.
1. From the main screen, press the [PROJECT/
UTILITY] key.
The indication “REC UTILITY” appears on the first line of the
display, and “PROJECT” is shown on the second line.
2. Use the cursor left/right keys to bring up the
indication “SYSTEM” on the second line of
the display, and press the [ENTER] key.
The display indication changes as follows.
3. Use the cursor left/right keys to bring up the
indication “DIGITAL PROJECT” on the
second line of the display, and press the
[ENTER] key.
The current digital copy setting is shown.
The available settings are as follows.
●
Off (default setting)
Digital copying from your master tape to another digital
recorder is permitted.
●
On
SCMS (Serial Copy Management System) data will be
added to the digital signal that is output from the DIGITAL
OUT jack. It will not be possible to make digital copies
(third-generation copies) from a master tape or master disc
that contains this data.
4. Turn the dial to select the “On” setting.
Changing the function of
the foot switch
SYSTEM 1/7
>FOOT SWITCH
Foot Switch
Play/Stop
Preventing digital copying
of a master disc or master
tape
SYSTEM 1/7
>FOOT SWITCH
Digital Protect
Off