Reference [Track Editing]
ZOOM HD8/HD16
52
7. Specify the copy destination start point in the
same way as for the copy source, and press
the [ENTER] key.
The indication “Copy?” appears on the second line of the
display.
8. To execute the copy operation, press the
[ENTER] key.
When the copy operation is completed, the unit returns to the
track edit menu.
By pressing the [EXIT] key instead of the [ENTER] key, you
can cancel the operation and back up one step at a time.
HINT
To paste the same range repeatedly, use the phrase loop
function (
→ p. 67).
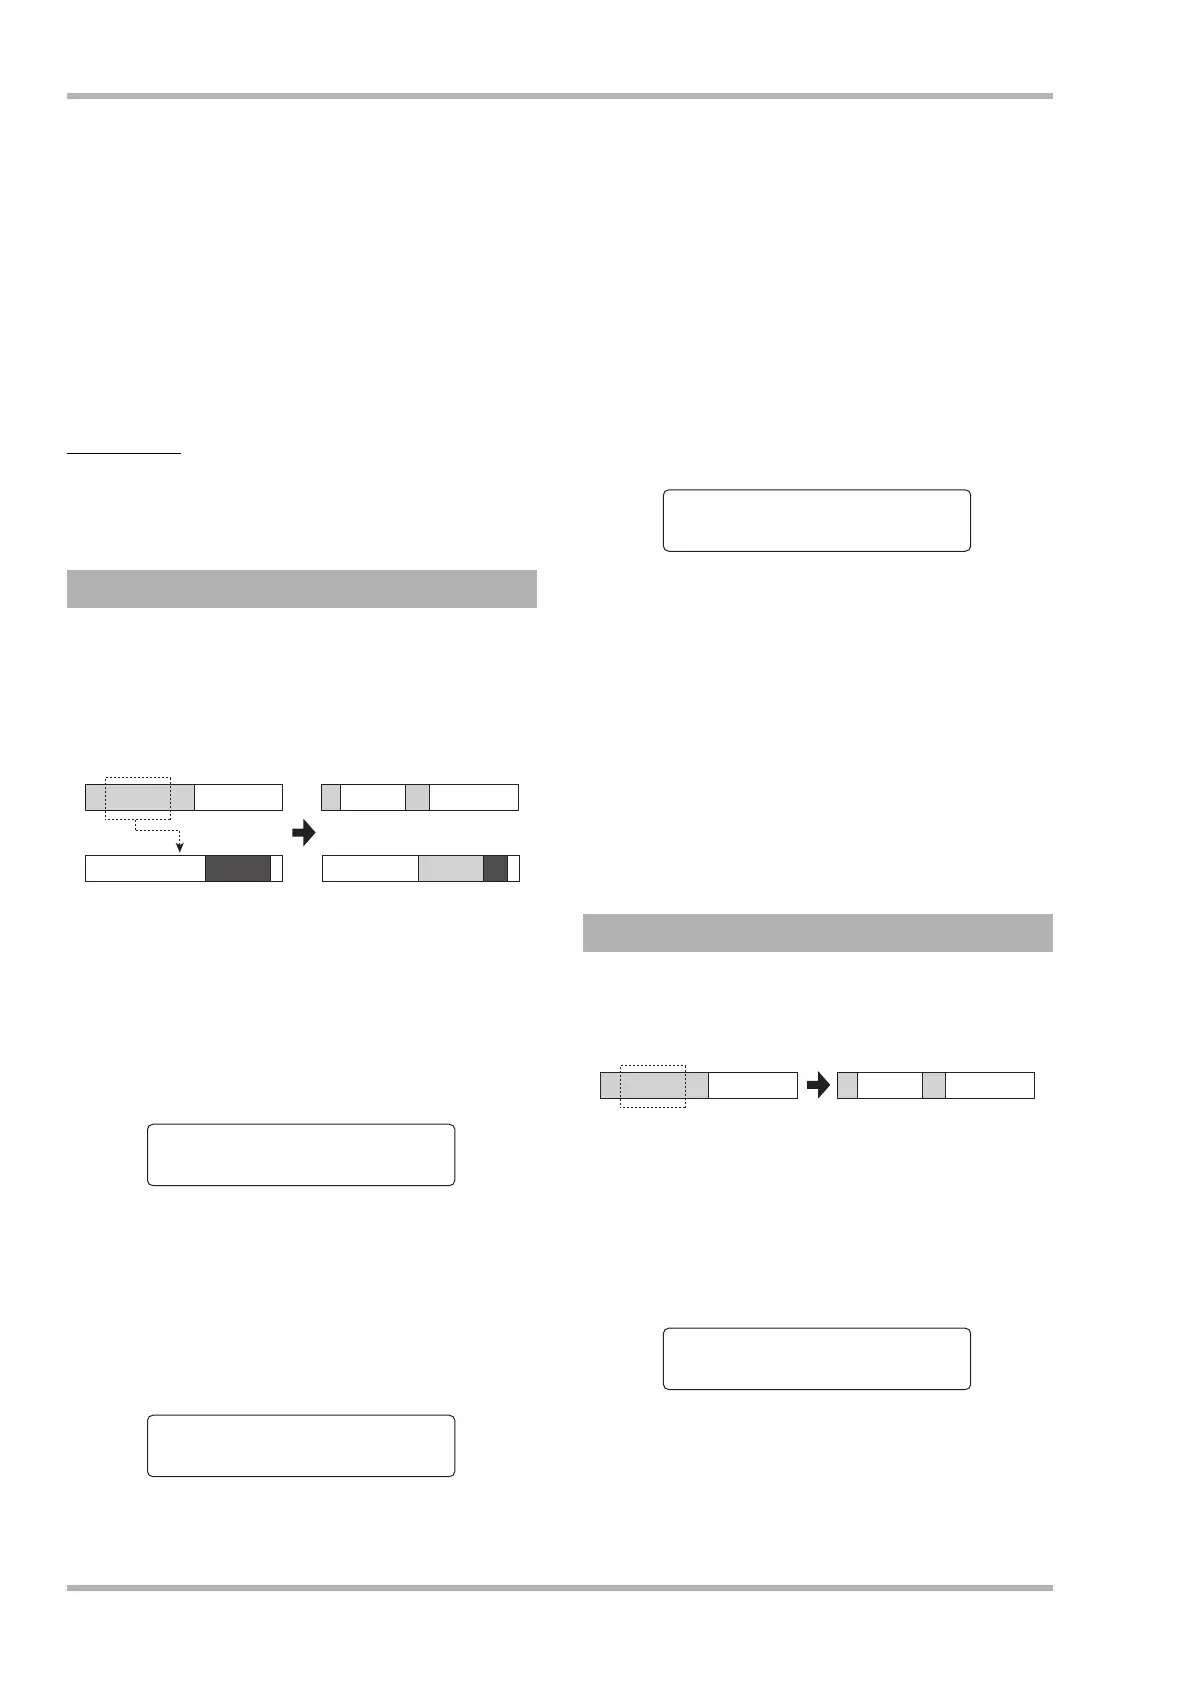
You can move the audio data of a specified range to a specified
position on a specified track/V-take. This action will overwrite
the existing data at the destination location. The move source
data will be erased.
1. Refer to steps 1 – 6 of “Basic steps for range
editing” and select the MOVE command.
Select the move source track/V-take, and
press the [ENTER] key.
The display for specifying the move start point appears. (For
information on switching the display units, see page 51.)
2. Use the cursor left/right keys to move the
flashing section of the counter, and turn the
dial to specify the move start point.
3. Press the [ENTER] key.
The second line of the display now lets you specify the move
range end point.
4. Use the same procedure as in step 2 to
specify the move range end point.
If you press the PLAY [R] key at this point, the specified
range will be played.
5. Press the [ENTER] key.
The first line of the display now shows “Move Destination”
and the second line “Trackxx-yy” (where xx is the track
number and yy the V-take number). This display lets you
specify the move destination.
6. Specify the move destination track/V-take in
the same way as when selecting the move
source, and press the [ENTER] key.
The display shows the move destination start point.
7. Specify the move destination start point in
the same way as for the move source, and
press the [ENTER] key.
The indication “Move?” appears on the second line of the display.
8. To execute the move operation, press the
[ENTER] key.
When the move operation is completed, the unit returns to the
track edit menu.
By pressing the [EXIT] key instead of the [ENTER] key, you
can cancel the operation and back up one step at a time.
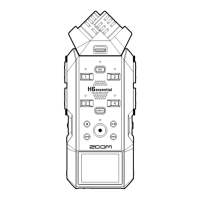
You can erase the audio data of a specified range and return the
range to the mute (non-recorded) condition.
1. Refer to steps 1 – 6 of “Basic steps for range
editing” and select the ERASE command.
Select the move source track/V-take, and
press the [ENTER] key.
The display for specifying the move start point appears. (For
information on switching the display units, see page 51.)
2. Use the cursor left/right keys to move the
flashing section of the counter, and turn the
dial to specify the erase start point.
3. Press the [ENTER] key.
Moving a specified range of data
Move source track
Move target track
Move
Start 000:00:000
Start 000:00:000
End 000:42:230
Erasing a specified range of data
Move Destination
To 000:42:230
Erase
Start 000:00:000