NOTE: For printers that have three cartridge bays, the second cartridge bay is
equipped with hinges so the cartridge can rotate counter-clockwise. This provides
easier access to the third cartridge.
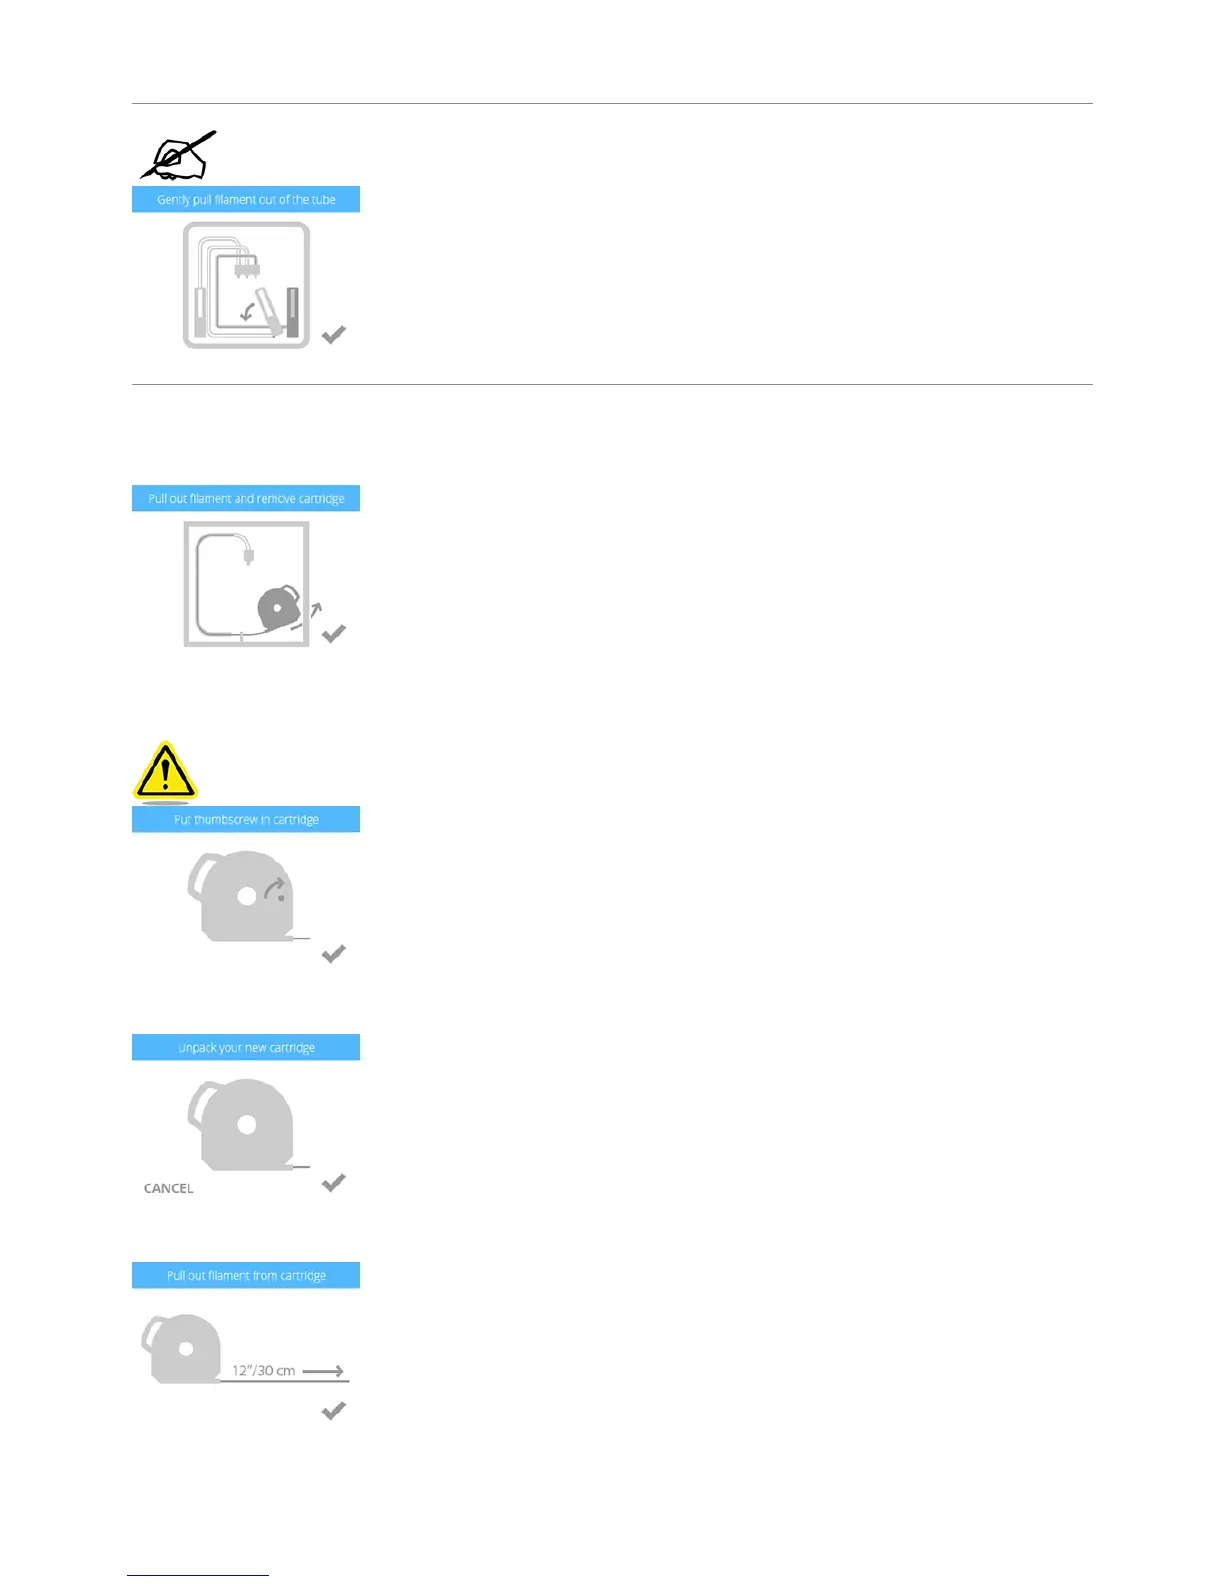
Grasp the cartridge handle and pull the cartridge up and out from its mount. Pull out the remaining material from the feed tube. Select the checkmark to5.
continue.
Install the thumbscrew into the cartridge. Measure 1 inch of material coming from the cartridge and cut off the remaining material. Select the checkmark6.
to continue.
CAUTION: Do not attempt to push the excess material back into the cartridge. Doing so
will cause the cartridge to bind making it unusable.
Remove the thumbscrew securing the material to the new material cartridge. Select the checkmark to continue.7.
Pull out 12”/30 cm of material from the cartridge. Select the checkmark to continue.8.
Cut off 2”/5 cm of material from the end. Select the checkmark to continue.9.