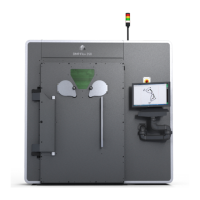
REPLACING A MATERIAL CARTRIDGE
The CubePro can utilize up to three installed cartridges depending on your printer model. The creation you
wish to print may require a different color or material, or there may not be enough material left in the
cartridge to complete your next print. Refer to the following steps to replace material cartridges.
NOTE: When replacing the right side cartridge in a printer with 3 cartridges installed,
the center cartridge is hinged to allow the cartridge to rotate to its left side rather
than removing it completely. This provides enough access to replace the right side
cartridge.
Select SETUP from the home screen.1.
Select CHANGE CARTRIDGE from the Materials screen.2.
NOTE: Selecting Cartridge Status will show the estimated amount of material
remaining in the installed cartridges. It also indicates the color and type of material
being used.
From the Select Cartridge to Change screen, select the cartridge you wish to replace.3.
NOTE: Before removing the cartridge, the appropriate print jet must heat up to its
target temperature. Melted material may extrude into the jet wiper.
NOTE: Under the current temperature reading, the display will indicate when the
printer is priming. Once it has been primed, another message will appear that
indicates that the motor that feeds the material into the print jet is reversing to make
it easier to remove the material.
Reach around the material cartridge, grasp the exposed material coming from the cartridge and gently pull it out of the print jet. Select the checkmark to4.
continue.