CALIBRATING THE PRINT PAD
The print pad is leveled at the factory and this adjustment may not be necessary for your printer. If your
creations are not printing as expected, check the level of the print pad.
Navigate to the Print Plate Calibration screen and select LEVEL PLATE. Select the checkmark to continue.1.
NOTE: The print pad will raise and the print jets will move to the left rear of the print
pad.
Select the upper right corner of the triangle on the touchscreen display.2.
NOTE: The print jets will move to the right rear of the print pad.
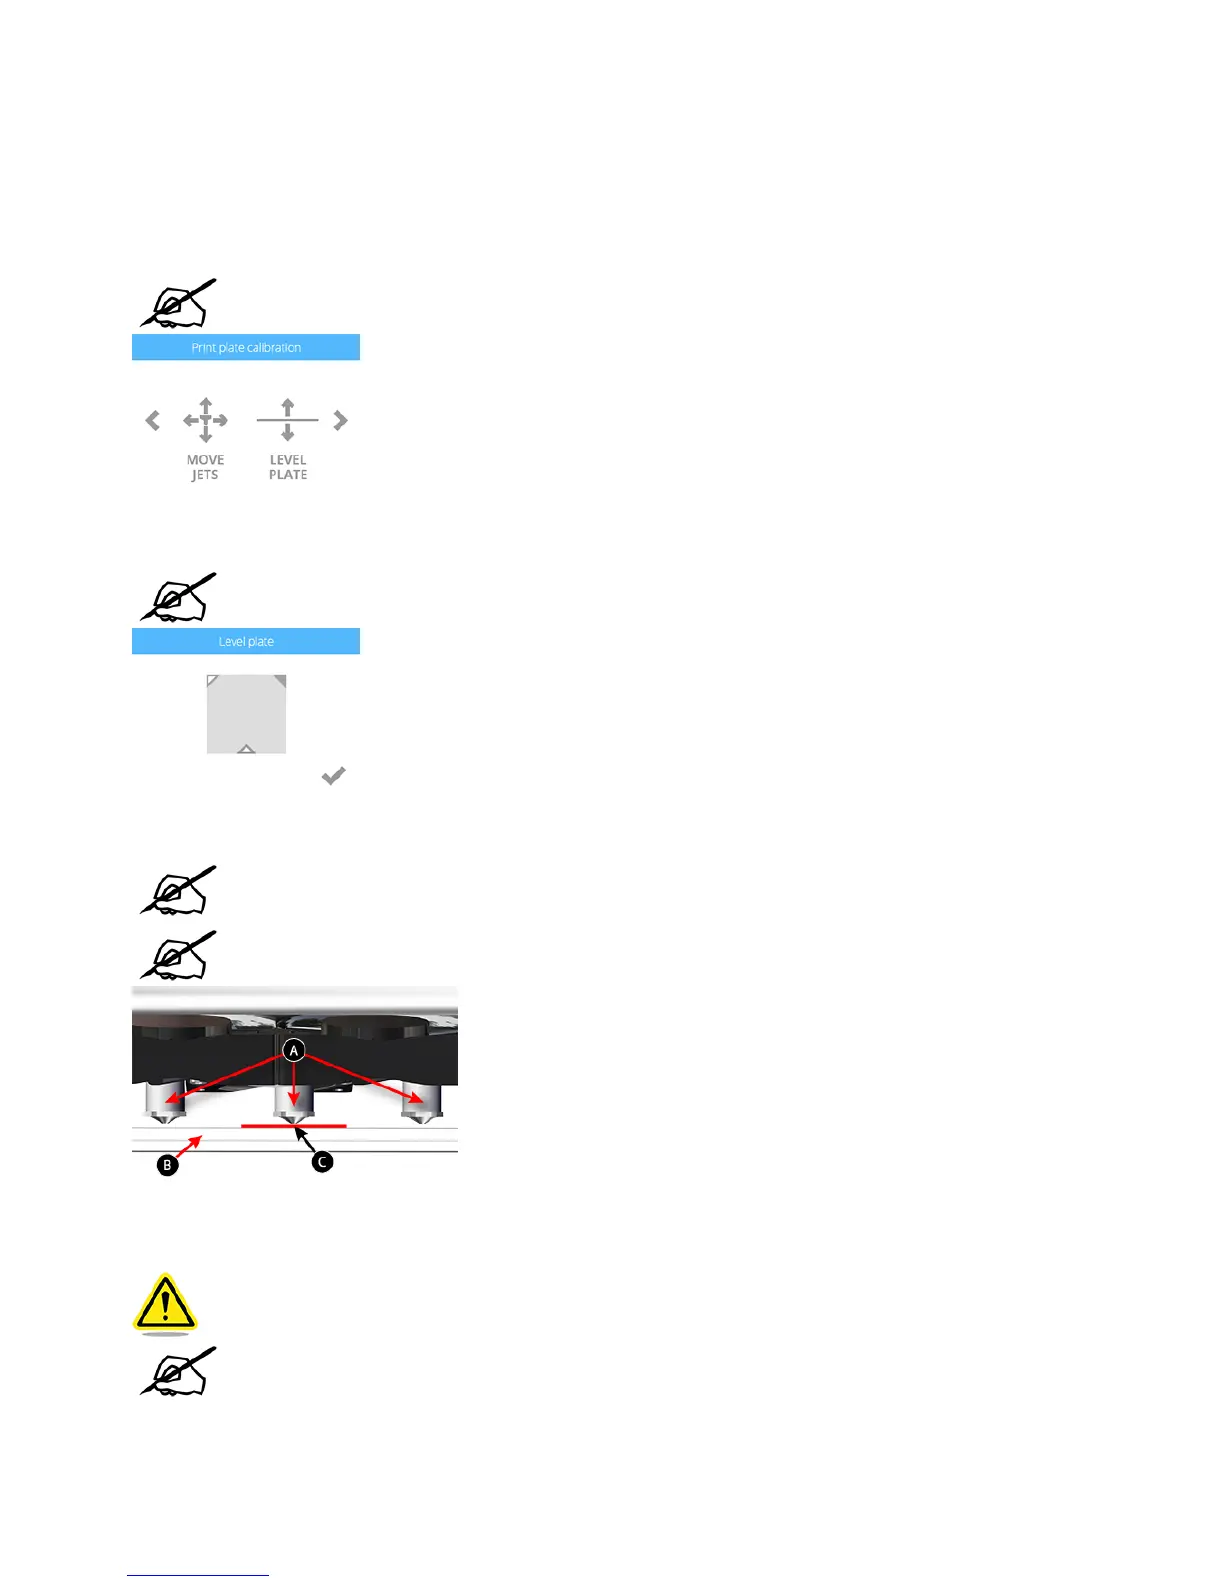
Using the designated page from the Setup/Repack instructions, slide the paper between the print jets and the print pad.3.
NOTE: If there is a slight resistance, proceed to step 5.
NOTE: The red line (C) illustrates the gap between the print jets (A) and the print pad
(B).
If the paper slides easily between the print jets and print pad, rotate the adjustment knob counter-clockwise (from the bottom) until there is a slight4.
resistance.
CAUTION: If the print pad is set too high, damage to the print pad or print jets may
occur.
NOTE: If the paper can not be inserted between the print jets and the print pad, turn
the adjustment knob clockwise (from the bottom) until there is a slight resistance on
the paper.