14
INSTALLING MATERIAL CARTRIDGE
NOTE: The REPLACE functions will take you through the process of installing the material cartridge.
1. Press REPLACE on the touchscreen and select the bay that the cartridge will be
installed. Print Jet 1 represents bay 1, Print Jet 2 represents bay 2 and Print Jet 3
represents bay 3. Press “Next” on the touchscreen, a message “Heating Print Jet
Please Wait…” will appear on the control panel. (Fig. 31)
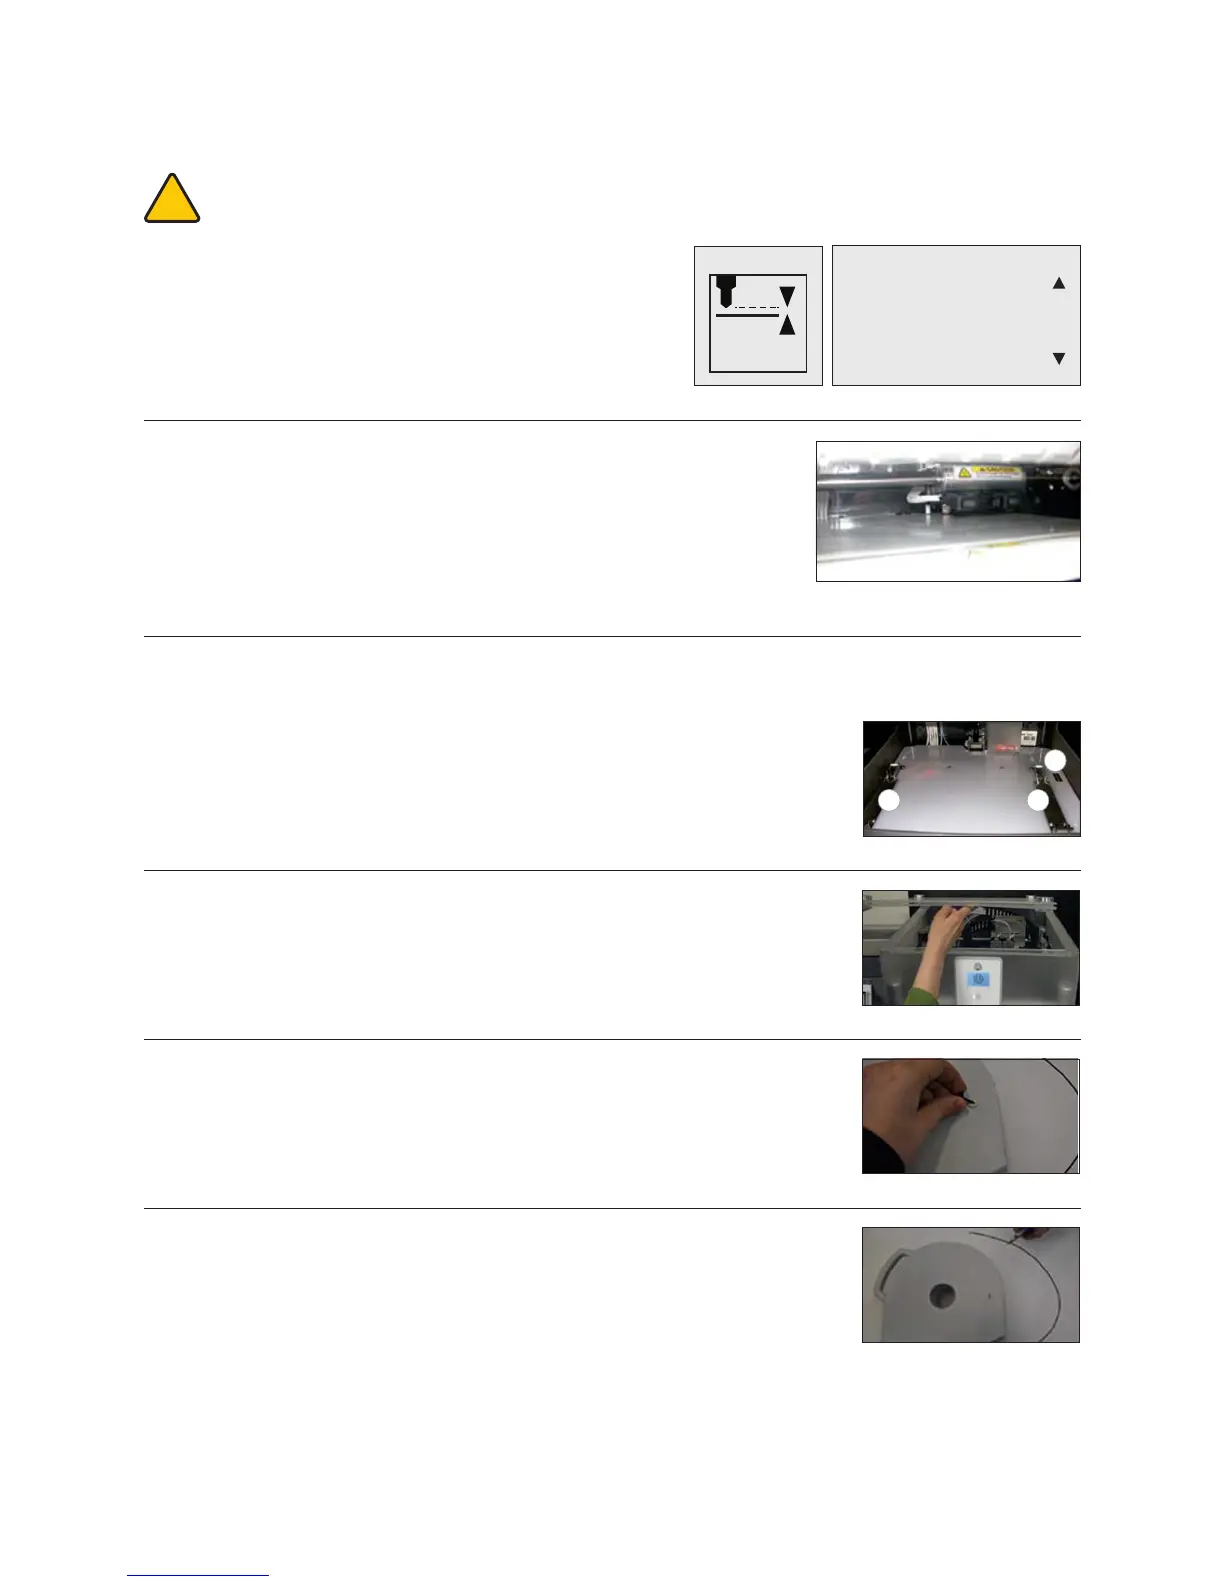
CHECKING THE Z-GAP BETWEEN THE PRINT JET TIP AND THE PRINT PAD
CAUTION: Do not overdrive the print jet tip into the print pad. Doing so can cause damage to the print jet.
NOTE: If more than one print jet is equipped on your CubeX, use the rst print jet to set the gap.
1. Scroll to “Z GAP” using the arrows on the touchscreen. Select
Z GAP and using the “Up / Down” arrows, move the print pad
up so that it is just touching the tip of the print jet. (Fig. 28 &
29)
!
Fig. 28
Fig. 29
Fig. 30
Fig. 32
Fig. 31
Fig. 33
Fig. 34
1
3
2
2. Using the “Down” arrow, lower the printpad down by 0.1 from the print jet tip.
Click on the Control button, the next screen will allow you to save the setting.
Click on the check mark to save or the X to cancel the setting. (Fig. 30)
2. If the top cover is on, remove cover from the CubeX by lifting up. (Fig. 32)
3. Remove the thumbscrew from the new cartridge and retain thumbscrew to use when
storing the used cartridge that has material inside. This will prevent the material from
unraveling when stored. (Fig. 33)
4. Pull 300mm (11”) of material from the new cartridge.
5. Cut 50mm (1.5”) from the end of the lament. (Fig. 34)
Z GAP
Z
SET Z HEIGHT
Offset:-19.82