REMOVING PIXIE DUST FROM UV ASSEMBLIES (LEFT AND RIGHT)
Removing Pixie Dust from UV Assemblies (right and left)
Over time, the UV assemblies accumulate a buildup of pixie dust (light coating of material particles) that will need to be wiped off with a lint free cloth and
isopropyl alcohol.
Right UV Assembly
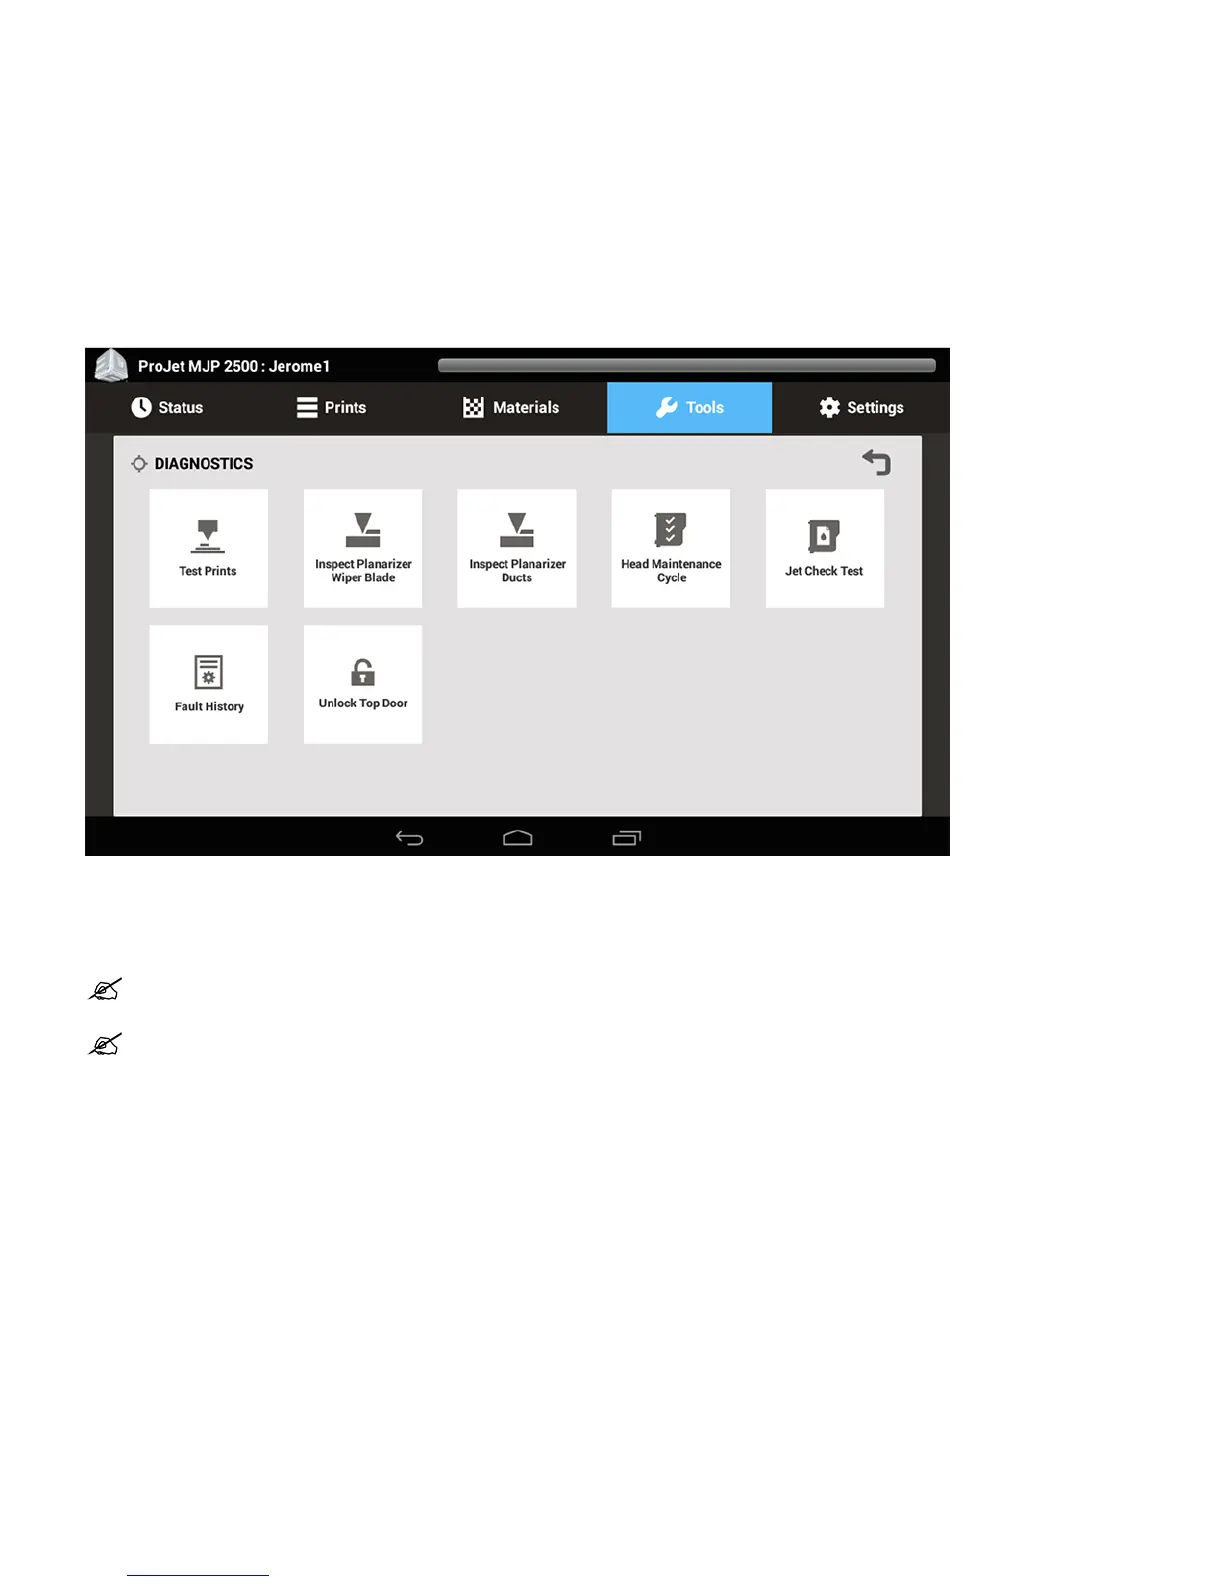
Select Tools > Diagnostics > Inspect Planarizer Ducts1.
The print engine will be centered over the platform allowing user access to the UV lamp assembly.2.
Place a paper towel underneath carriage to catch any material that is loosened during the wiping process.3.
Reach underneath to the right UV lamp assembly and wipe pixie dust using a lint free cloth moistened with isopropyl alcohol.4.
NOTE: Always wear nitrile gloves and either a protective sleeve or lab coat when performing this procedure to protect skin from
exposure to uncured materials.
NOTE: When wiping the right UV assembly use care not to touch printhead.