QUALITY CONTROLS - 5
VerifyNow System User Manual Page 37 14340.J
A flashing message will display while the instrument is warming up. During this
time the icon keys are inactive and you will be unable to start an assay. Go to the
next step after the warm-up message no longer displays.
3.
From the main menu, enter Operator ID and Password, if required. Use
the keypad to enter the Operator ID number at the prompt. Press the Tab key to
advance to the Password prompt to enter the password number.
4.
Press the QC key. Wait for the image of the device to display (Figure 5-20).
Figure 5-20 Start WQC Level 2
5.
Open the foil pouch and remove the assay device just before use. Hold it by the
finger grip.
NOTE: Each assay device has a finger grip. Avoid handling other surfaces of the
assay device.
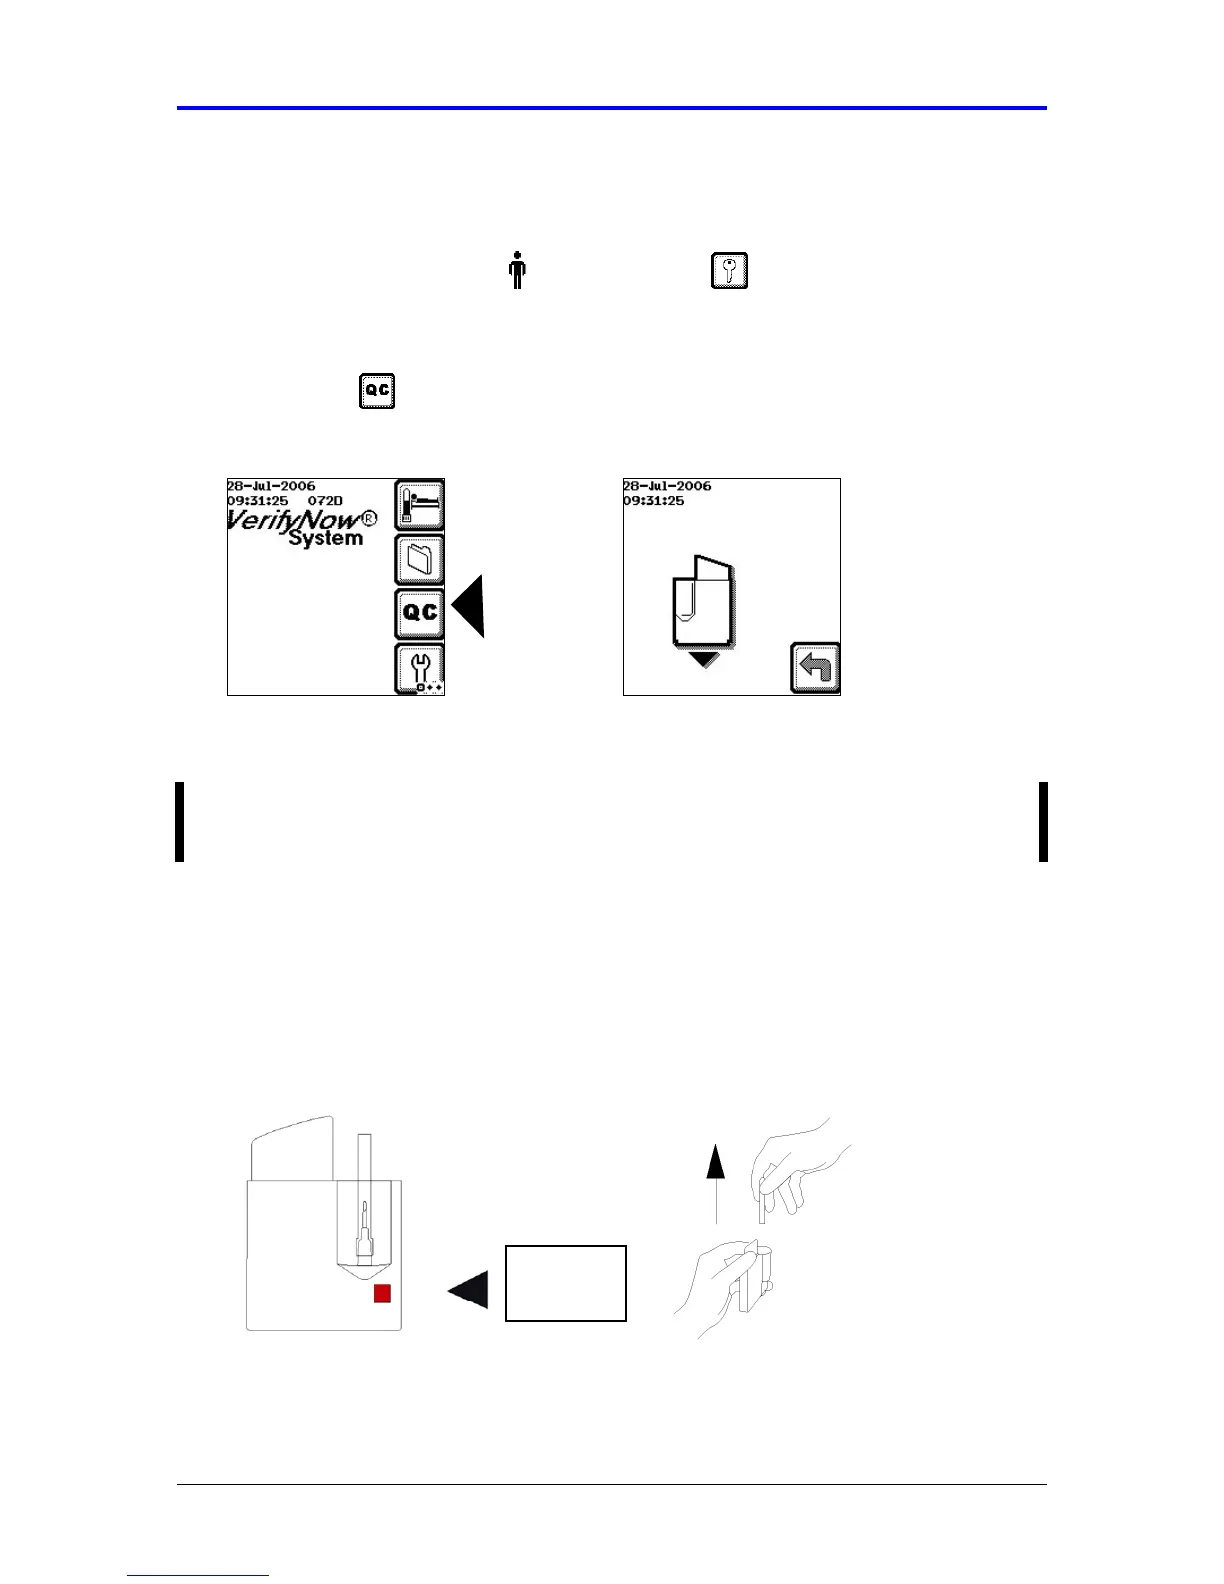
6.
Inspect the humidity indicator. The humidity indicator (small square) should be
pink on one side and white on the other. If it is pink on both sides, discard and
use a new assay device (Figure 5-21).
7.
Remove the needle’s protective sheath by pulling directly up on the sheath. Do
not twist the sheath, as this may remove the needle (Figure 5-21).
Figure 5-21 Inspect Humidity Indicator and Prepare Needle
Humidity
Indicator