TROUBLESHOOTING - 10
VerifyNow System User Manual Page 94 14340.J
No. Issue Description Resolution
6
Attention – Printer not
responding
There is a problem with
the printer that prevents
printing.
The printer is not responding. The printer may be turned off or the
printer not properly attached to the instrument.
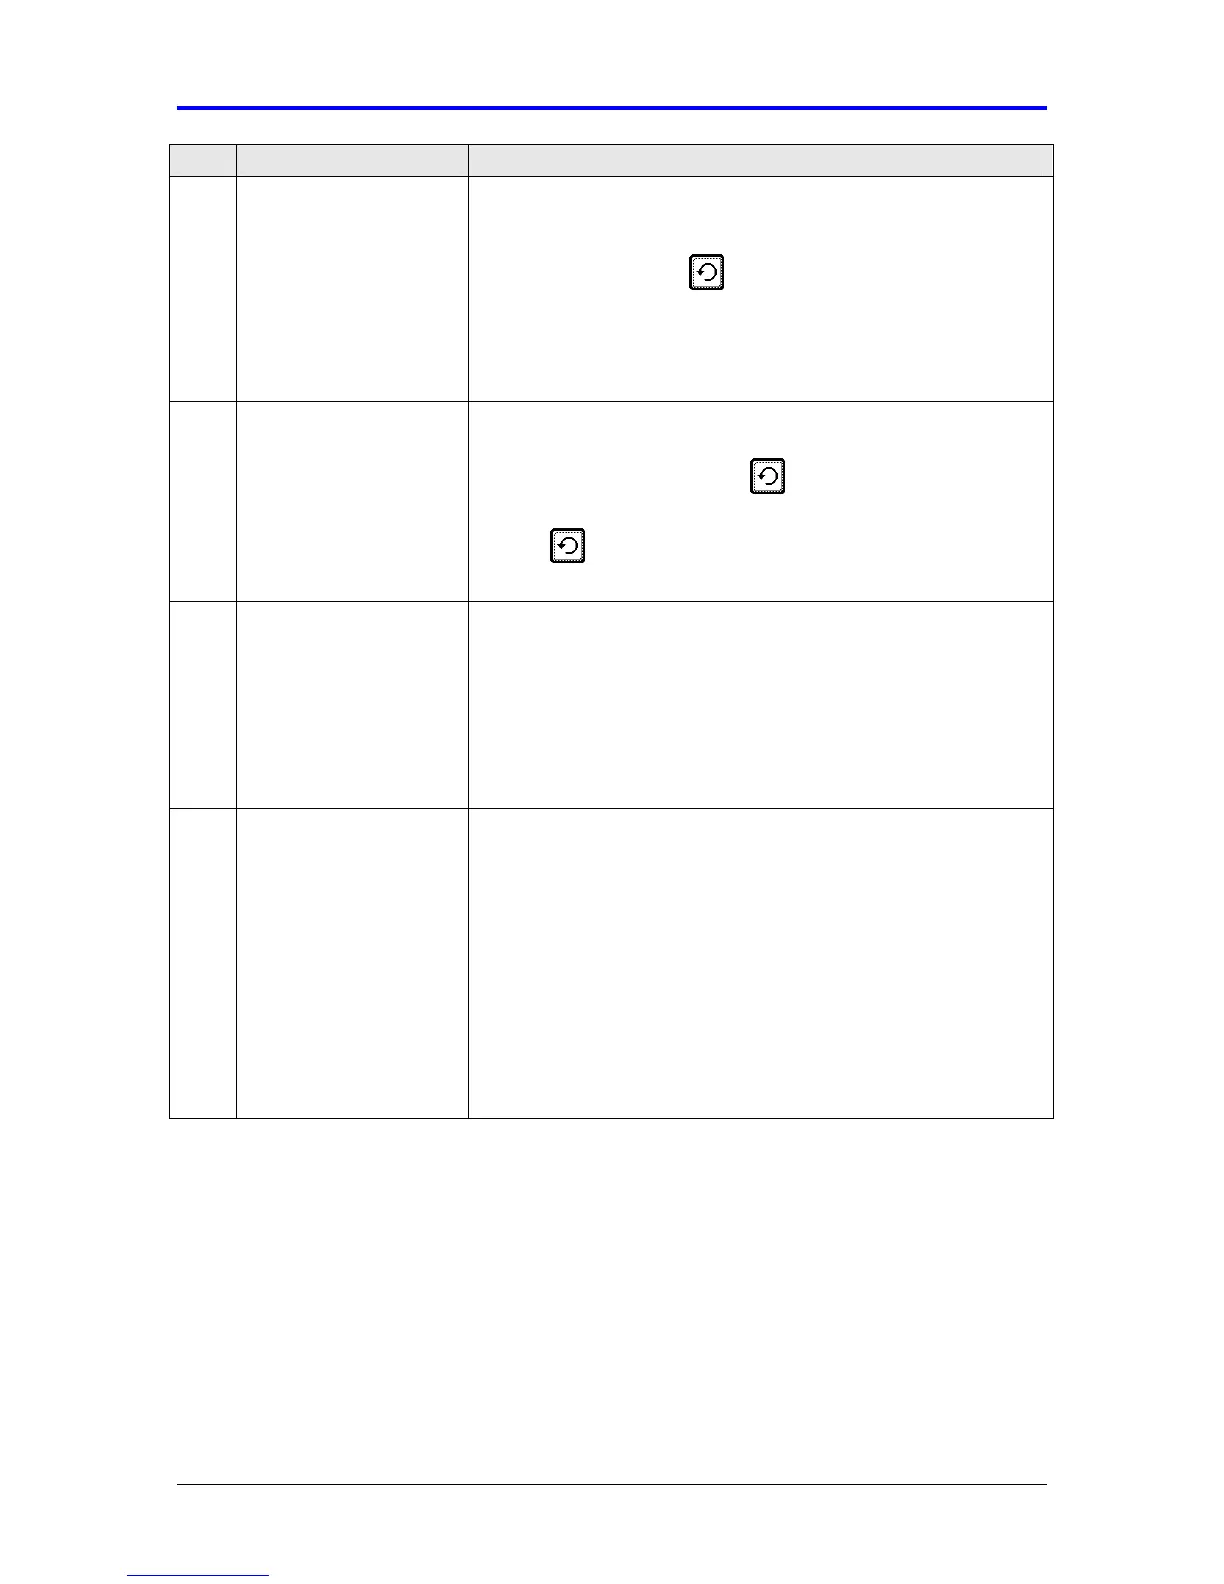
1) Check to make sure the printer is turned on. If not, turn the printer
on and press the Repeat key to start printing.
2) Ensure that the printer and instrument are correctly connected
and that the printer cable is seated correctly at the back of the
instrument.
3) If the problem continues, call Customer Support.
7
Attention – Printer out
of paper
There is a problem with
the printer roll that
prevents printing.
The printer may be out of paper or there may be a paper jam.
1) Make sure the printer is loaded with paper. If not, insert paper into
the printer and press the Repeat key to start printing.
2) Check that paper moves properly through the printer. Press
Repeat key to start printing.
3) If the problem continues, call Customer Support.
8
Attention – Printer not
ready
There is a problem with
the printer that prevents
printing.
The printer is not responding. The printer may be turned off or the
printer not properly attached to the instrument.
1) Turn the printer on and off. Then press the Repeat key to start
printing.
2) Ensure that the printer and instrument are correctly connected
and that the printer cable is seated correctly at the back of the
instrument.
3) If the problem continues, call Customer Support.
10
Attention - Detection
wells fill
The sample did not fill
the detection wells in
time, which is required
for consistent activation
of platelets.
Typical causes of this event include a low or high fill volume in the
sample tube, wrong sample tube use, or not inserting the sample
tube firmly against needle hub.
1) Keep the assay device, and verify there was adequate volume of
blood and the correct sample tube was used. Refer to Section 6.2,
Patient Sample Collection for more information.
2) Use the cleaning device (see Section 9.1).
3) Perform an EQC test (see Section 5.1)
4) If the EQC is OK, run a Wet QC Level 1 (see Section 5.2.1) and
verify the result falls within expected range.
5) If the EQC is not OK, call Customer Support and have the assay
device handy.