Do you have a question about the Acer P1200 and is the answer not in the manual?
Instructions to safely remove the projector's lamp module.
Detailed procedure for removing the main and I/O circuit boards.
Steps for removing the color wheel assembly.
Guide to remove the projector's optical engine module.
Instructions for removing the DMD chip and its board.
Guide to remove lamp driver, interrupt switch, and speaker.
Instructions for removing the Low Voltage Power Supply (LVPS) module.
How to update system and lamp usage hours via service mode.
Guide to reattach the Low Voltage Power Supply module.
Steps to reassemble lamp driver, interrupt switch, and speaker.
Instructions for reattaching the DMD chip and its board.
Guide to reattach the projector's optical engine module.
Steps for reattaching the color wheel assembly.
Detailed procedure for reattaching the main and I/O circuit boards.
Instructions to safely reattach the projector's lamp module.
Explains the meaning of different LED status indicators on the projector.
Provides general troubleshooting steps for common projector symptoms.
Instructions on how to access and use the projector's service mode.
Procedures for calibrating the projector's display settings.
Methods for measuring key optical performance metrics like brightness and contrast.
Details the process for upgrading the projector's system firmware via USB.
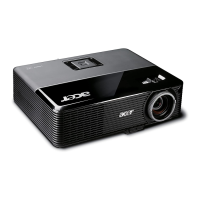
| Contrast Ratio | 2000:1 |
|---|---|
| Aspect Ratio | 4:3 (Native), 16:9 (Supported) |
| Display Technology | DLP |
| Image Size | 30 - 300 inches |
| Brightness | 3000 ANSI Lumens |
| Resolution | 800 x 600 (SVGA) |
| Throw Ratio | 1.96 - 2.15 |
| Keystone Correction | +/-40 Degrees (Vertical) |
| Noise Level | 33 dB (standard), 29 dB (eco mode) |
| Inputs | HDMI, VGA, Composite Video |