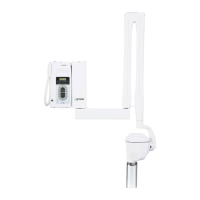
INSTRUCTION (refer to Fig. 12)
1. BALANCING THE ARM A
PLEASE NOTE
The pantograph type arm is supplied with arm A already preloaded.
The arm B is supplied unloaded for safety reasons.
2. BALANCING THE ARM B
} arm A vertical
} arm B horizontal
} insert the adjustment key in Y
} load the spring by n° 22 turns
} withdraw the key
3. CHECKING THE BALANCING
bring the arm B in the different positions
IF IT DOES NOT KEEP THE POSITION
} bring the arm B to the horizontal position
} insert the adjustment key in Y
} rotate the adjustment key by half turn:
} clockwise if it tends to come down;
} counter clockwise if it tends to go up
} withdraw the key
PLEASE NOTE
Repeat the test and adjustment until the arm B is steady and stable in all positions, even when the arm A is completely extended.
4. READJUSTMENT OF ARM A
} bring the arm A to the vertical position
} insert the adjustment key in X
} rotate the adjustment key by half turn: clockwise if it tends to come down; counter clockwise if it tends to go
up
} withdraw the key
PLEASE NOTE
Repeat the test and adjustment until the arm A is steady and stable in all positions, even when the arm B is completely extended.
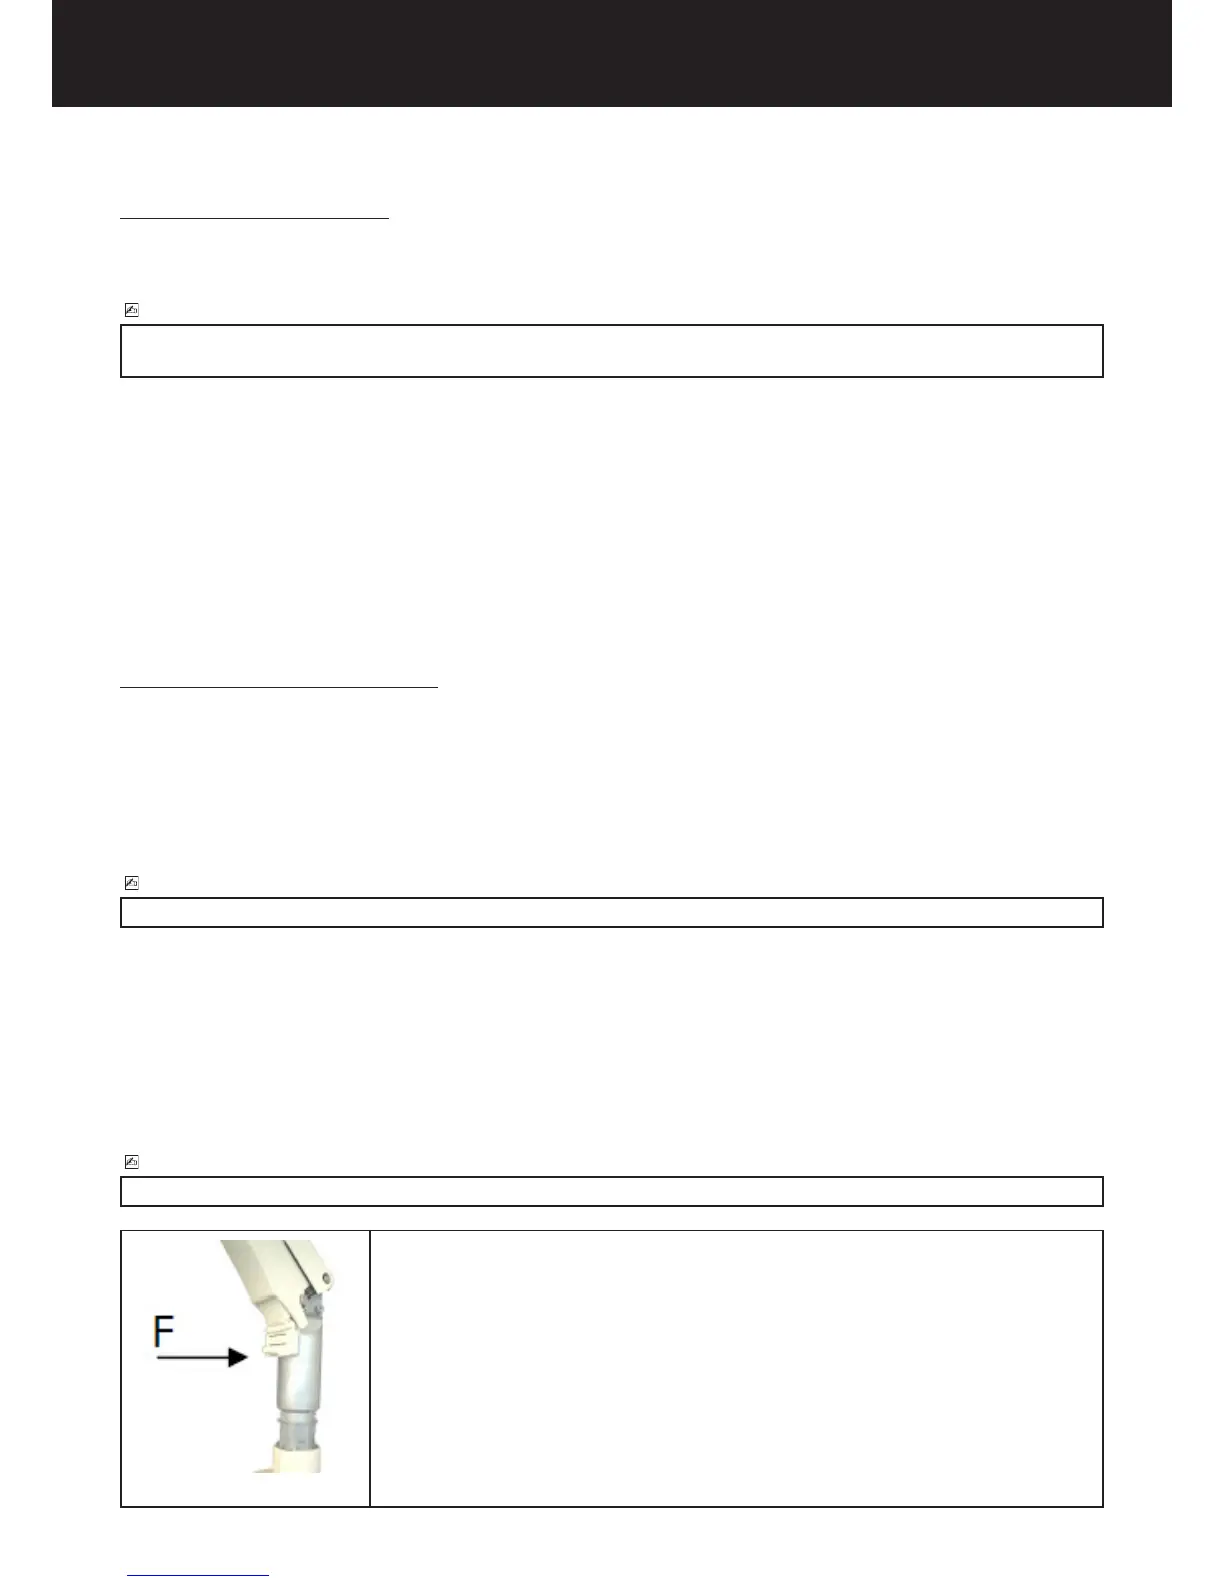
5. Insert the movable nish F between the pantograph type arm guard and metal
frame.